Create a Data Set using .csv files
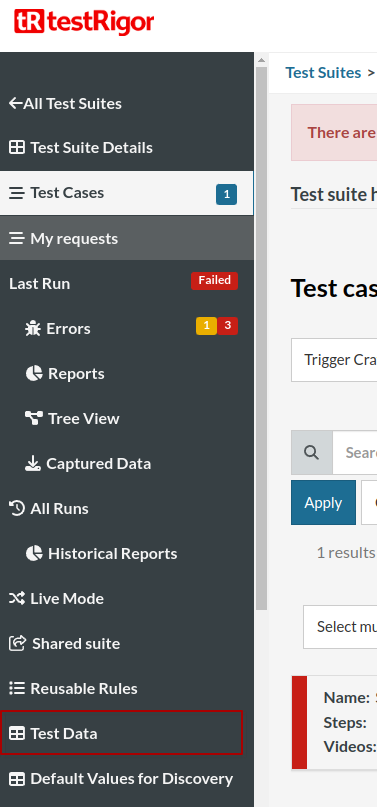
1. Navigate to the “Test Data” screen in the test suite
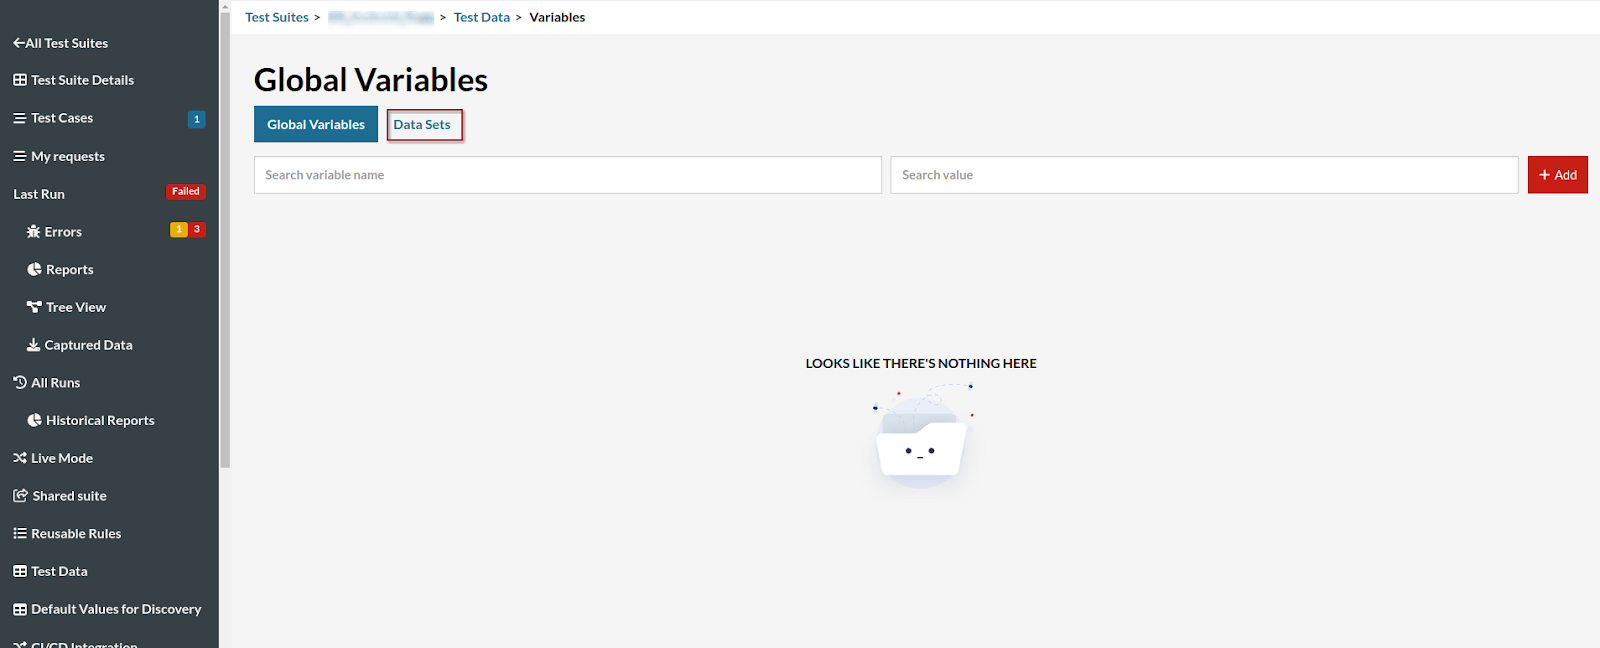
2. Click on “Data Sets”
3. Create a new Data Set by clicking on “Add”
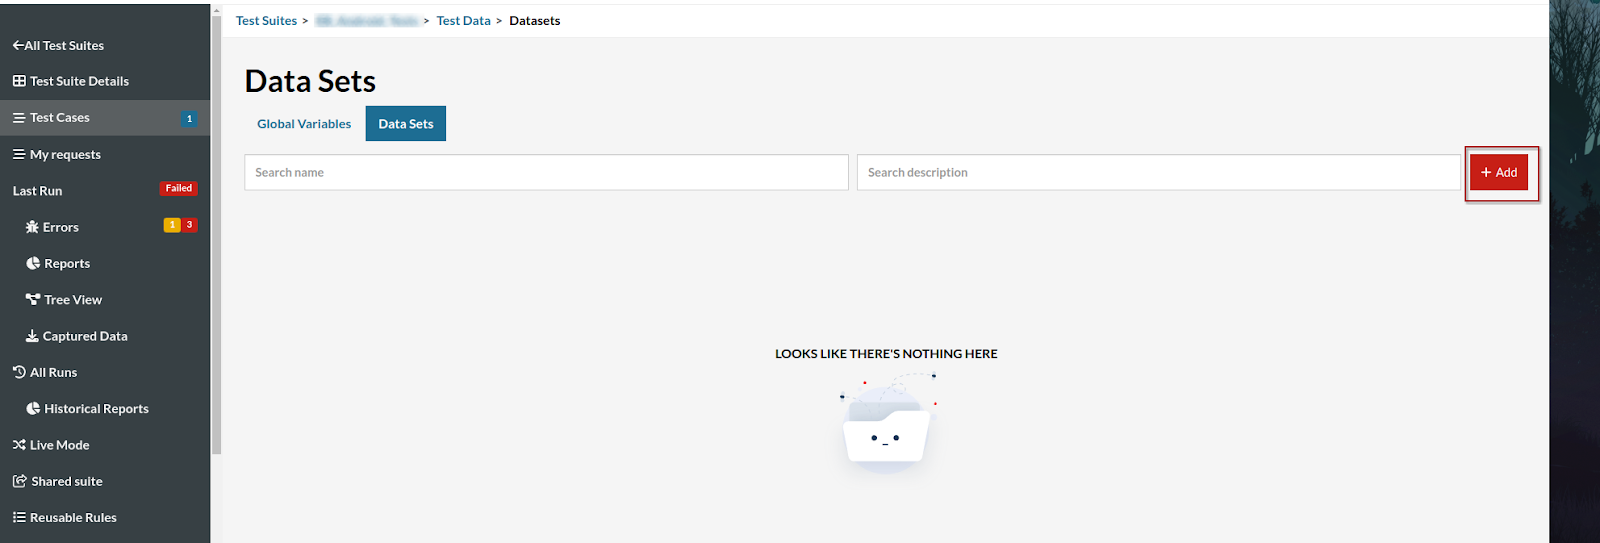

4. After the Data Set is created navigate to “Rows”

5. Click on “Add” and select “Upload CSV”

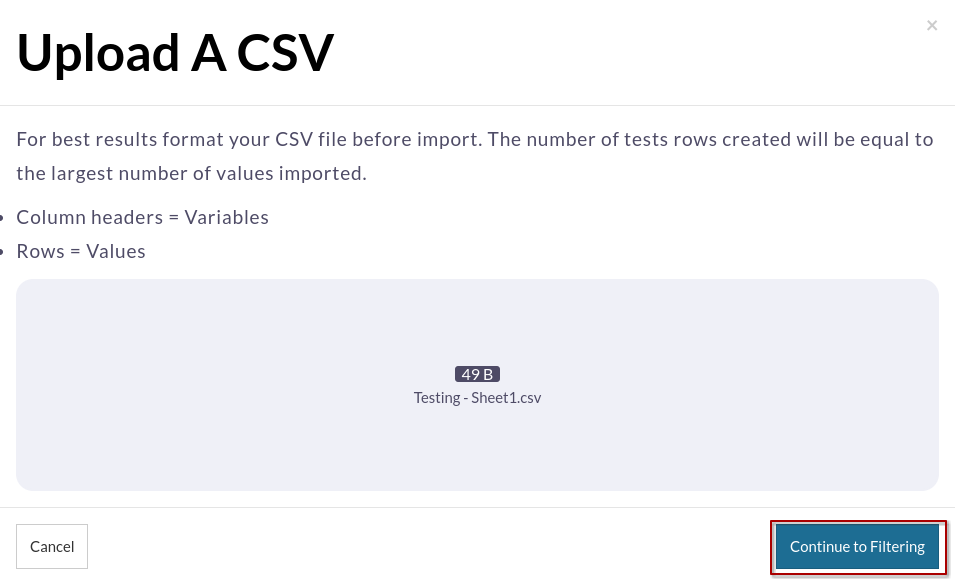
6. You will be facing a window that will ask for the .csv file, like the image below
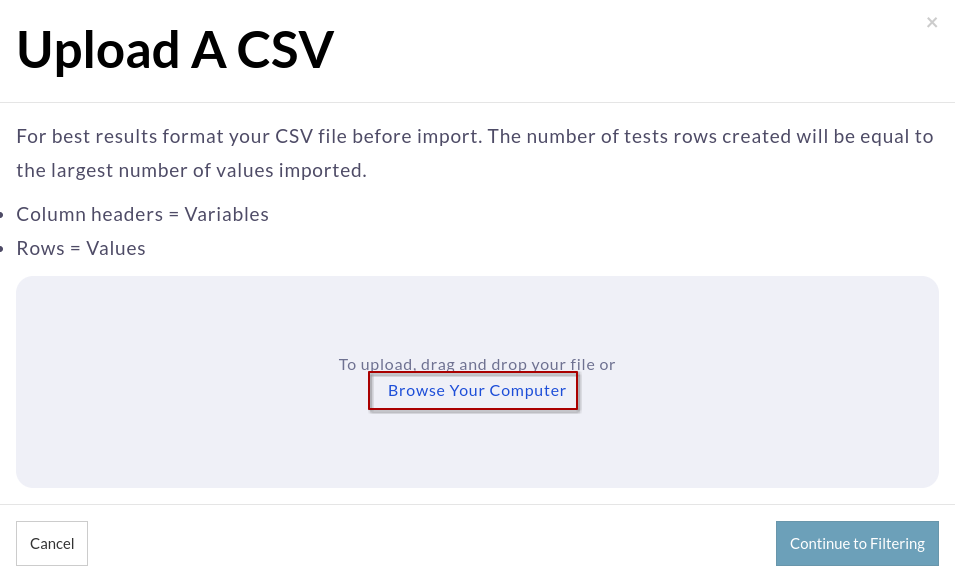
7. After that just click “Continue to Filtering”
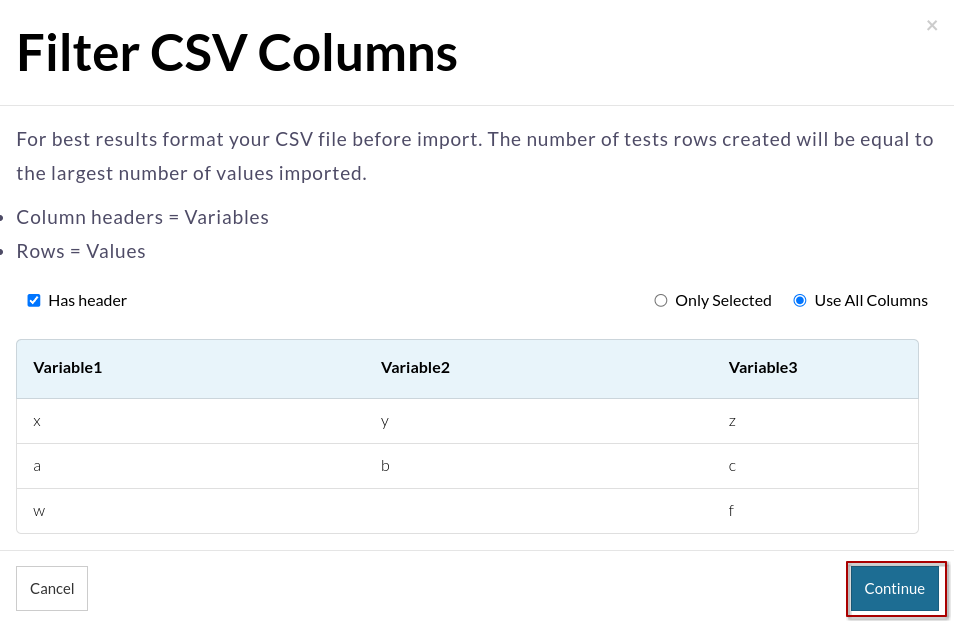
8. When doing that the columns in the CSV file will become the variables and the rows will be the rows of the Data Set.
It’s possible to use all the columns or select those you want to use as variables in the Data Set, after that just click “Continue”
It’s possible to use all the columns or select those you want to use as variables in the Data Set, after that just click “Continue”
9. At the end of the process, you will have a testRigor Data Set that contains all the CSV information without having to add everything manually.
For a full tutorial on creating data sets, watch the video below:


