Google Authenticator Support for Gmail 2FA
Through Gmail 2FA support, testRigor users can use 2FA authentication within test cases. This article details how to configure the Gmail account and test suite in testRigor application.
Requirements
In order to generate a Google Authenticator code inside your test cases, you must:
- Have a Gmail account.
- Have a testRigor account, if you still don’t have one you can get yours now.
- Complete the steps below to set everything up.
Configuration Steps
To use this feature you basically need to setup the Gmail account to execute the 2FA authentication using Google Authenticator as code provider, save the QRcode used on this setup and upload it to your test suite. The steps below show in details how to do this:
Step One – Configure Gmail 2FA
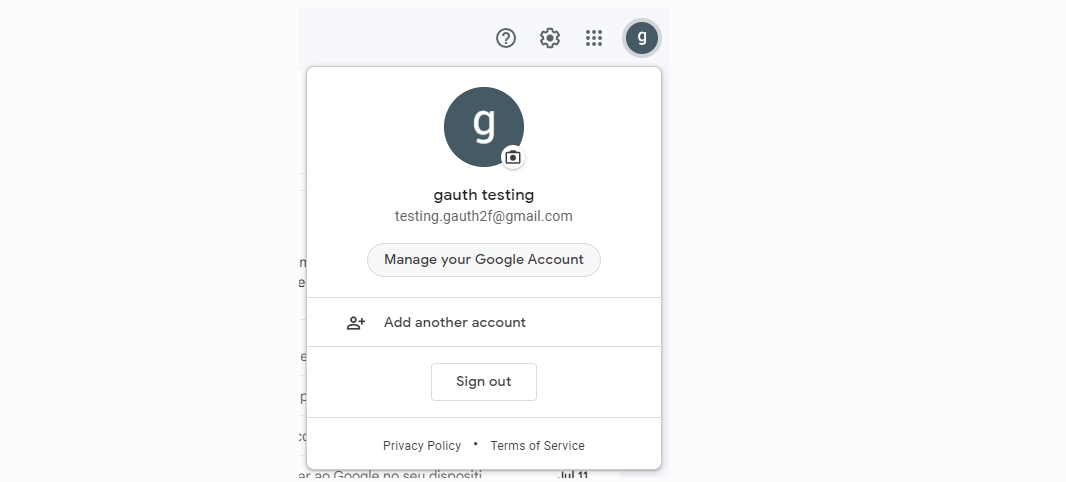
- Login to your Gmail account.
-
Click on “Manage your google account”.
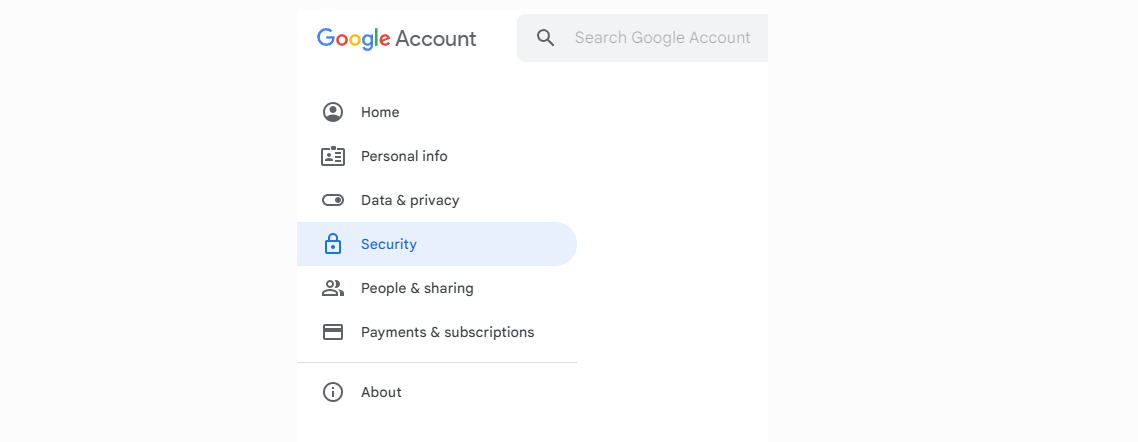
-
Click on “Security”.
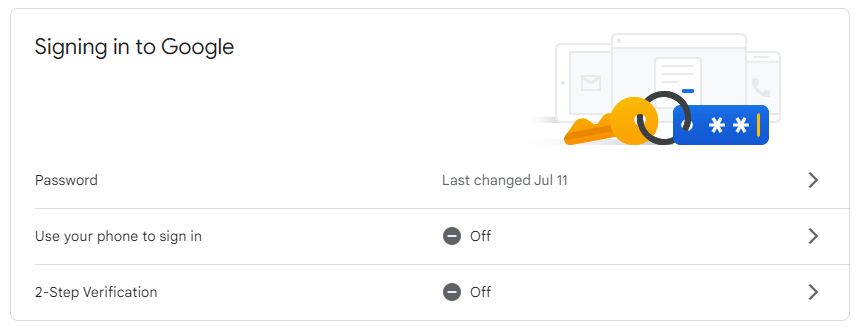
-
Click on “2-step verification”.
- Click on “Get started”.
- Enter your password again, if requested.
-
Select a phone number to receive the confirmation code.
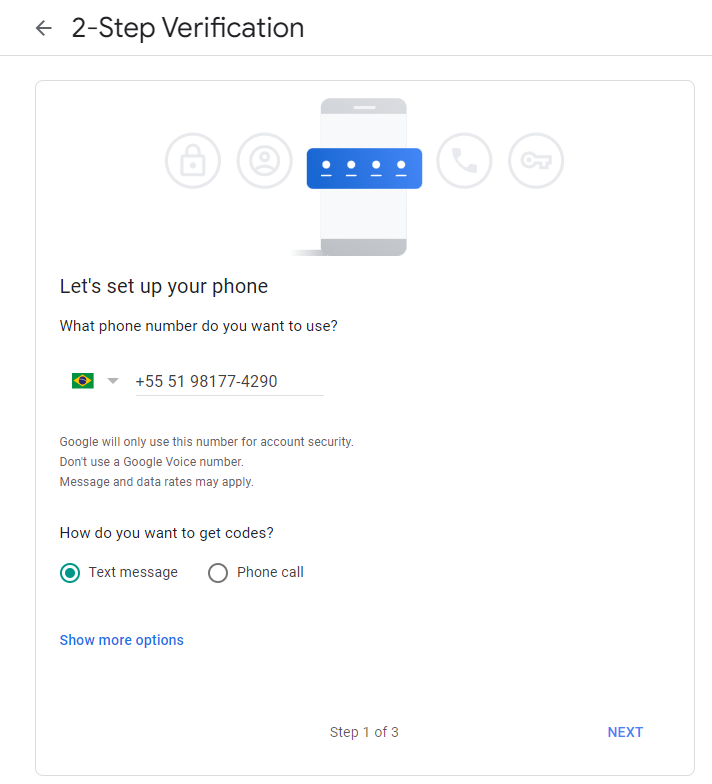
- Enter the code received in your phone.
- Click on “Turn on”. At this point, you enabled the 2 step verification for your Gmail account. Now we’ll procced to select the way to generate the code for 2FA.
-
Select “Autheticator App” in the list.
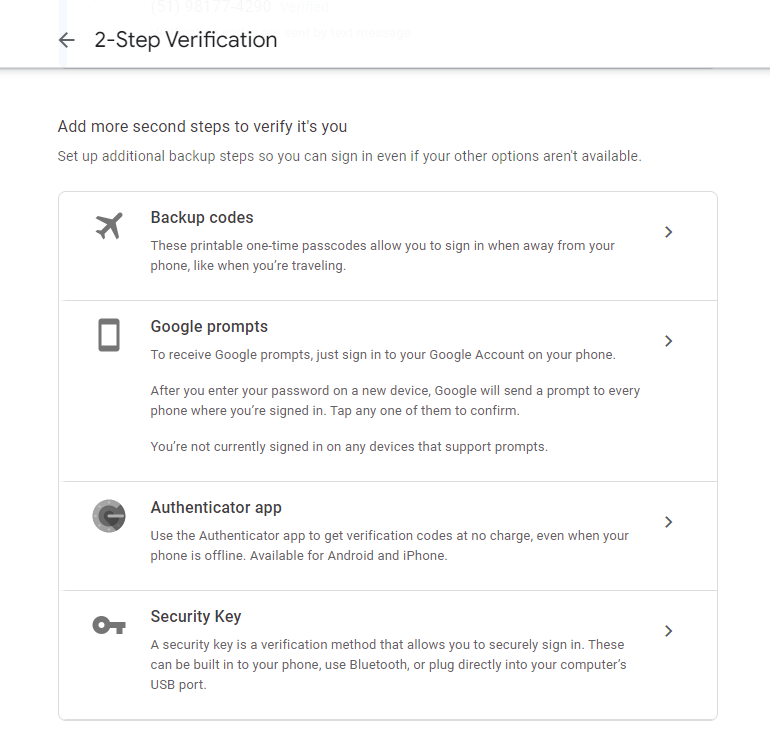
- Click on “Set up autheticator”.
-
A dialog with a QRcode will be displayed. You will need this QRcode to generate the code inside testRigor test cases. That way, capture the QRcode and save it to a file.
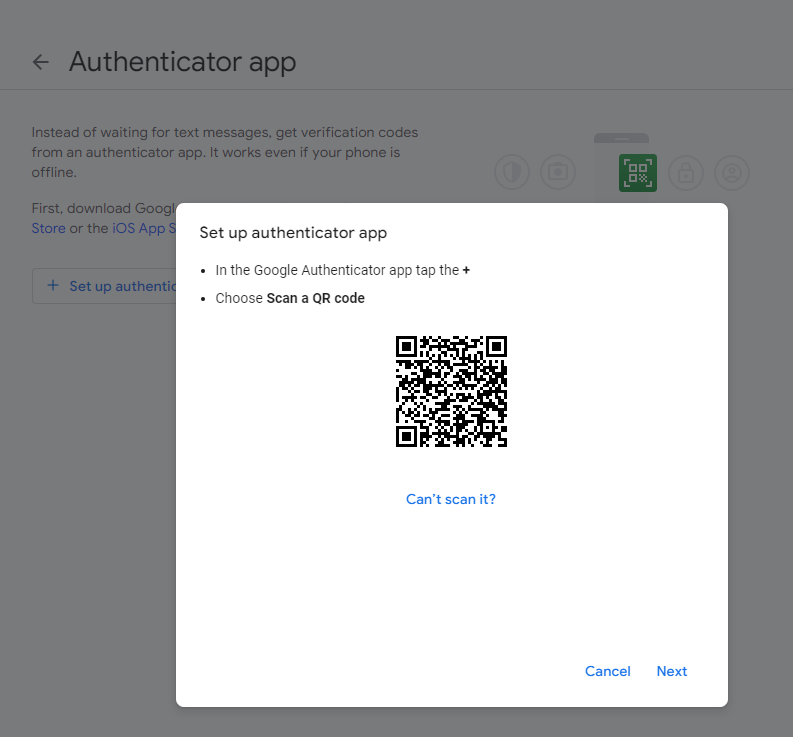
- After save the QRcode you must finalize the setup of authenticator with your cell phone. Download the “Authenticator app” in your cell phone and scan the QRcode.
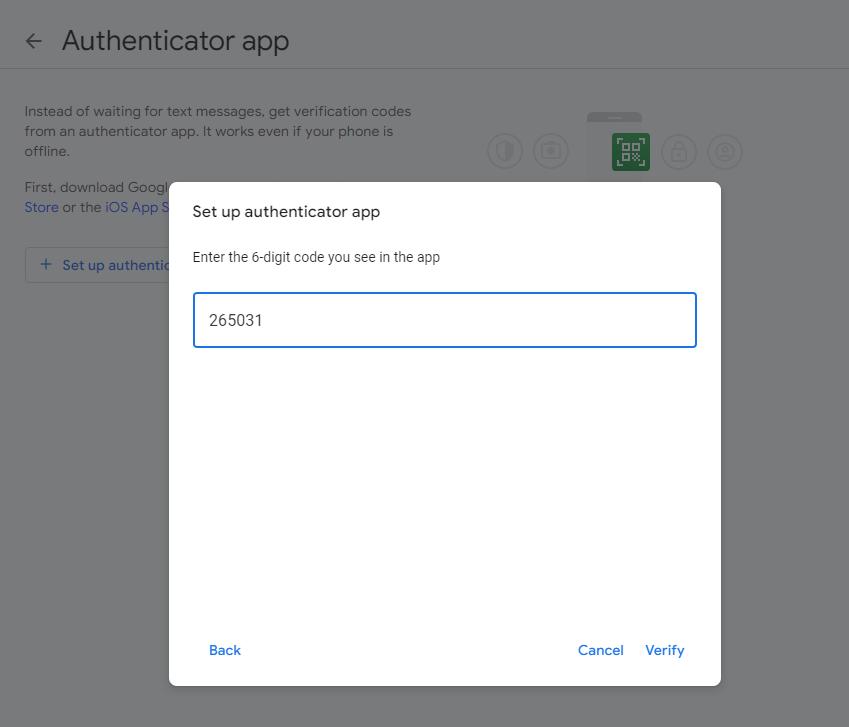
-
Click “Next” and enter the code generated in your cell phone app to finish the setup.
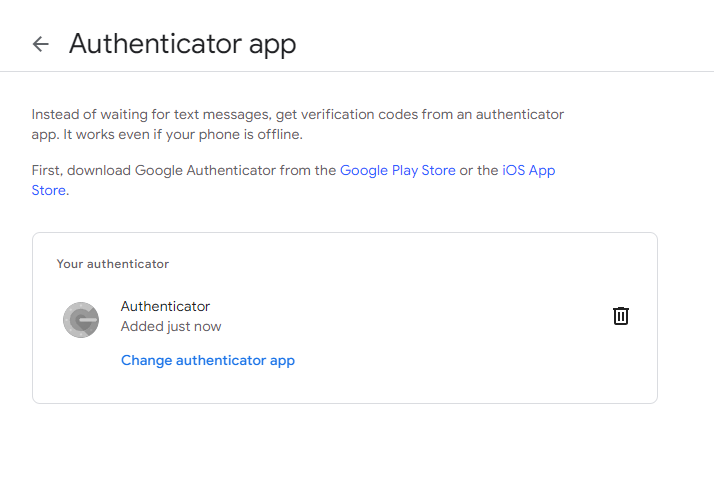
-
At this point, you finished the setup of 2-step verification and with the QRcode image saved in step 12 you will able to execute this type of authentication inside testRigor test cases.
Step Two- testRigor Setup
- Login to your testRigor account.
- Create or access the suite you want to test the authentication.
-
Click on “Test Data”.
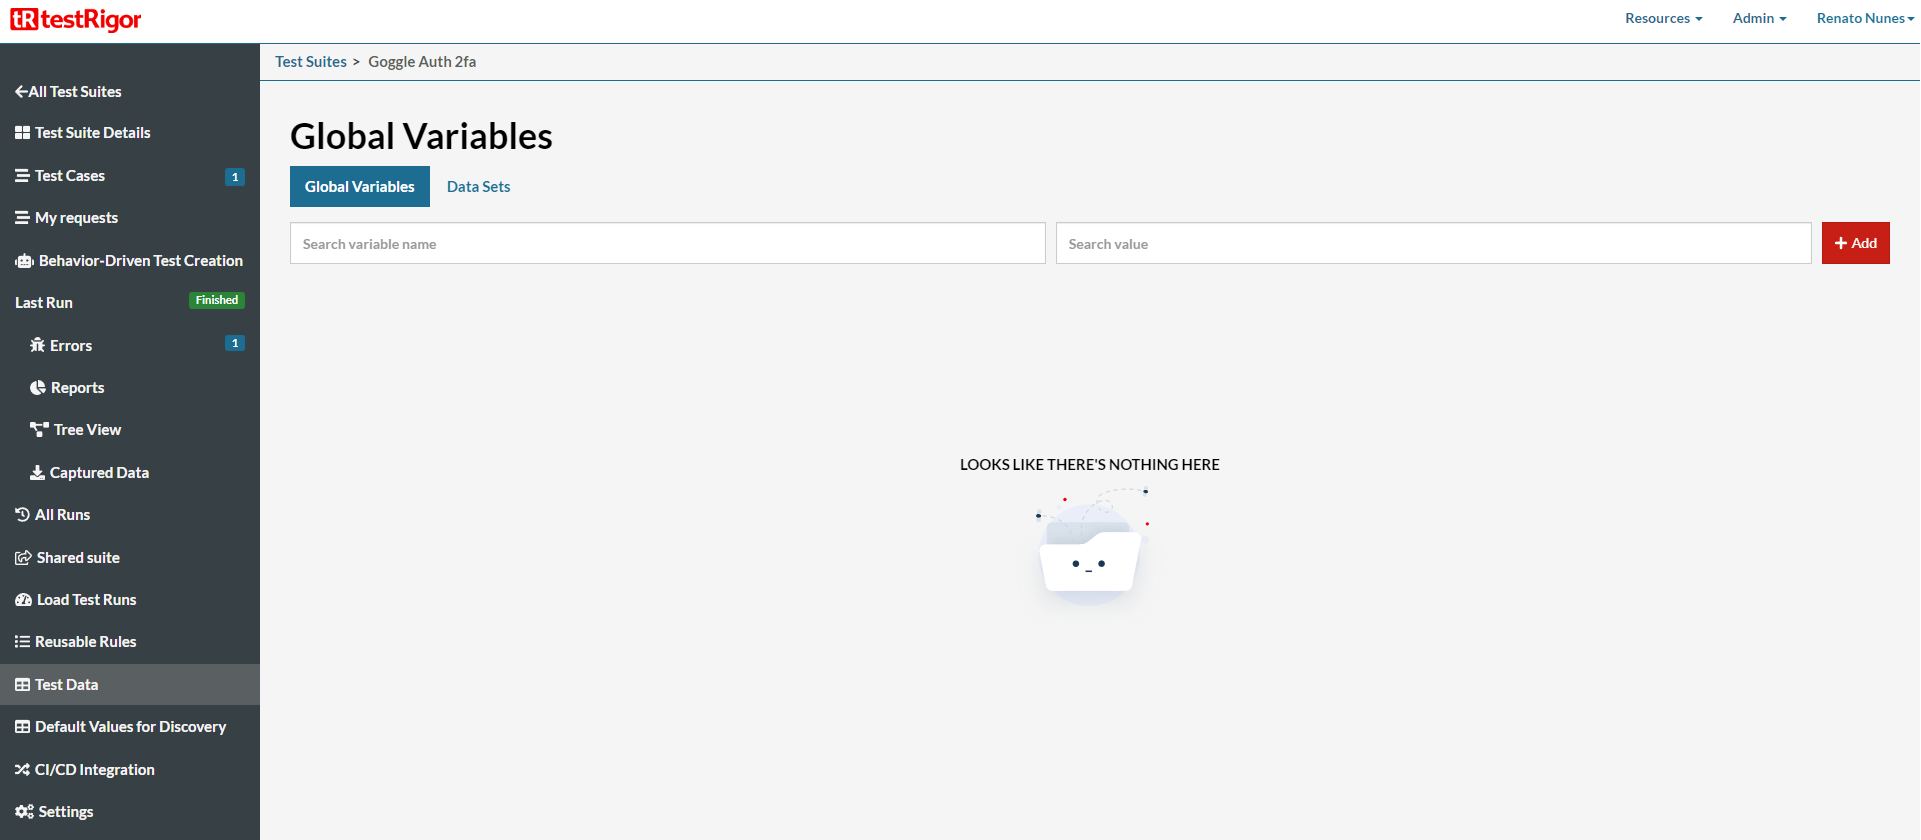
- Click on “Add”.
-
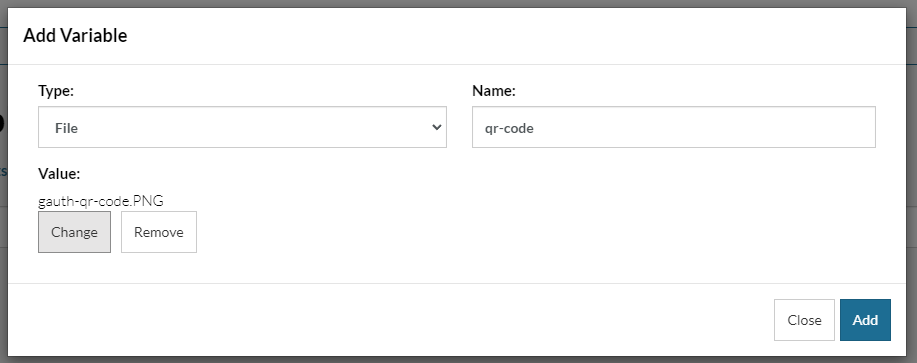
In type field select “File”, enter a name to reference the variable in test cases and upload the QRcode image.
- Now you are able to use the custom command to generate a code inside your test case. There are some examples of the command:
generate pin with google authenticator from stored value "qr-code" and save as "out-variable" generate code with google authenticator from stored value "qr-code" and save as "out-variable" generate google authenticator code from stored value "qr-code" and save as "out-variable" generate google authenticator pin from stored value "qr-code" and save as "out-variable" generate google code from stored value "qr-code" and save as "out-variable" generate google pin from stored value "qr-code" and save as "out-variable" - There’s a test case with simple Gmail login example: test case example
Video Reference
You can check all the steps in the video below:


