Guide to testRigor User Management (Enterprise Plans Only)
|
|
Managing user permissions are essential for to keeping team projects and organized. With testRigor, you can manage access to suites, server allocation, and team assignment. Let’s take a look at what our proprietary user management system has to offer.
First of all, to open the company page (only visible to Company Admins), click your username at the top right of the screen. Then, open the dropdown displayed upon and select Company.
Create Company Teams
Creating a team is important to determine what each collaborator in the company will have access to. Click Add Team to begin.

A popup to assign a name, the maximum number of servers, and the maximum number of test suites will appear. Teams with the server and test suite limits set to 0 will have access to all suites and servers.
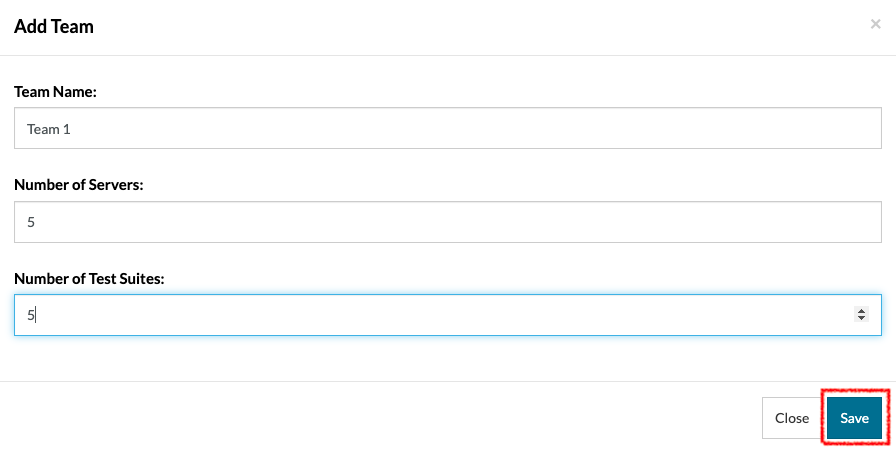
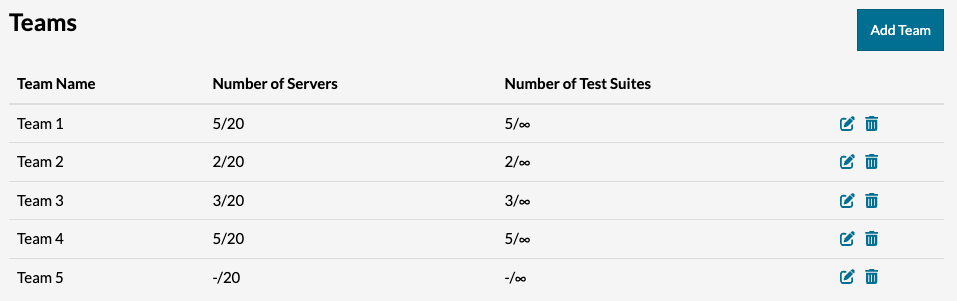
Once you have selected the desired settings, simply click Save. Repeat this process for as many teams as you need. Below, you can see an example of a company that has created 5 teams. Members of Team 5 will be able to see all test suites and use all servers available to the account.
Invite Collaborators
No matter if your invitee already has a testRigor account or or not, you can easily invite them to your account and control their permissions even they belong to a different organization.
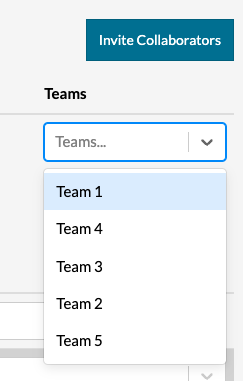
To do so, open the Company page and click the Invite Collaborators button in the Collaborators section. A pop-up window will ask for the email address of the desired collaborator. If you wish to invite more than one person, simply separate each email address with a comma.
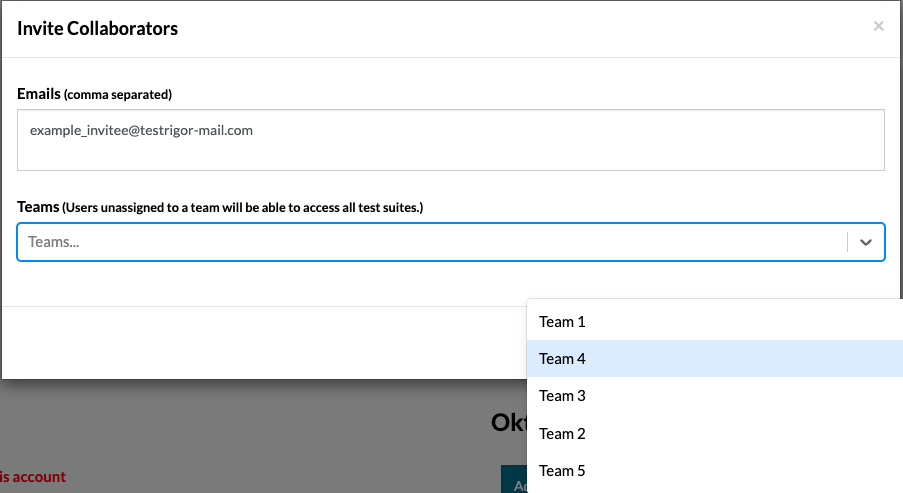
In the same pop-up, you will also have the option to assign a team to you invitee(s). Simply click the Teams dropdown below the field for emails and select one of the created teams. If the team for the invitee(s) has not yet been created, you can always do so later.
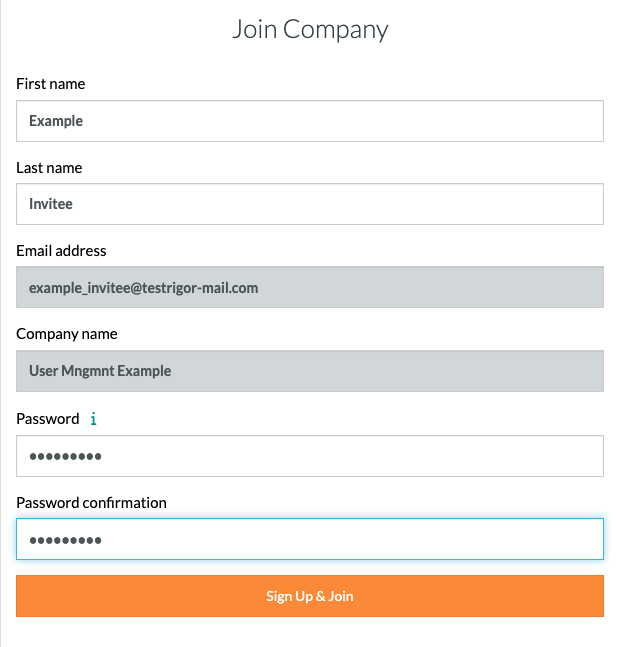
Once you have added all the invitee emails and selected the team(s), click the Invite button at the bottom right corner of the pop-up. Each invitee will receive an email that will take them to the sign up form below.
*Important note: It is not necessary to invite users who have emails with a domain that are SSO-enabled. They should be able to login without the sign-up form if your auth provider is either Google, Azure Active Directory or Okta.
Assign Members to Company Teams
You can organize company members into one or more teams. On the far right of the list of collaborators, there is a column with the header Teams. Here, you can select the teams that each member will be collaborating with.
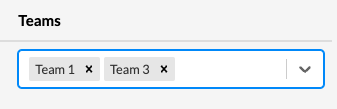
*Important note: Users unassigned to a team will have access to all suites and servers.
Assign Test Suites
Assign test suites to a specific team for their respective collaborators to be able to access them. You can do so in the Test Suites section on the Company page.
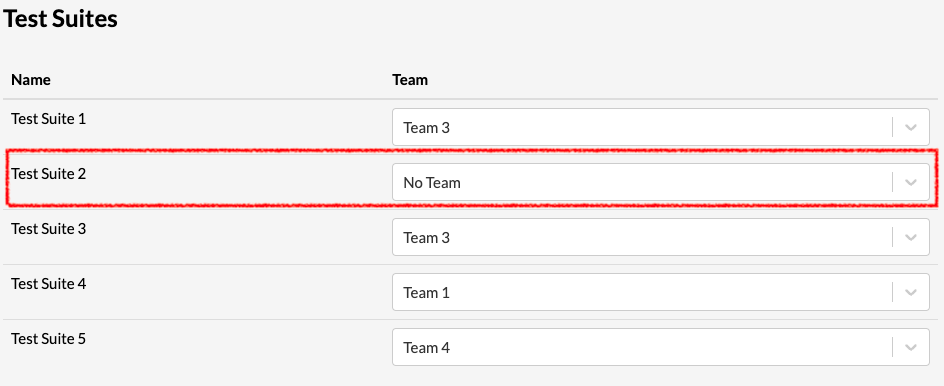
You can only assign a test suite to 1 team. If a test suite is assigned to No Team, only users unassigned to any team will be able to view it since they are able to see all suites regardless of team assignment.
Assign Company Roles
Company Admins can delegate admin privileges to different users. In the Collaborator section, you will find a column called Roles.
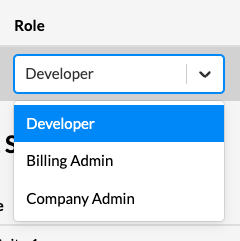
Only a Company Admin will be able to access the company page. The option will not appear for Billing Admins and Developers. Even Company Admins assigned to specific teams will not be able to access other suites; however, keep in mind that whoever is granted this role will be able to edit this setting for themselves.
Edit/Delete Teams
On the right side of the Teams section, you will find icons to edit a Team. The steps to edit the team name, number of servers, and number of test suites are identical to the steps for adding a team.
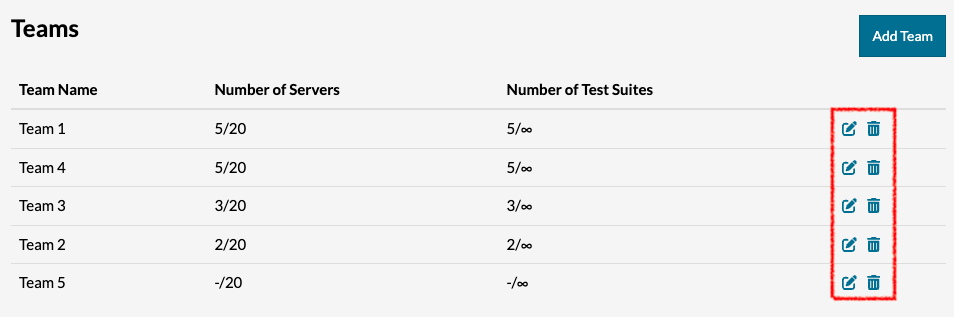
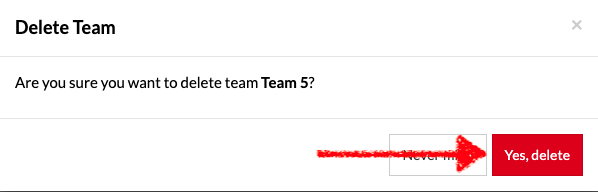
You can also delete a team; but to do so, all members of the team must be removed as well as any test suites assigned to that team. Once the team has been unassociated with members and test suites, simply click the trash can icon that corresponds to that team and confirm in the pop-up that you wish to delete.