How to work with tables using testRigor?
|
|
Tables can appear on the website when search data are populated, financial planning tools/ inventory management systems are used, or during CRUD operations via UI, etc.
Let’s see how we can work with tables using testRigor. For this tutorial, we will take a sample website with a table, and we can go with different operations that can be performed on it.
So, let’s start with the prerequisites.
Step 1: Log in to your testRigor app with your credentials.
Step 2: Set up the test suite for the website testing by providing the information below:
- Test Suite Name: Provide a relevant and self-explanatory name.
- Type of testing: Select from the following options: Desktop Web Testing, Mobile Web Testing, Native and Hybrid Mobile, based on your test requirements.
- URL to run test on: Provide the application URL you want to test.
- Testing credentials for your web/mobile app to test functionality which requires user to login: You can provide the app’s user login credentials here and need not write them separately in the test steps then. The login functionality will be taken care of automatically using the keyword login. Filling out this field is optional and not mandatory.
- OS and Browser: Choose the OS Browser combination on which you want to run the test cases.
- Number of test cases to generate using AI: You can simplify your test creation further by opting to generate test cases based on the App Description text. This feature works on generative AI.

Step 3: Click on Create Test Suite.
On the next screen, you can let AI generate the test case based on your provided app description while creating the Test Suite. However, for now, select do not generate any test, since we will write the test steps ourselves.
Step 4: To create a new custom test case, click Add Custom Test Case.

Step 5: Provide the test case Description and add the test steps.
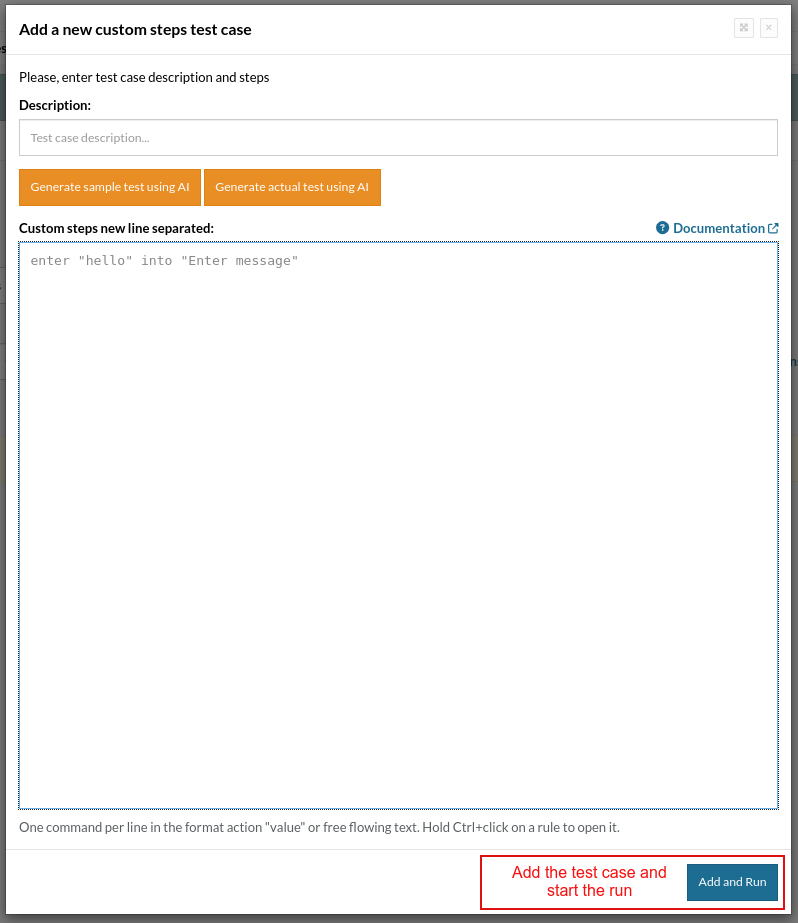
Test Case: Validation, Input Data, and Aggregation in Tables
You can refer to table cells by the intersection of the row and column by providing the value of the first cell in the row and the value of the header/top cell in the column. We are writing the test case based on the sample table provided on this website.
Step 1: We will add test steps in the test case editor screen.
testRigor automatically navigates to the website URL you provided during the Test Suite creation. There is no need to use any separate function for it. Here is the website homepage, which we intend to test.

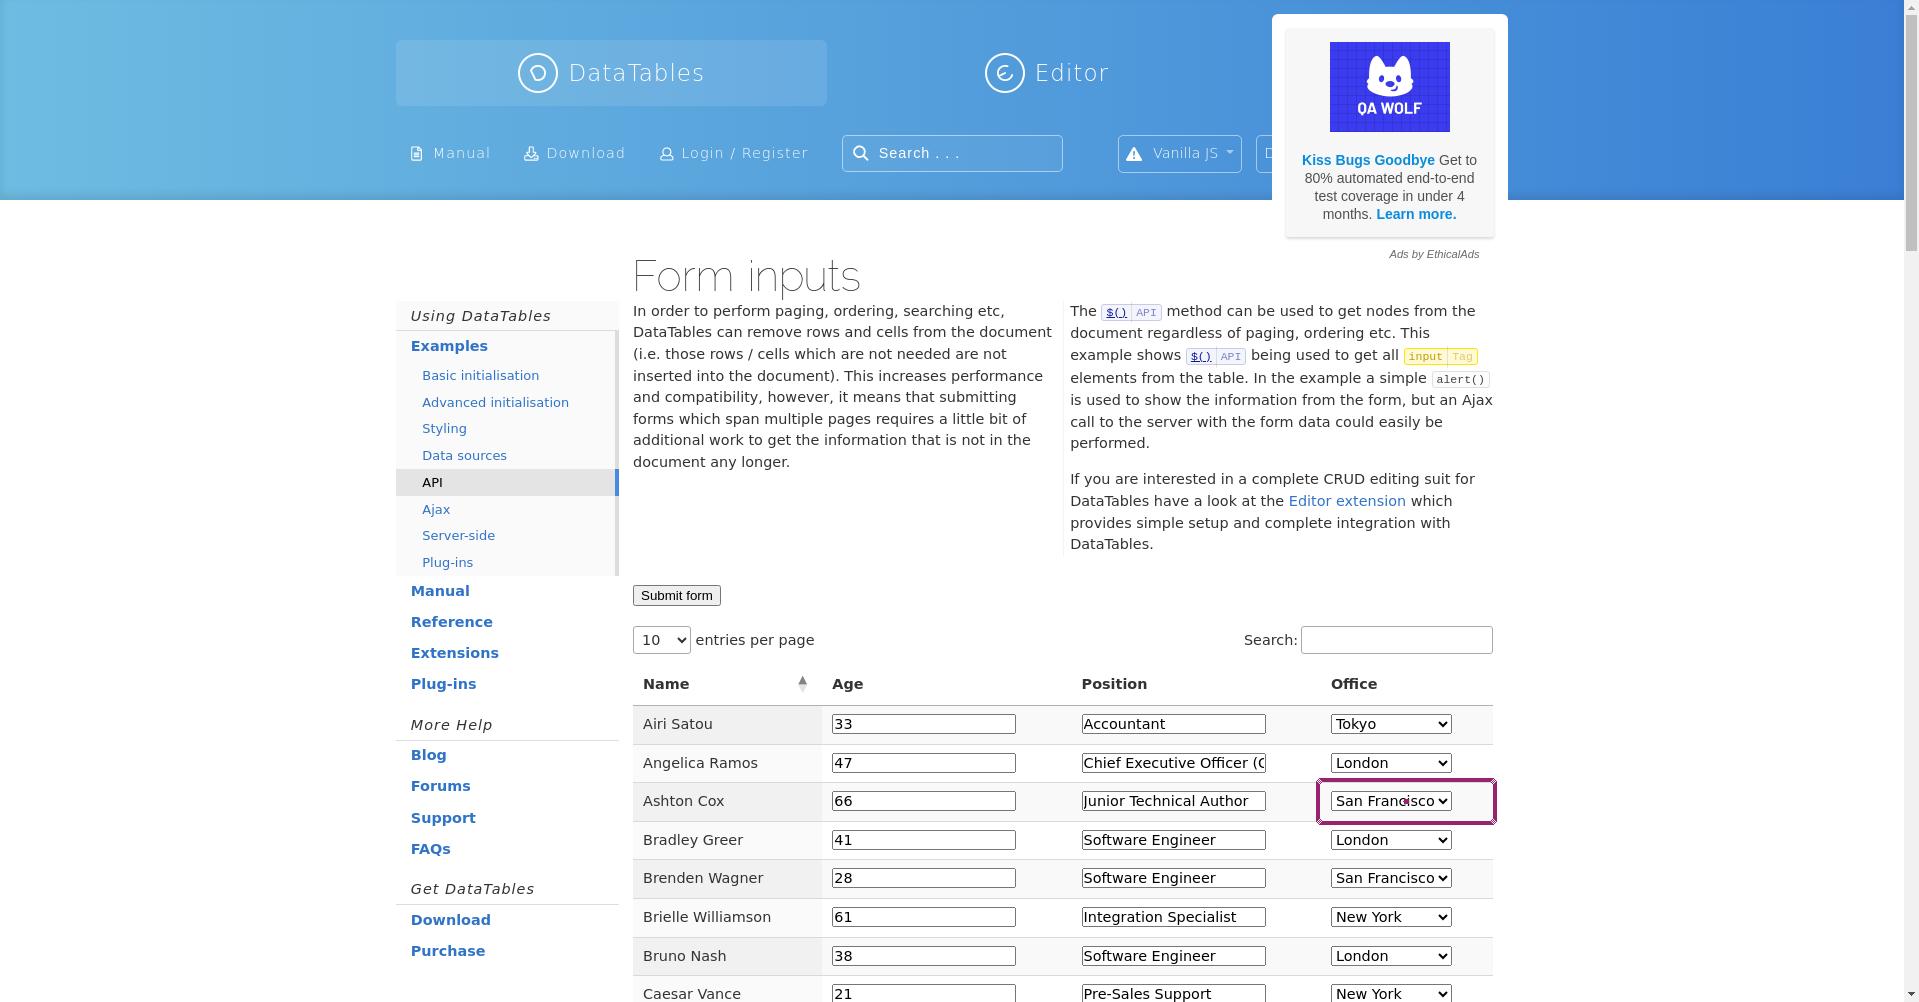
Step 2: For example, we want to click the “Office” drop-down, in the row with the “Name” value “Ashton Cox“.
click on table "example" at row "Ashton Cox" and column "Office".
In the below picture, It clicked the Office drop-down corresponding to the mentioned Row.
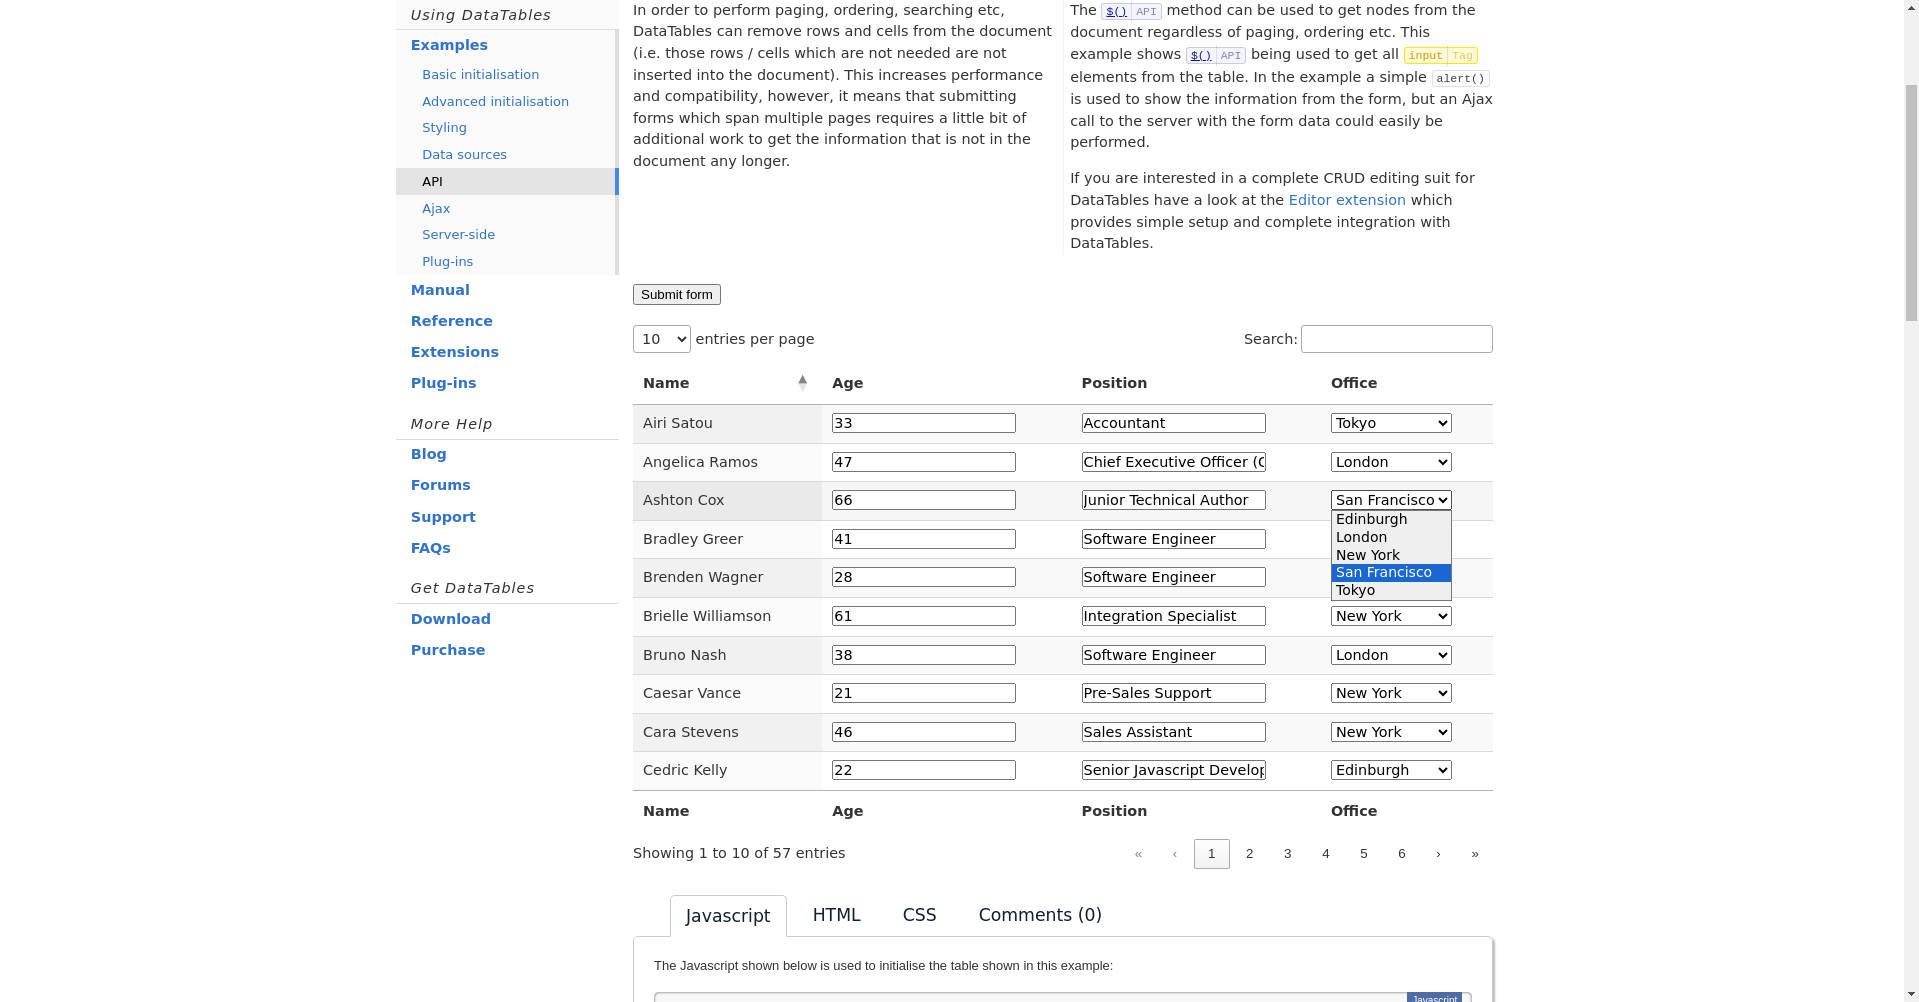
In the screenshot below, we can see the dropdown has been opened.
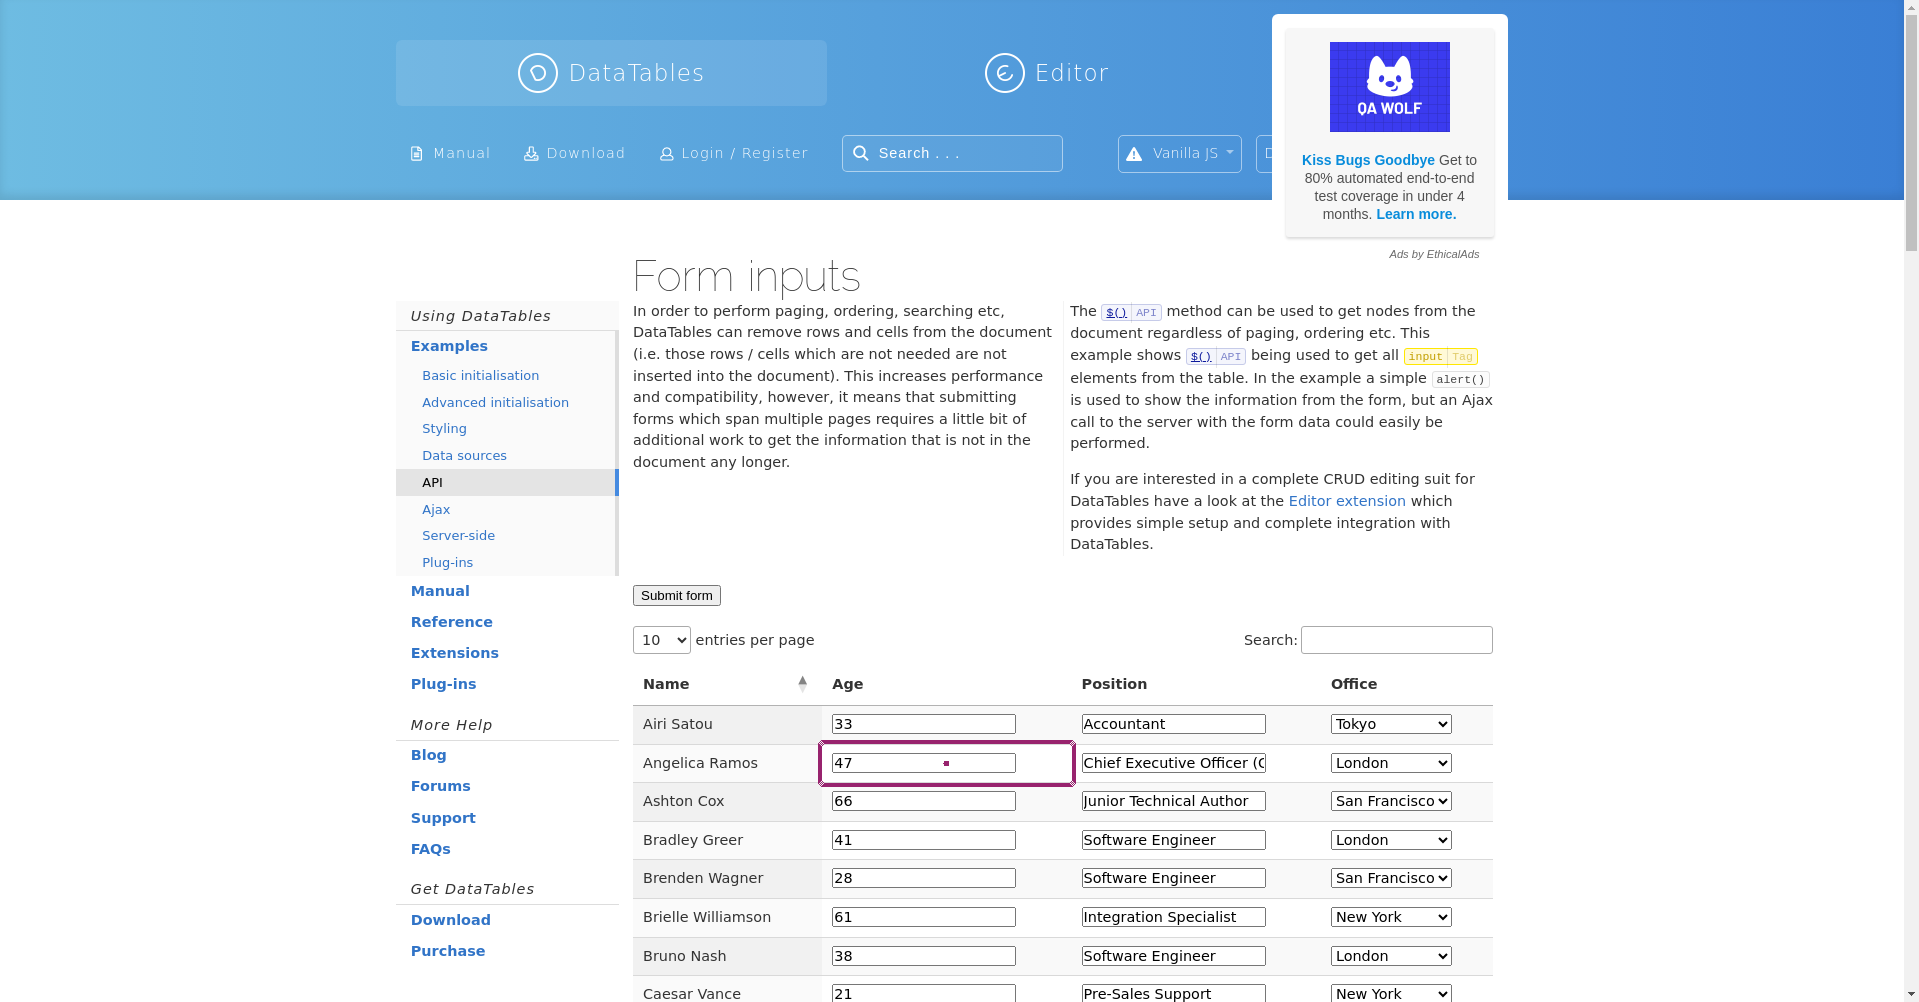
click on table "example" at second row and column "Age".
enter "Marketing Manager" into table "example" at row "Airi Satou" and column "Position"
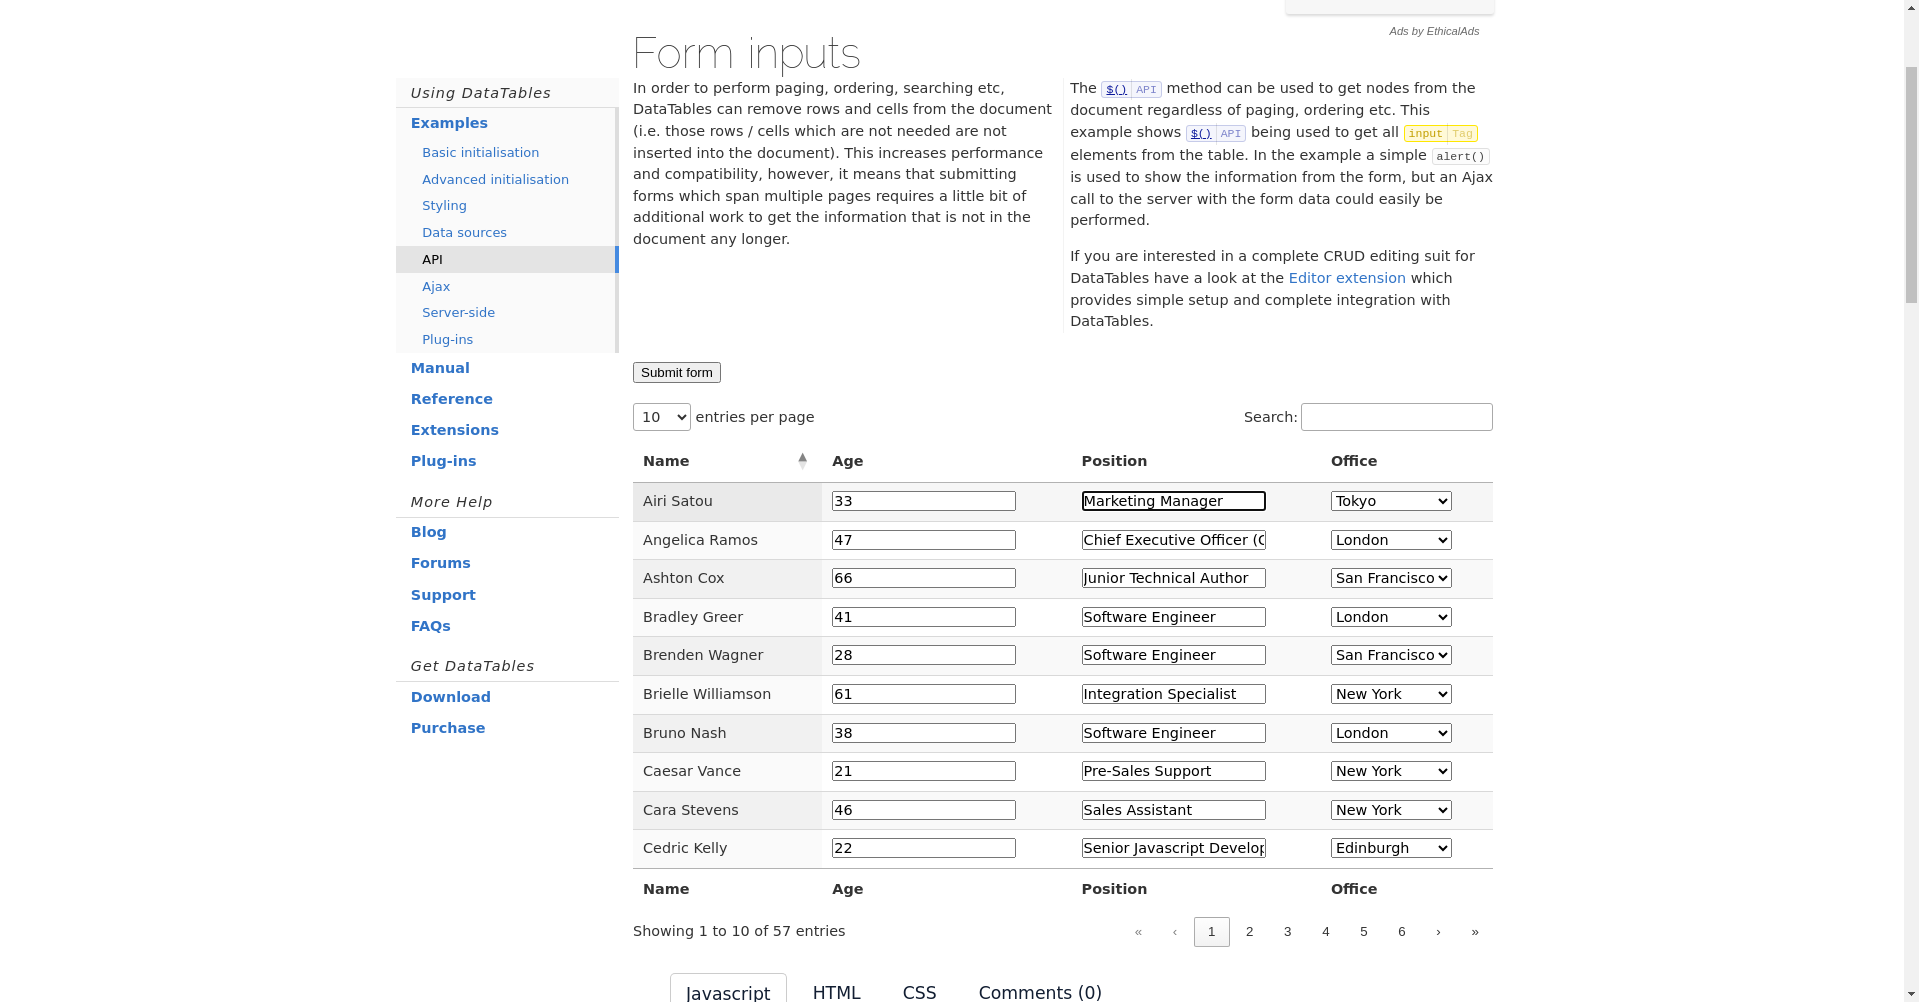
testRigor supports tables for all kinds of operations, including but not limited to: validations (checks), clicks, hover, entering data (enter … into), drag and drop, etc.
check that table "example" at fourth row and column "Name" contains "Bradley Greer"
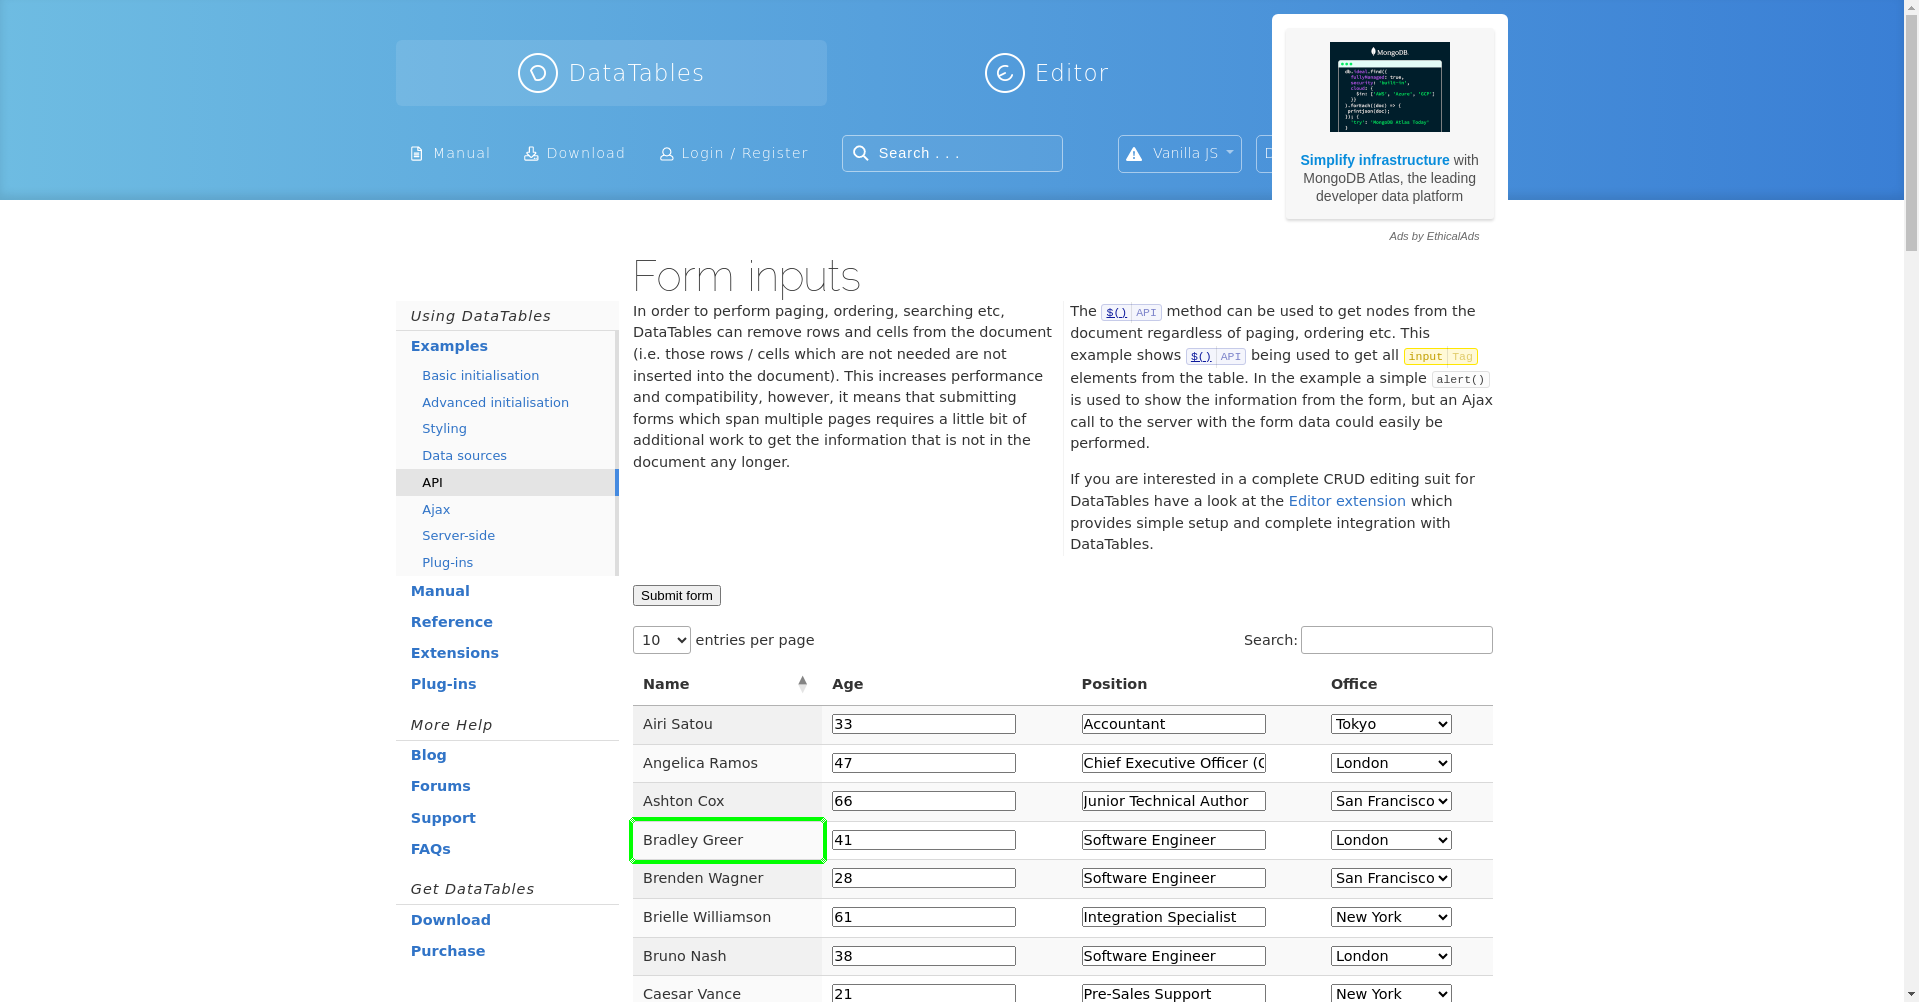
Now let’s try Sorting, Counting, Sum, and Average operations in tables.
check that table "example" at column "Name" has values sorted in ascending order
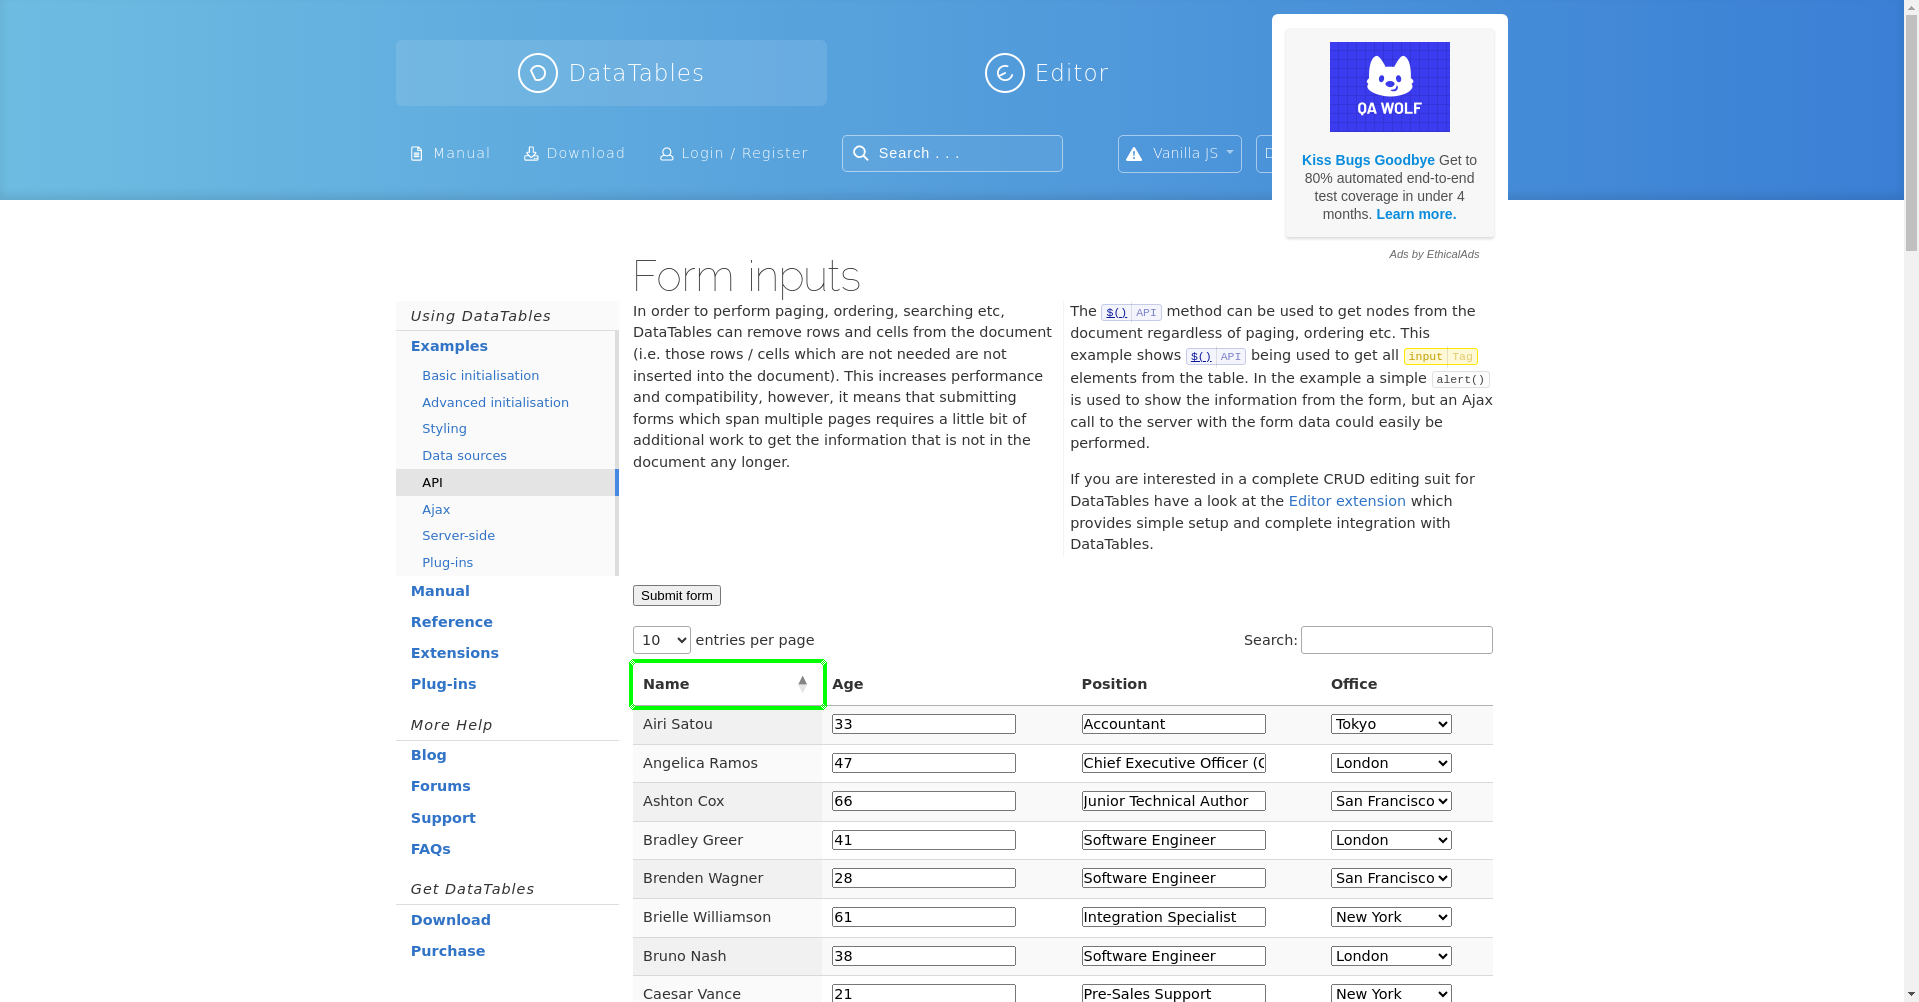
check that table "example" at column "Age" the value count is greater than "5"
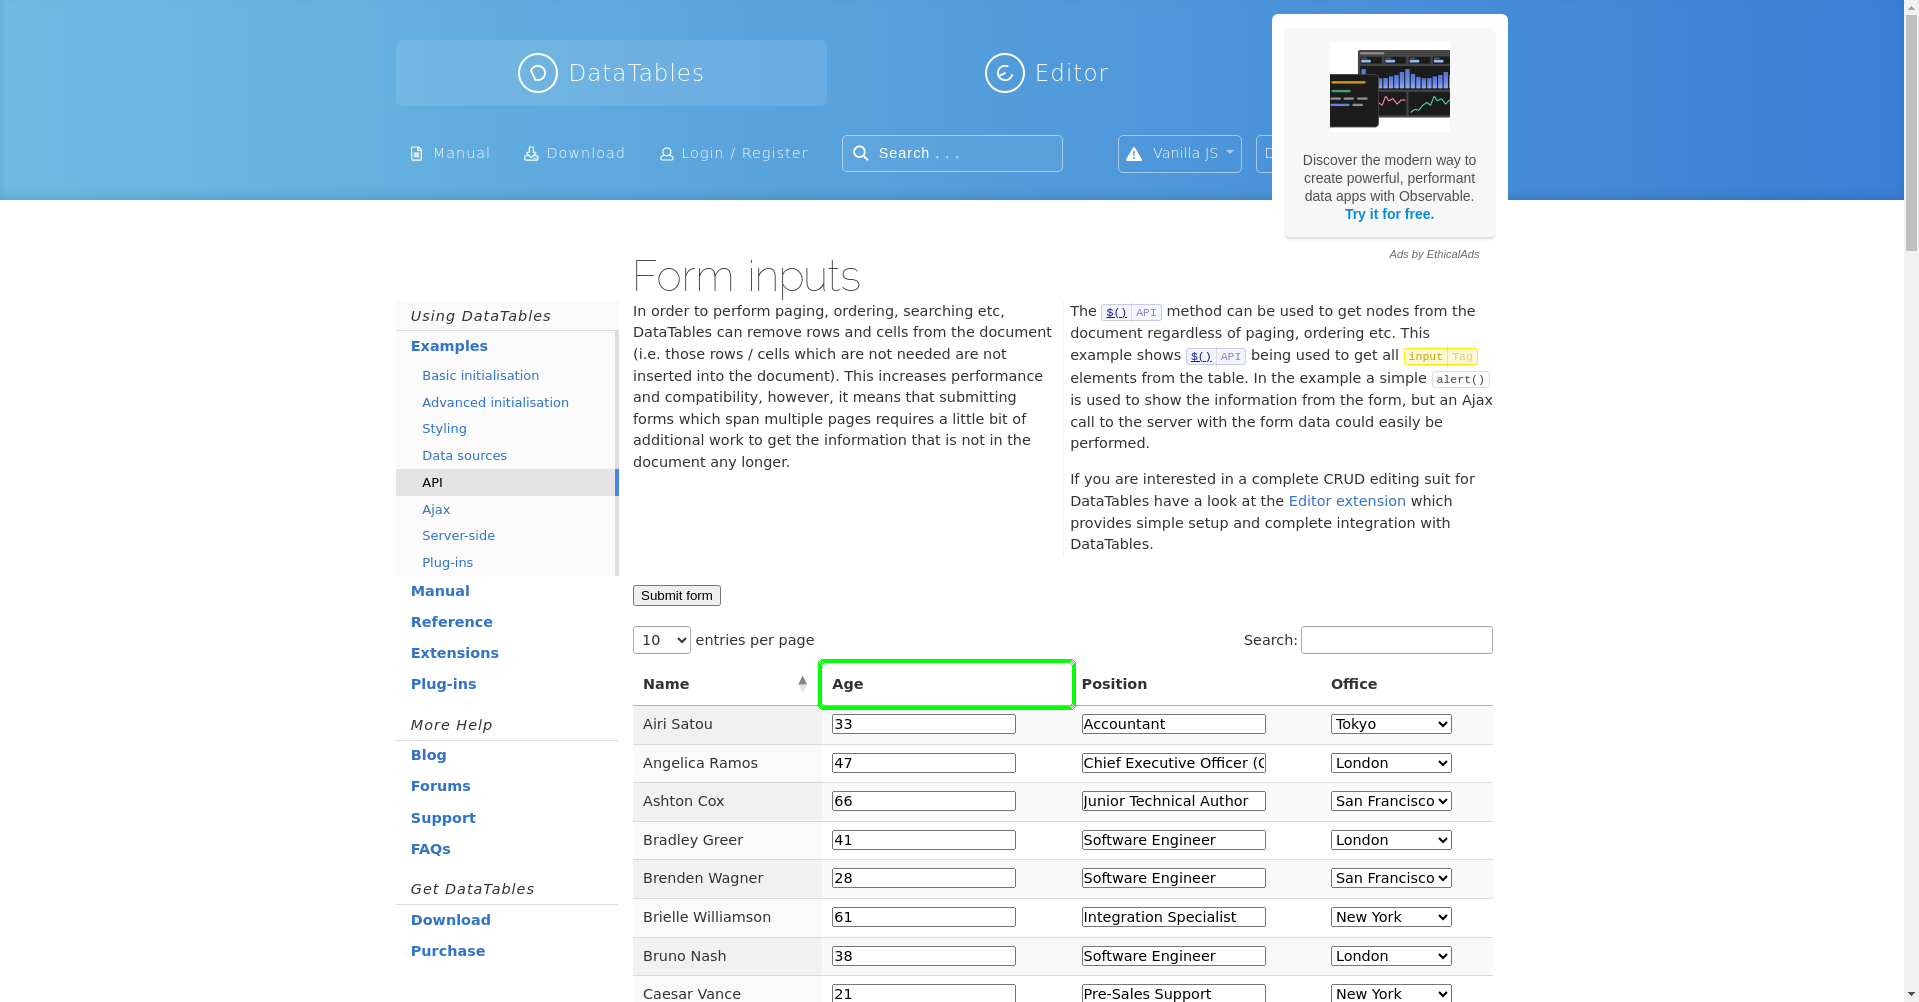
check that table "example" at column "Age" the sum of values is greater than "300"
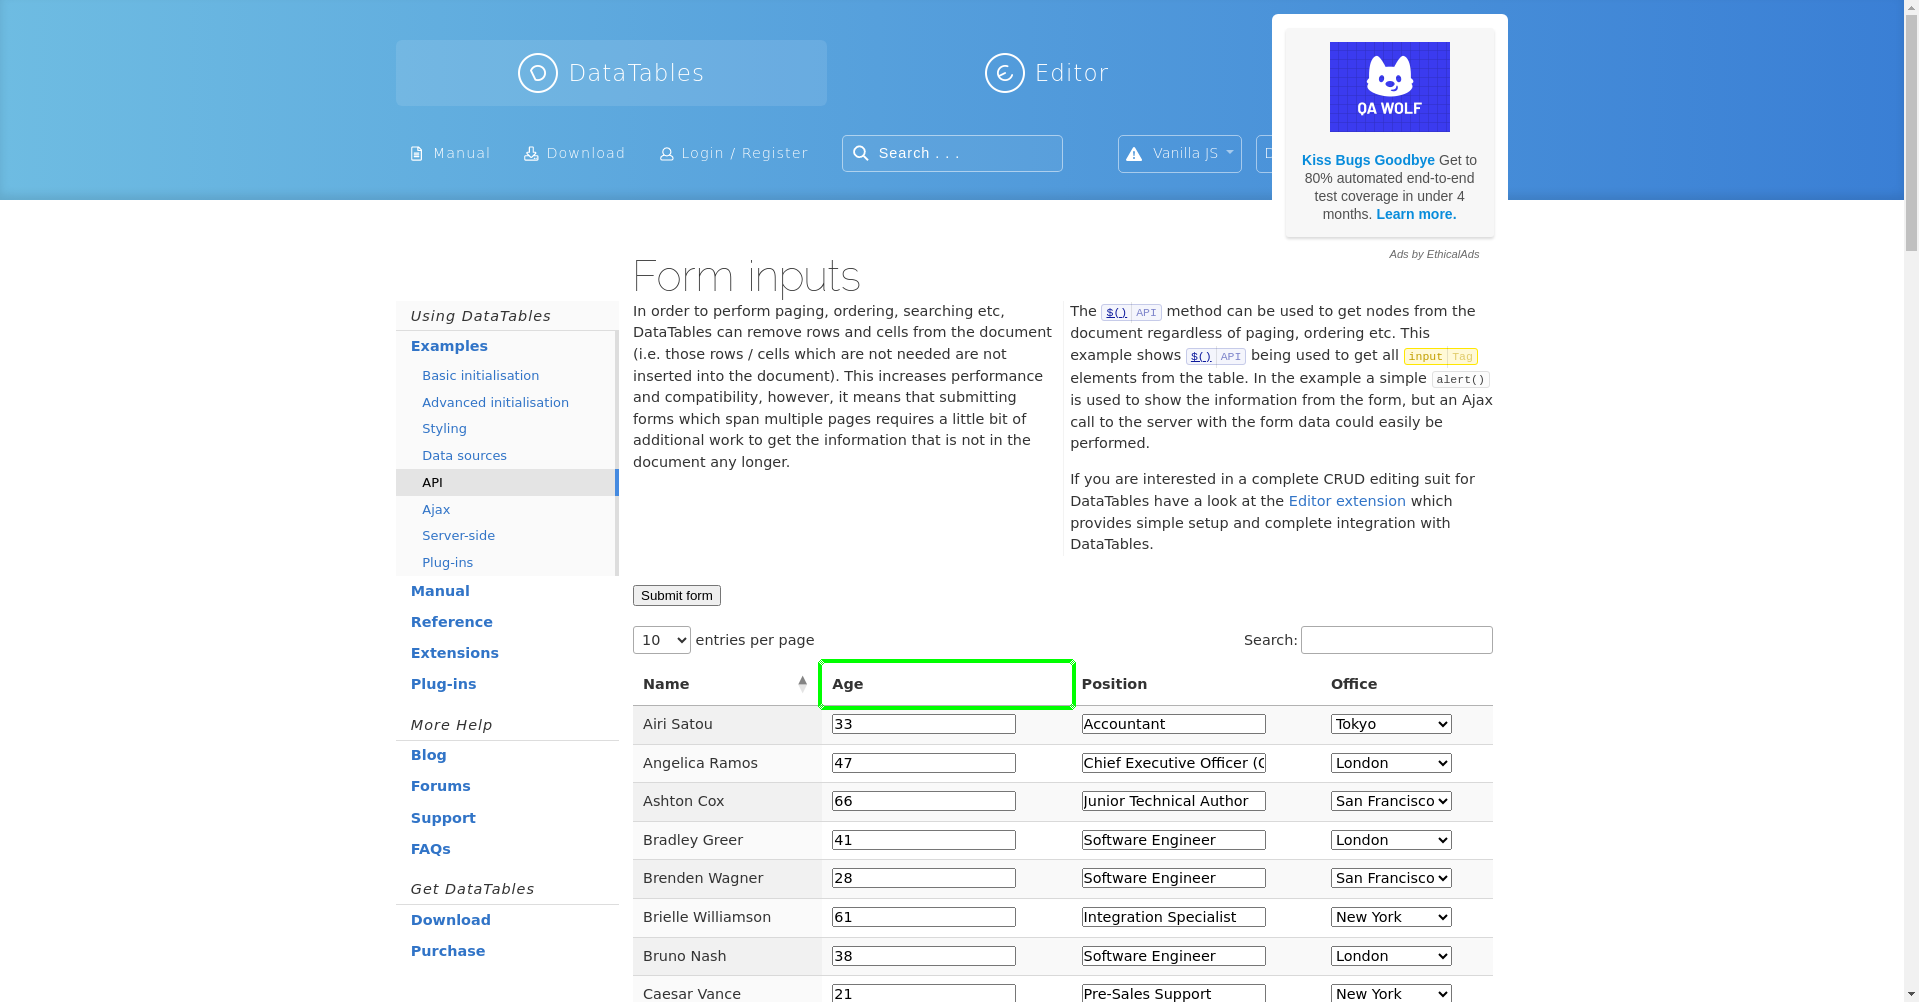
check that table "example" at column "Age" the average of values is greater than "25"
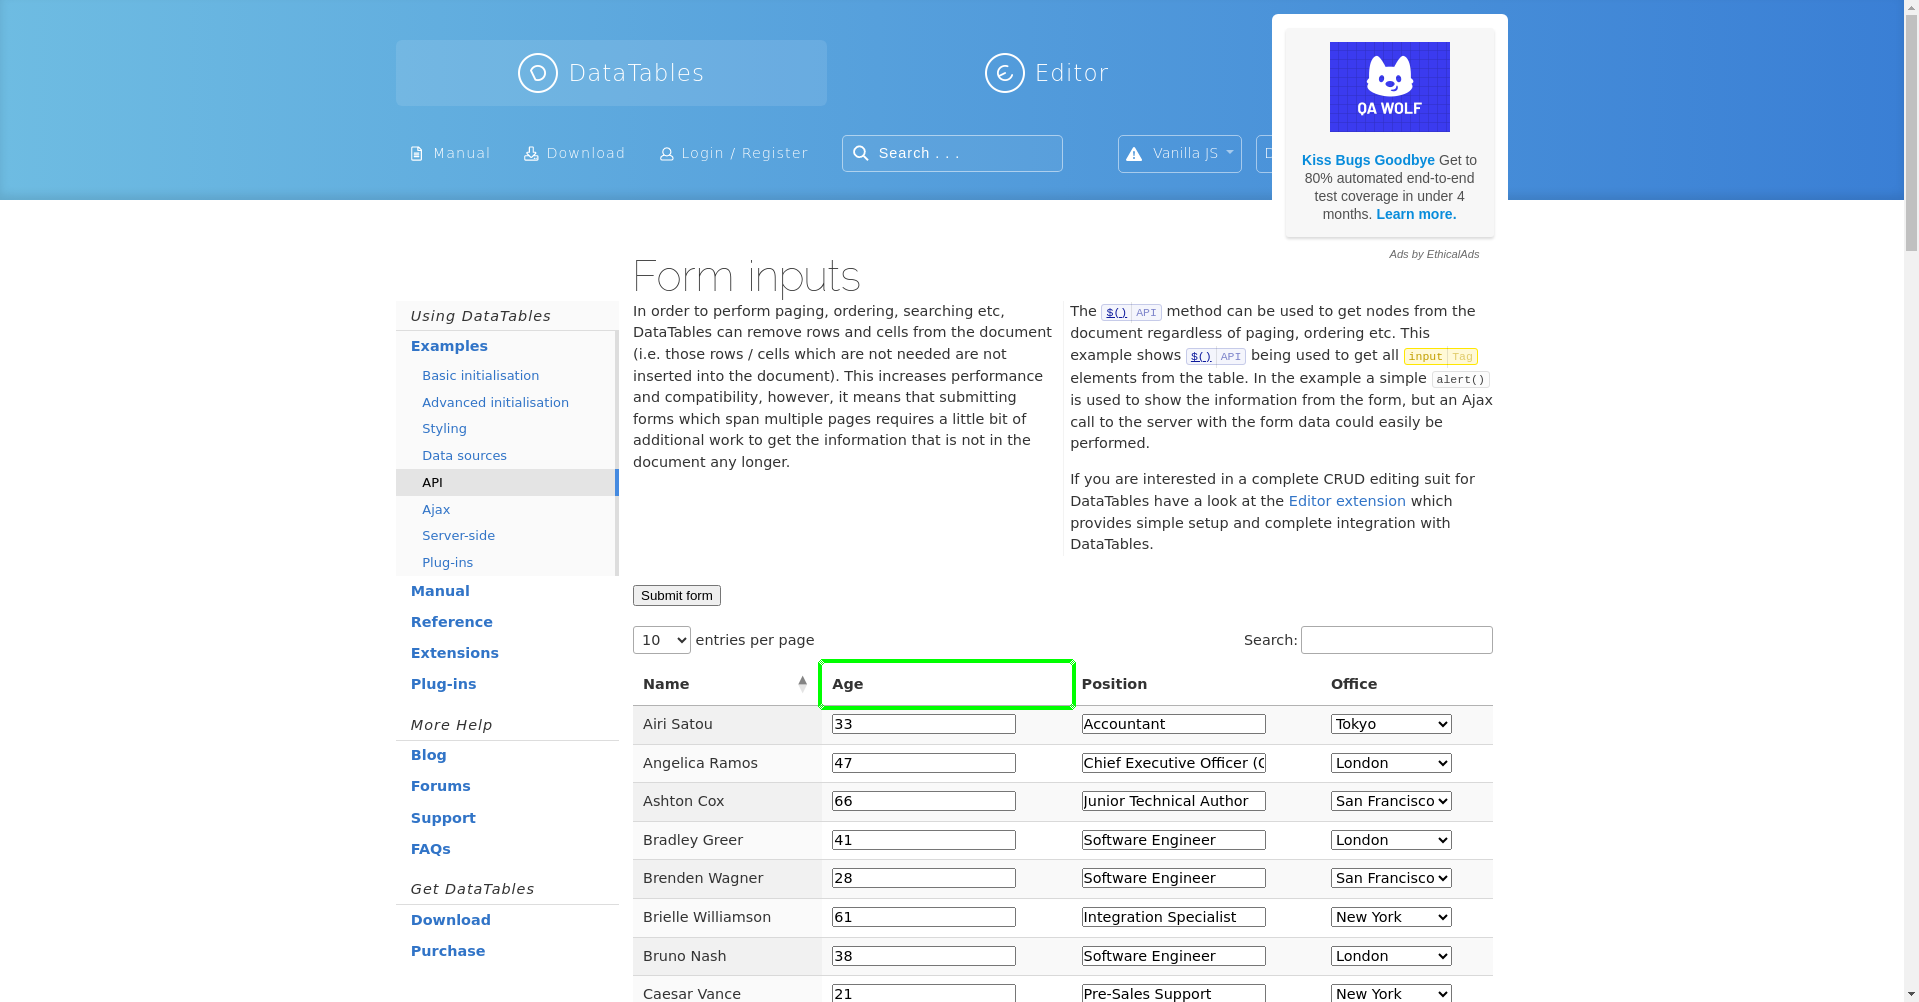
Complete Test Case
Here is how the complete test case will look in the testRigor app. The test steps are simple in plain English, enabling everyone in your team to write and execute them.
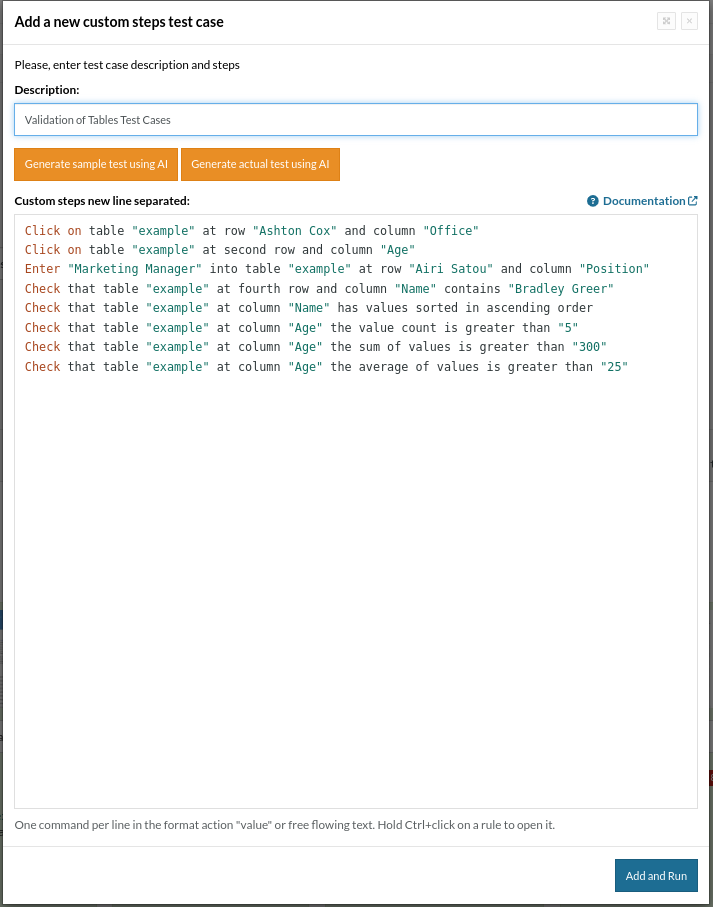
Click Add and Run.
Execution Results
Once the test is executed, you can view the execution details, such as execution status, time spent in execution, screenshots, error messages, logs, video recordings of the test execution, etc. In case of any failure, there are logs and error text that are available easily in a few clicks.
You can also download the complete execution with steps and screenshots in PDF or Word format through the ‘View Execution‘ option.
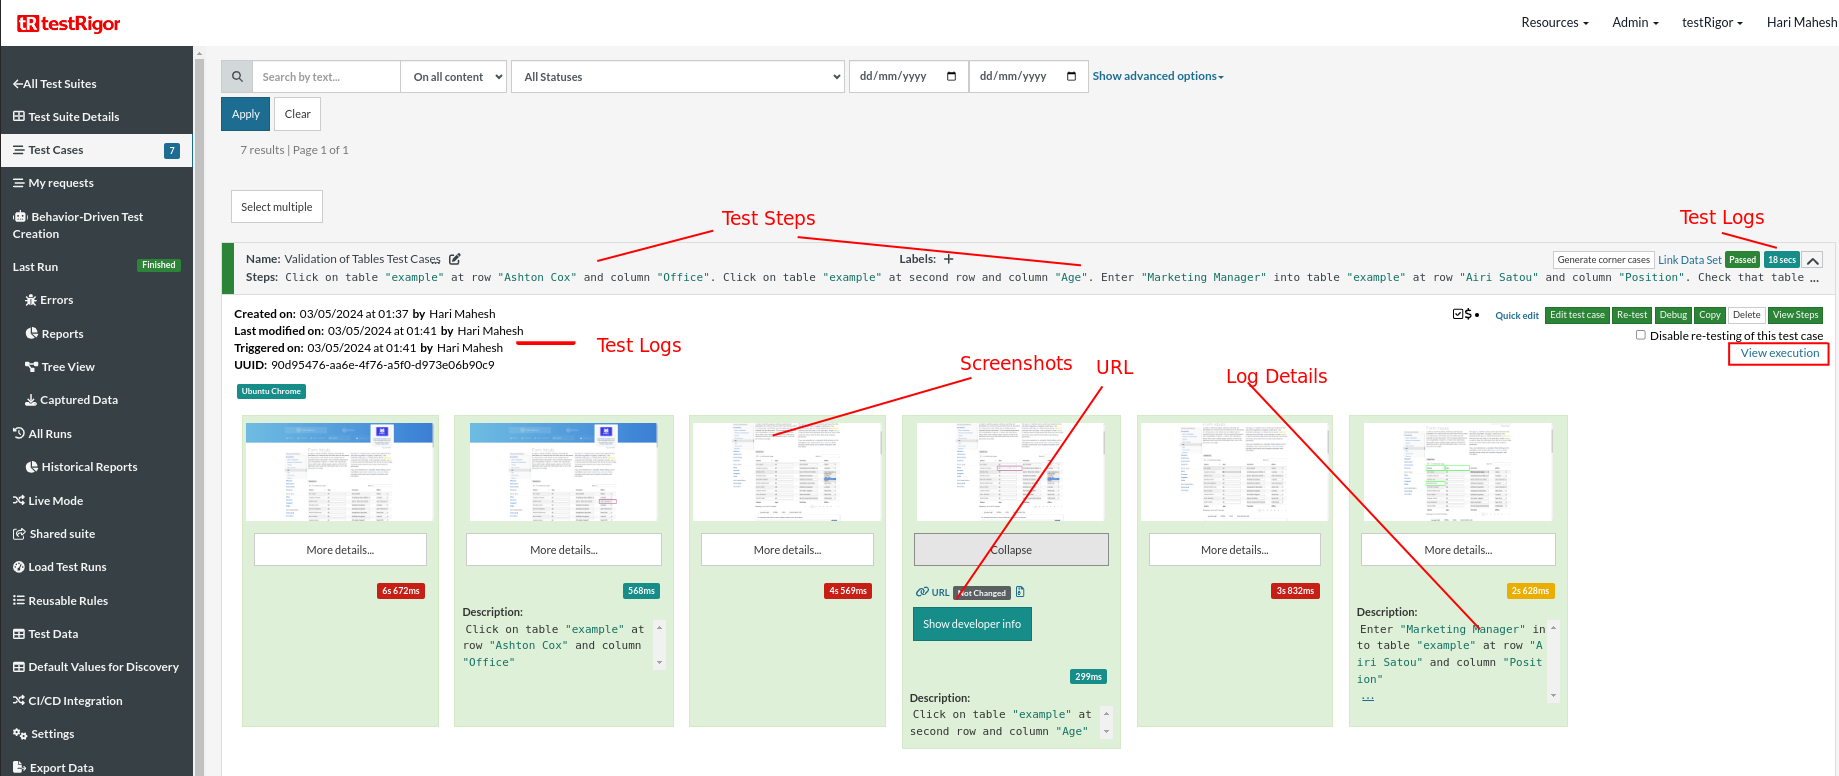
testRigor’s Capabilities
Apart from the simplistic test case design and execution, there are some advanced features that help you test your application using simple English commands.
- Reusable Rules (Subroutines): You can easily create functions for the test steps that you use repeatedly. You can use the Reusable Rules to create such functions and call them in test cases by simply writing their names. See the example of Reusable Rules.
- Global Variables and Data Sets: You can import data from external files or create your own global variables and data sets in testRigor to use them in data-driven testing.
- 2FA, QR Code, and Captcha Resolution: testRigor easily manages the 2FA, QR Code, and Captcha resolution through its simple English commands.
- Email, Phone Call, and SMS Testing: Use simple English commands to test the email, phone calls, and SMS. These commands are helpful for validating 2FA scenarios, with OTPs and authentication codes being sent to email, phone calls, or via phone text.
- File Upload/ Download Testing: Execute the test steps involving file download or file upload without the requirement of any third-party software. You can also validate the contents of the files using testRigor’s simple English commands.
- Database Testing: Execute database queries and validate the results fetched.
testRigor enables you to test web, mobile (hybrid, native), API, and desktop apps with minimum effort and maintenance.
Additional Resources
- Access testRigor documentation to learn about more valuable capabilities
- Top testRigor’s features
- How to perform end-to-end testing using testRigor
- How to do file testing using testRigor
| Achieve More Than 90% Test Automation | |
| Step by Step Walkthroughs and Help | |
| 14 Day Free Trial, Cancel Anytime |


