How to use AI effectively in QA
|
|
Our Gen AI-based test case automation tool has implemented many ways to take advantage of using AI.
Generative
-
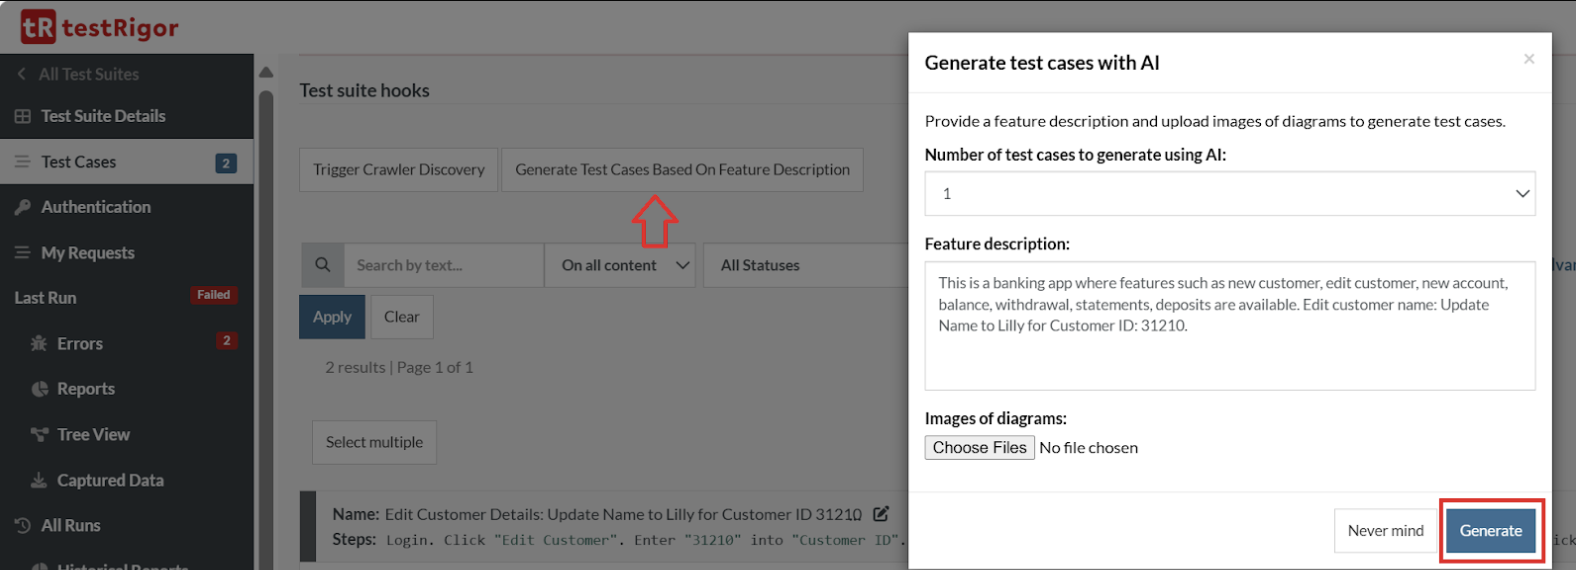
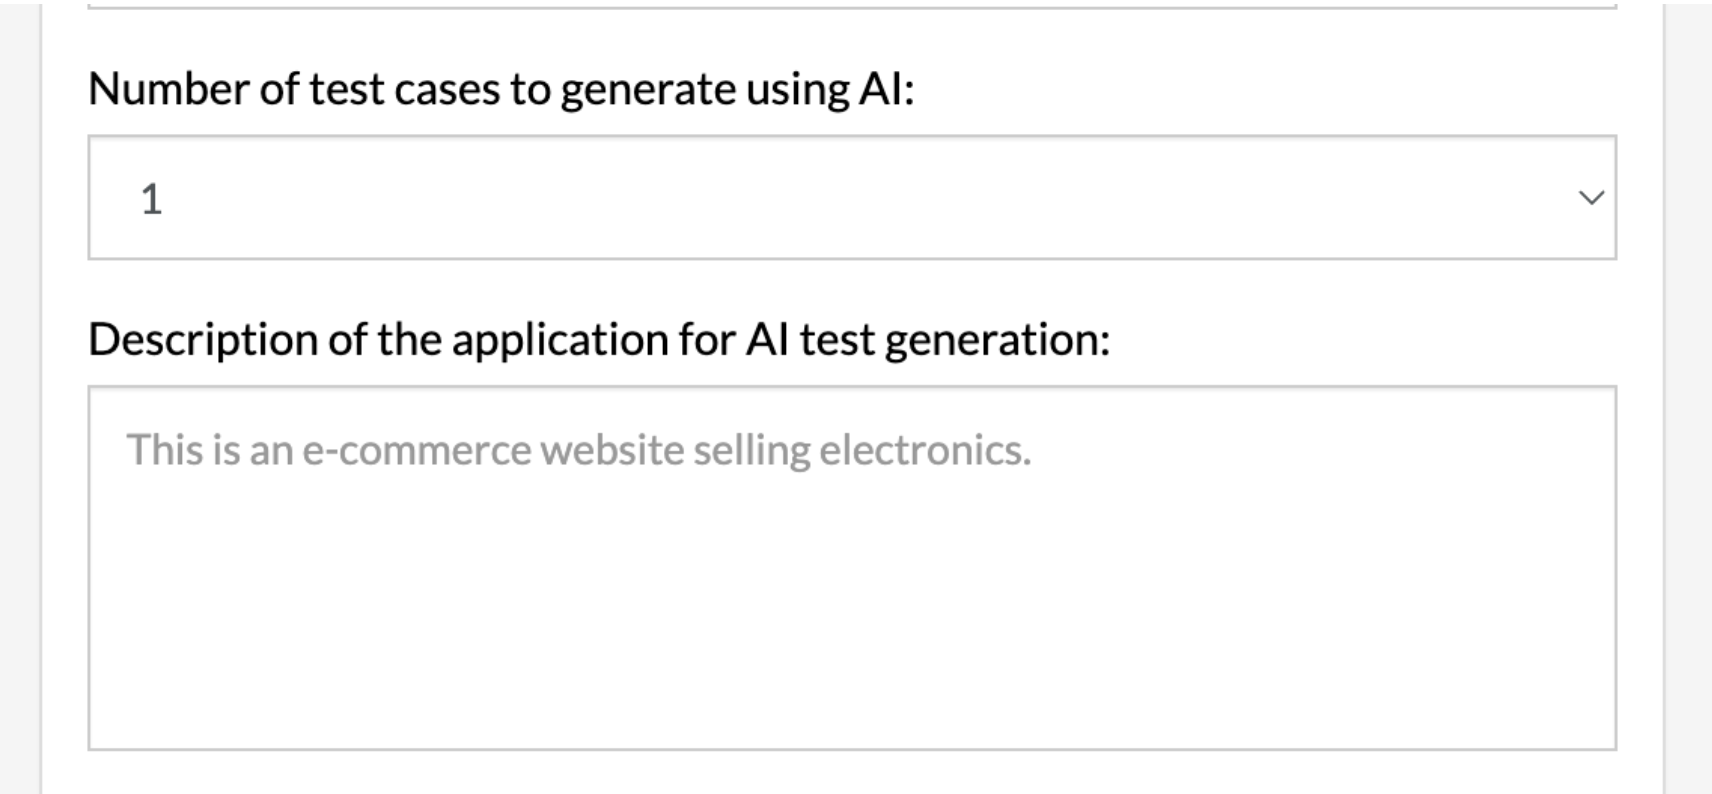
Generate test cases based on a feature or app description:App Description is provided at the time of creating a new Test Suite, and based on the app description, testRigor will generate relevant test cases for you. Another way is to provide a feature description and then generate test cases based on the feature description/images of diagrams, etc. provided as shown in the following image.
 After you click Generate, testRigor will automatically create the test case for you based on the feature description. Here is an example:
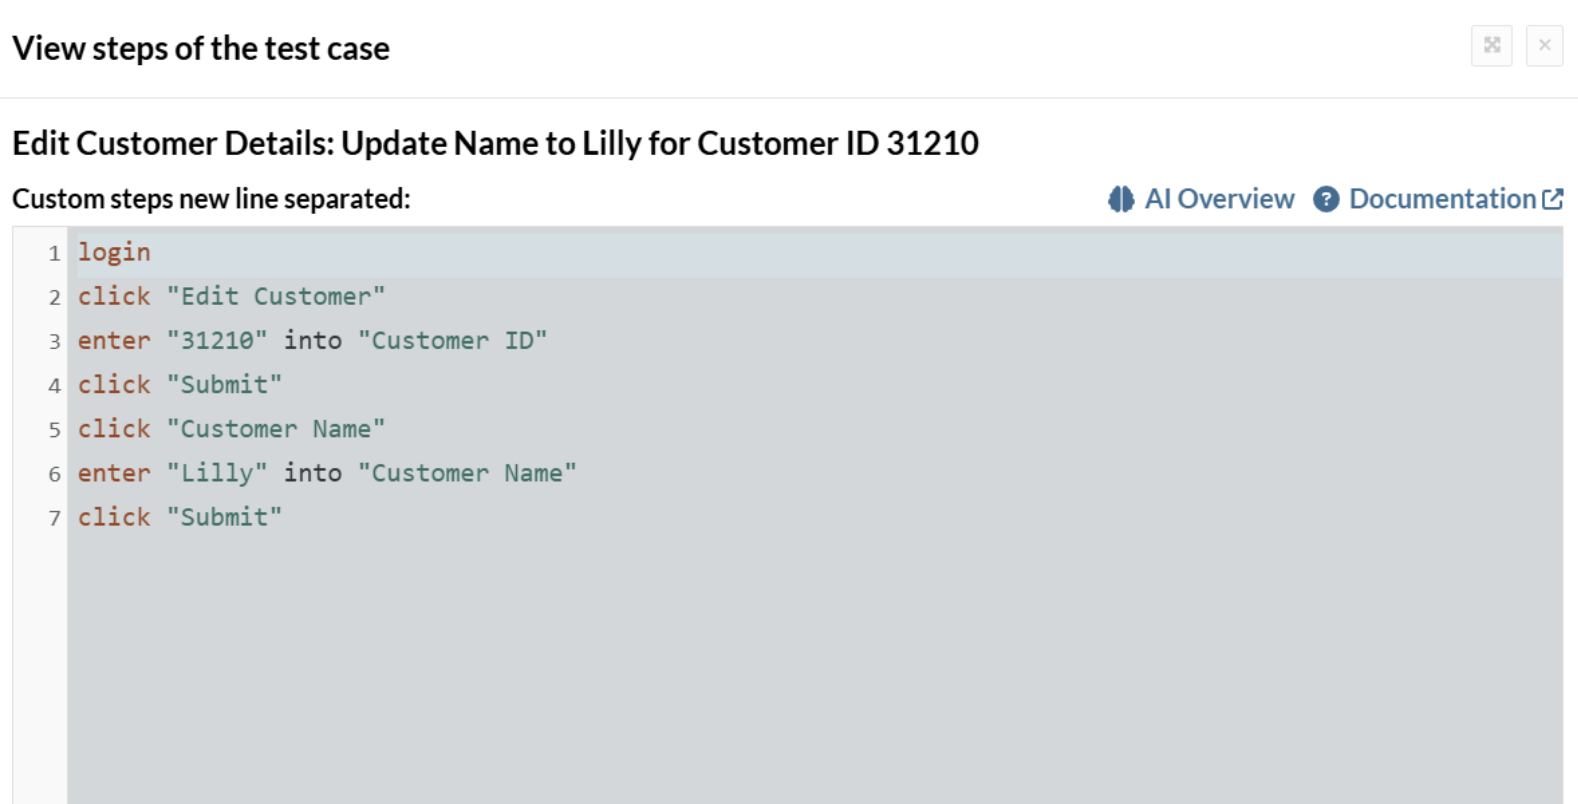
-
Generate test case steps based on the test case description and AI context:Similar to generating test cases using app/feature description, you can generate tests using the test case description. Add a new test case using +Add Test Case, and then provide a test case description. And you can either generate a sample test or an actual test using AI. Read here how to do it: Revolutionizing QA: How to Create Tests in Seconds with testRigor’s Generative AI.
-
Generate reusable rule steps based on the rule’s name and AI context:Reusable Rules are testRigor’s subroutines or functions, which allow you to use their name to call a group of plain English commands in your test case. You can use AI to generate a reusable rule’s steps based on its name and AI context, as we saw in the test case generation as well. Know more: How to create AI-based reusable rules using testRigor?
-
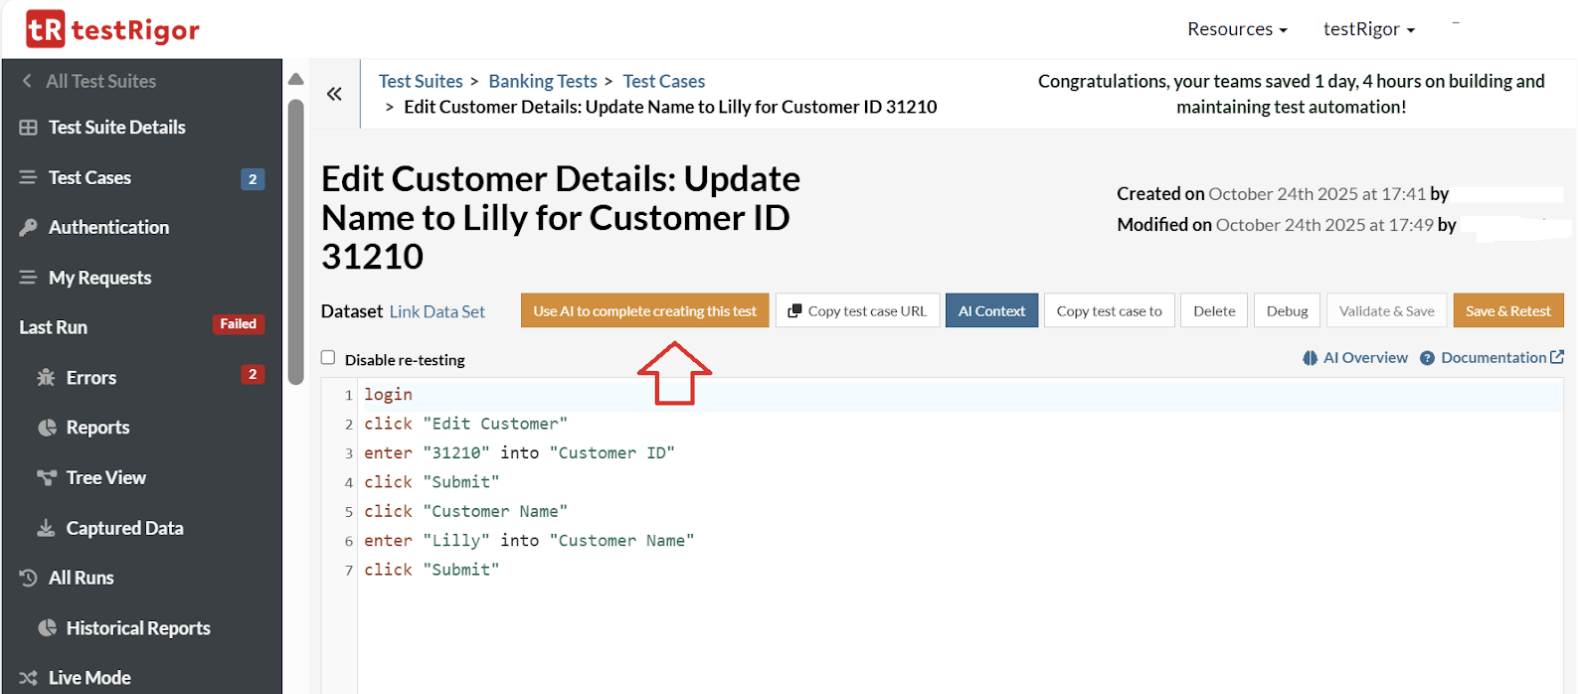
Continue to generate steps, using AI after providing some manual inputs:Sometimes, AI might encounter difficulties while creating a test case, even when given clear instructions. If this happens, step in to manually guide it by adding the specific steps needed to move past the obstacle. Once you’ve done that, click Use AI to complete creating this test so the AI can continue and finish the process from where you left off.
-
Fix test cases using AI:Whenever there are failures in test cases, you can fix the test cases using testRigor’s AI. Here is how you can do it:

Executional
- Click, hover, and drag using AI.
- Validations using AI: here are the examples and commands from the documentation.
- Other commands using AI. Refer to our documentation for more precise details on the ‘using AI’ command.
Informational
-
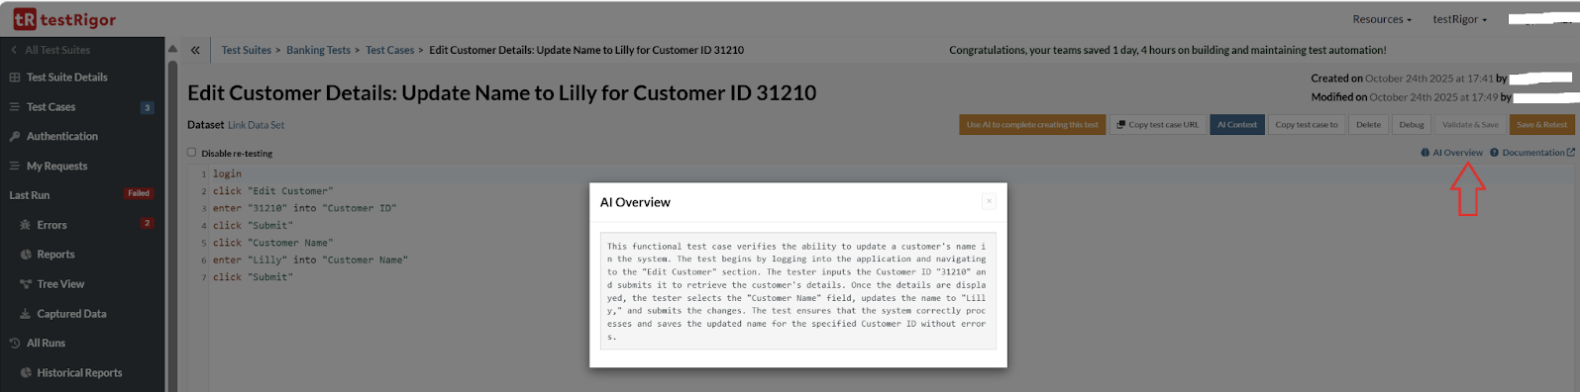
Describe the test case or rule concisely:This comes under explainable AI, where the AI is able to explain why it has performed a particular step or action. You can use Show More Info to get the information about any particular test run. Read here how.Another scenario is that testRigor’s AI explains what a particular test case or rule is performing. Click AI Overview and testRigor will provide information on that particular test case, as shown below:
To take advantage of AI functionality effectively, you need to make sure that:
- Your test suite is set up correctly.
- You are using correct prompting techniques. Read about Prompt Engineering in QA and Software Testing.
- You use the right processes to maximize the ROI of AI.
These are described in the sections below.
Setting up Your Test Suite
You need to take care of two major settings here, they are:
Application Description
Getting the most out of AI starts with setting up a test suite with a well-formed AI prompt describing the application to be tested. It must clearly describe what your application does in order to give AI the proper context it is in.
An unclear or imprecise description of the application being tested will likely derail your AI efforts significantly. Every single command or action would use that description to give AI the context of a larger picture.
“This is a full-featured web and mobile-based CRM system. As a user you can create Contacts and Deals, set up associations between those and other objects, and much more. You can also build your custom forms backed by built-in Apex programming language, and search types of available objects.”
It describes what this system is and what you can do there in terms of most important functionality on a very high level.
“Enter [email protected] into username and mypass into password. Click sign in. Go to the contacts and create one associated with a new deal.”
It is a poor description since it does not describe what Salesforce does, but rather provides an example of a script. This might seem harmless, but this is used in the prompts for ALL scripts and scenarios. It can lead AI to do things you wouldn’t expect.
A good description must describe the application under test in a way that you’d explain what the application does to someone unfamiliar with your company or the application itself when you are answering the questions “What is this about?” and “What does it do?” It might be a good idea to get the description from your product manager or from product documentation if available.
Please read more on how to write a clear description related to prompting techniques in the section below.
AI Settings
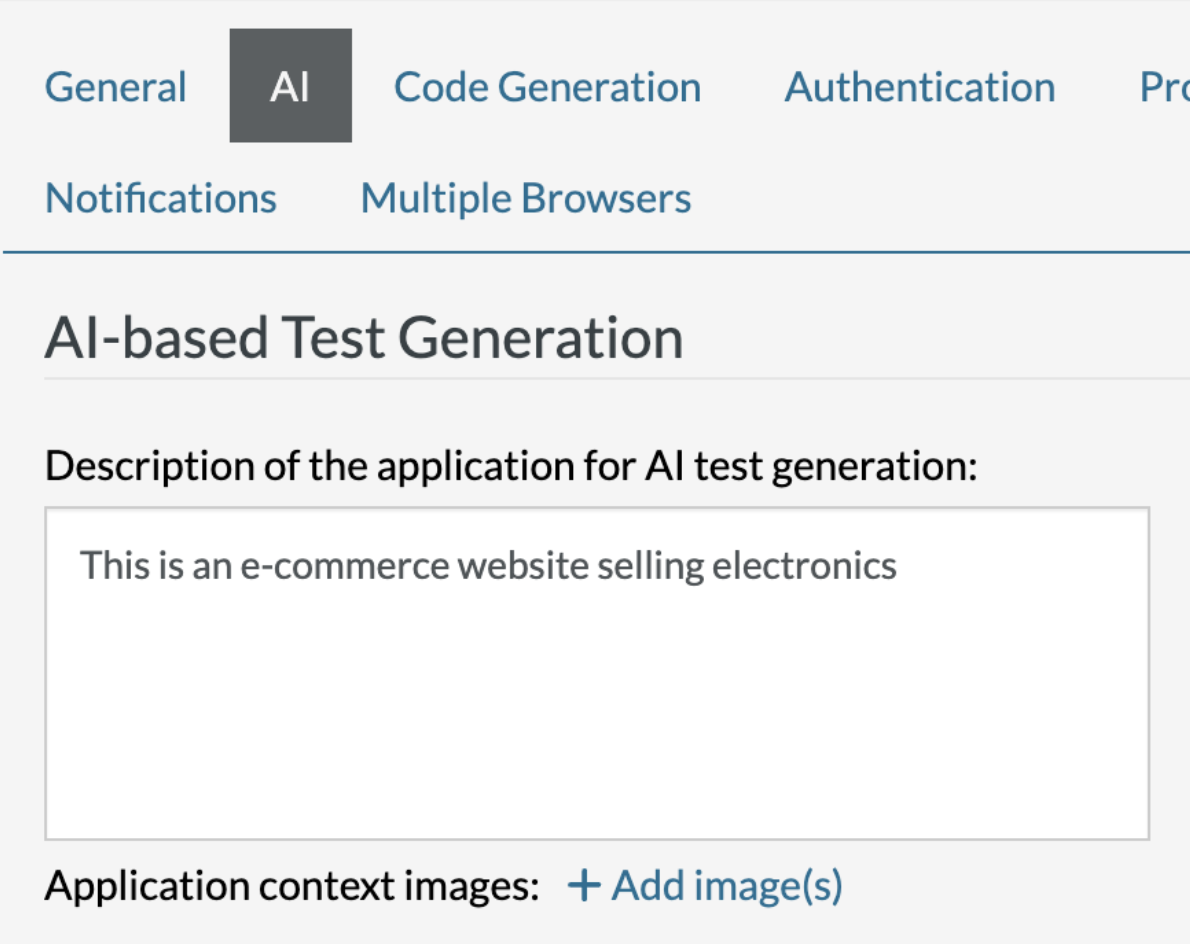
If you have already created an application and wish to improve its description, you can find it in Settings -> AI -> AI-based Test Generation -> Description of the application for AI test generation. This is the most important AI setting.
It is important to set everything up in a way that will maximize your application’s chances of working successfully. testRigor optimizes your default settings automatically when you create new test suites. However, the settings of pre-existing test suites can be updated to enable AI to work properly.
Settings -> Advanced.
Ideally, the resolution should be set to 1024×768 or smaller if possible. AI has a hard time working with higher resolutions due to its limited context window. The higher the resolution, the worse results you’ll get from AI. It might work, but not as well as you’d expect.
One of the tricks you can use in order to be able to use AI on a large existing project where you can’t change the resolution easily is to create an inherited test suite (or just a new test suite) with the AI-friendly resolution to use it to generate test cases for you (see the last section of this article on the processes to make it effective).
Using Correct Prompting Techniques
Prompting is a way to describe something to AI. When providing any instructions to AI, it is extremely important to follow good prompting techniques to make it as effective as possible. Bad prompting can completely prevent AI from achieving whatever you want it to achieve.
There are several ways to make sure to get as much as possible from your prompts:
- Describe everything under the assumption that AI does not know any context whatsoever. You can think of a 3-year-old who is easily confused by unclear or ambiguous instructions.
-
Needs improvement:
click “a random product” using AI.
AI would be confused about what exactly it needs to do. It might sound like you want to click on any product, but the word “random” has an ambiguous meaning that can throw AI off. -
Better:
click “first product on the page” using AI.
This provides clear instructions for AI to know what to do.
-
- Remove any ambiguity from your prompts. Avoid prompts that have more than one reading or interpretation, and keep them broken down into smaller, more specific parts.
-
Needs improvement:
check that page “contains a balance chart that decreases and eventually reaches zero and an uninterrupted line” using AI
First of all, it is not clear whether we mean the line on the graph is “eventually uninterrupted” or “always uninterrupted”? Secondly, should AI validate that the line actually reaches zero on the screen? Thirdly, there are too many validations requested in a single command. -
Better:
check that page “contains a balance chart that decreases over time” using AI
and on the next line:check that page “contains a balance chart that reaches zero on the screen” using AI
and on the next line:check that page “contains balance chart that is represented by an uninterrupted line” using AI
-
- Positive requests are preferable to negative ones. Example prompt for using a feature description for test case generation:
-
Needs improvement:
As a user I can find a kindle. DO NOT USE MENU
-
Better:
As a user I can find a kindle using top bar search
-
- Break down prompts into smaller, more specific parts if possible.
-
Needs improvement:
check that page “contains a balance chart that decreases over time and an uninterrupted line” using AI
It is confusing if the graph is eventually an uninterrupted line or always an uninterrupted line? And should AI validate that the line actually reaches zero on the screen. And there are too many validations. -
Better:
check that page “contains graph of balance that decreases over time” using AI
and on the next line:check that page “contains graph of balance that is represented by an uninterrupted line” using AI
-
-
Perform a question test. Imagine you are a 3-year-old; also, read the prompt from the perspective of someone who is not familiar with the application. Then ask yourself the following question: Is this a clear enough description, or can I make a cleaner one?Would I need to ask further questions to understand this description?
-
Check the feedback from AI. Read the description. It is available after clicking “More details” and “Show errors info”. The description will tell you how AI understood your prompt.
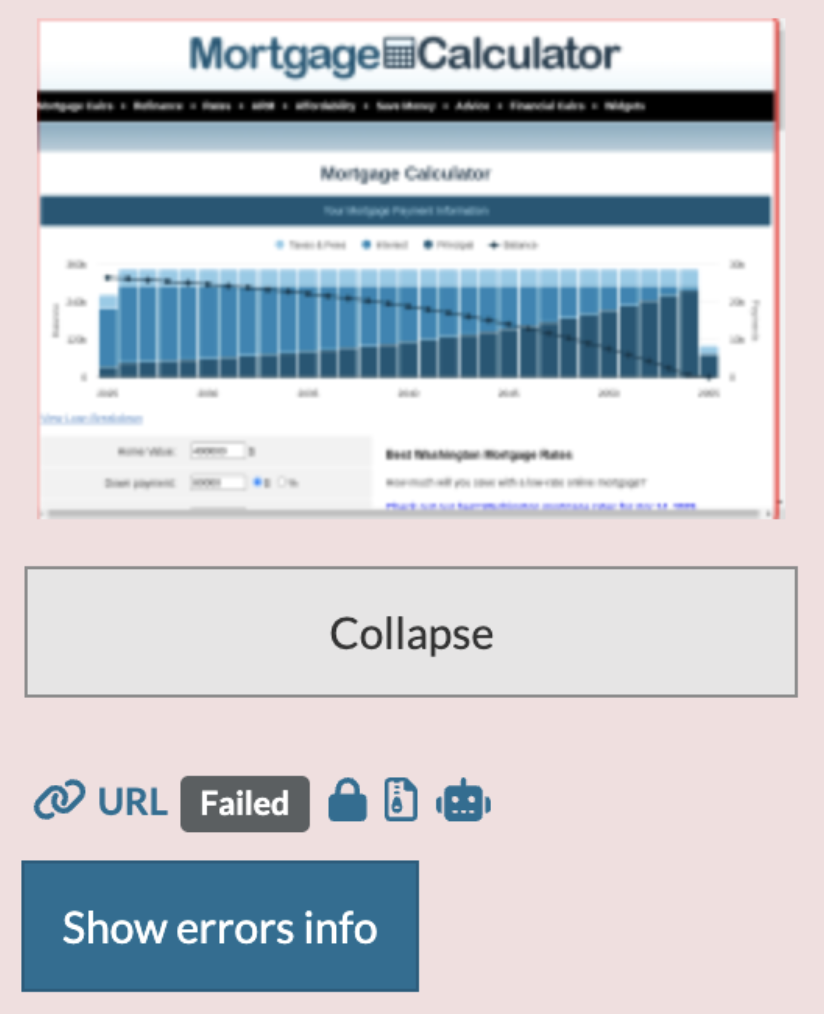 Caption: Show errors info location.
You Must Use the Right Processes to Maximize the ROI of AI
The way to extract ROI from using AI for test case generation is to do it at scale and allow AI to do as much work as possible.
Keep in mind that AI is prone to hallucinations, and one-shot test building rarely works.
- Make sure the description of the application under test
(Settings -> AI)is good and that you have provided a clear description of the application as mentioned above. - Write as good a test case title as possible using the techniques described above. Provide additional AI context (“AI Context” button) if required. Do not overload AI with unnecessary details, but anticipate what it would need to complete building the test case.
- Expect AI to fail to finish building the test case and not be able to overcome some humps regardless of how good and clear your descriptions are. In this case, you need to clean up the test, help it to get over the hump by providing specific steps that you’d expect in this particular situation, and then click “Use AI to complete creating this test”. This way AI will be able to continue working from the point where you helped it to overcome the issue.
Through this approach, you should be able to get a good ROI, even if you are starting to build many tests (100+) at the same time. This way, while you are working on your tasks, AI can keep working on building out the steps for you.
Please keep in mind that AI is not familiar with your company and your application. Therefore, you should expect it to be unable to guess the right flows accordingly. To overcome that, you should provide more description in either the title or AI context and help it correct its mistakes when possible, once you see it has diverged. If you follow the process above you should be able to get a positive ROI from using AI despite hallucinations and a lack of full context.
Best of luck building tests with AI!


