How to perform mouse actions and clicks using testRigor?
|
|
During end-to-end testing, mouse actions provide a valuable tool for simulating real-world user interactions and testing the overall functionality of web applications more thoroughly. They are significant for scenarios where user experience and dynamic content play a significant role.
Through innovative and smart testing tools like testRigor, you can handle such use cases using plain English language commands. Let’s take a look at how this can be done with an example.
Pre-requisites to writing the test case
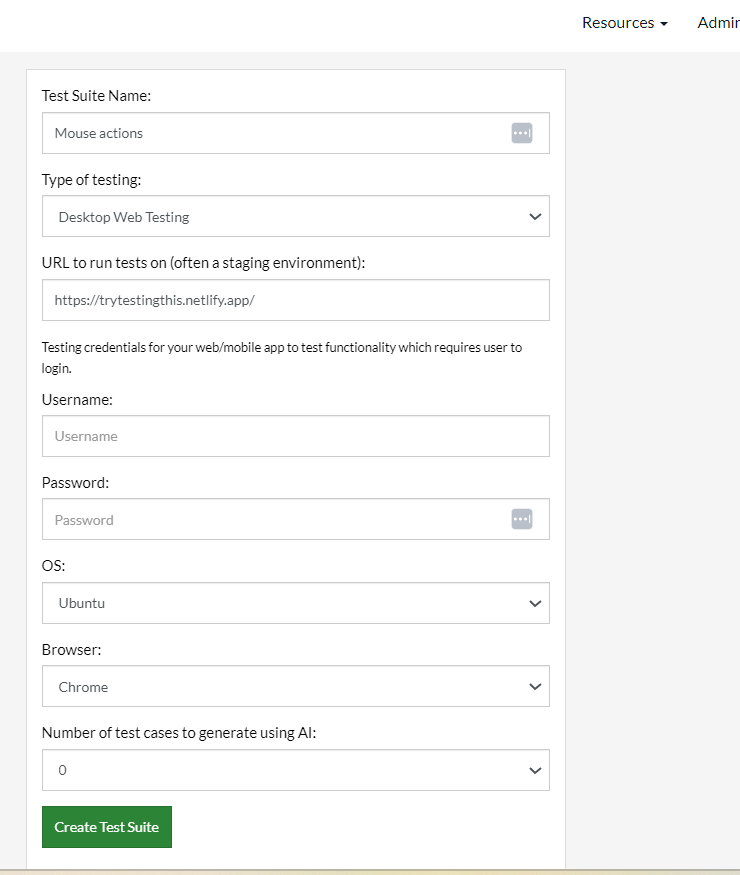
First and foremost, you need to create a test suite. Depending on the type of app you are testing, testRigor will ask you for details during test suite creation. Here are the general fields that will be visible to you during this process.
Step 1: Log in to your testRigor app with your credentials.
Step 2: Set up the test suite for the website testing by providing the information below:
- Test Suite Name: Provide a relevant and self-explanatory name.
- Type of testing: Select from the following options: Desktop Web Testing, Mobile Web Testing, Native and Hybrid Mobile, based on your test requirements.
- URL to run test on: Provide the application URL that you want to test.
- Testing credentials for your web/mobile app to test functionality which requires user to login: You can provide the app’s user login credentials here and need not write them separately in the test steps then. The login functionality will be taken care of automatically using the keyword login. However, this is an optional field and can be skipped if not relevant.
- OS and Browser: Choose the OS Browser combination on which you want to run the test cases.
- Number of test cases to generate using AI: You can simplify your test creation further by opting to generate test cases based on the App Description text. This feature works on generative AI.
This is how the test suite creation screen will look like:
Step 3: Click on Create Test Suite.
Note: On the next screen, you can let AI generate the test case based on the App Description you provided during the Test Suite creation. However, for now, select do not generate any test, since we will write the test steps ourselves.
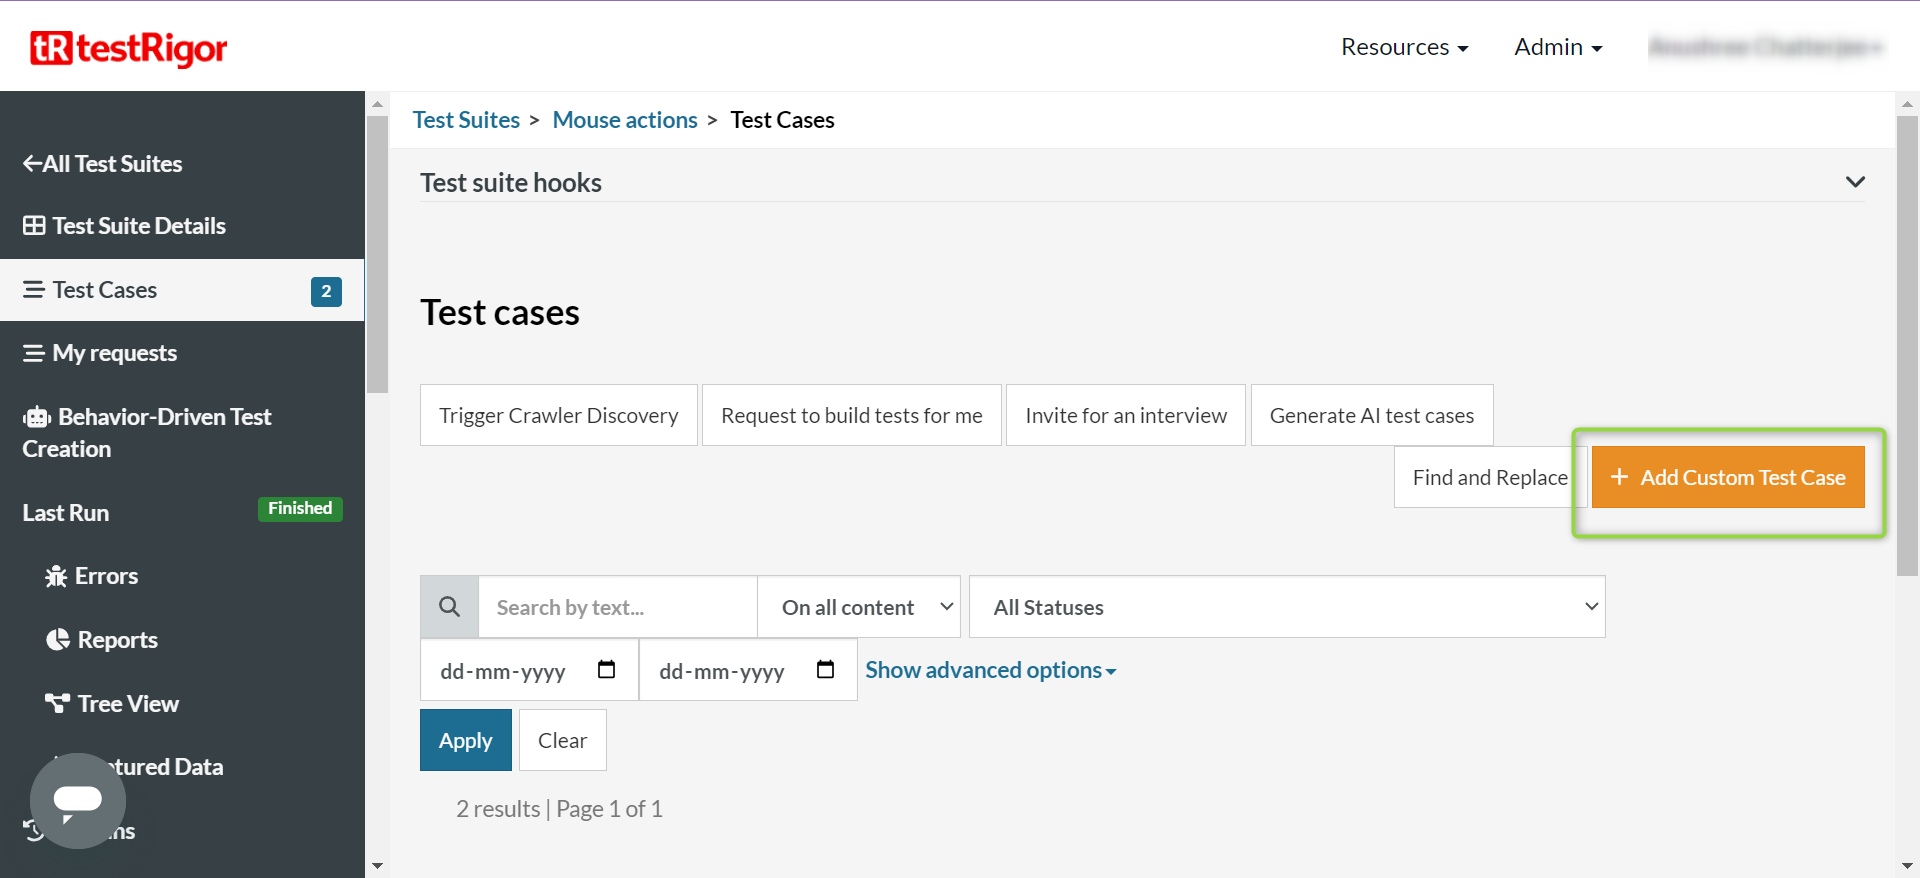
Step 4: To create a new custom test case yourself, click Add Custom Test Case.
Test Case: Interact with website elements using mouse actions
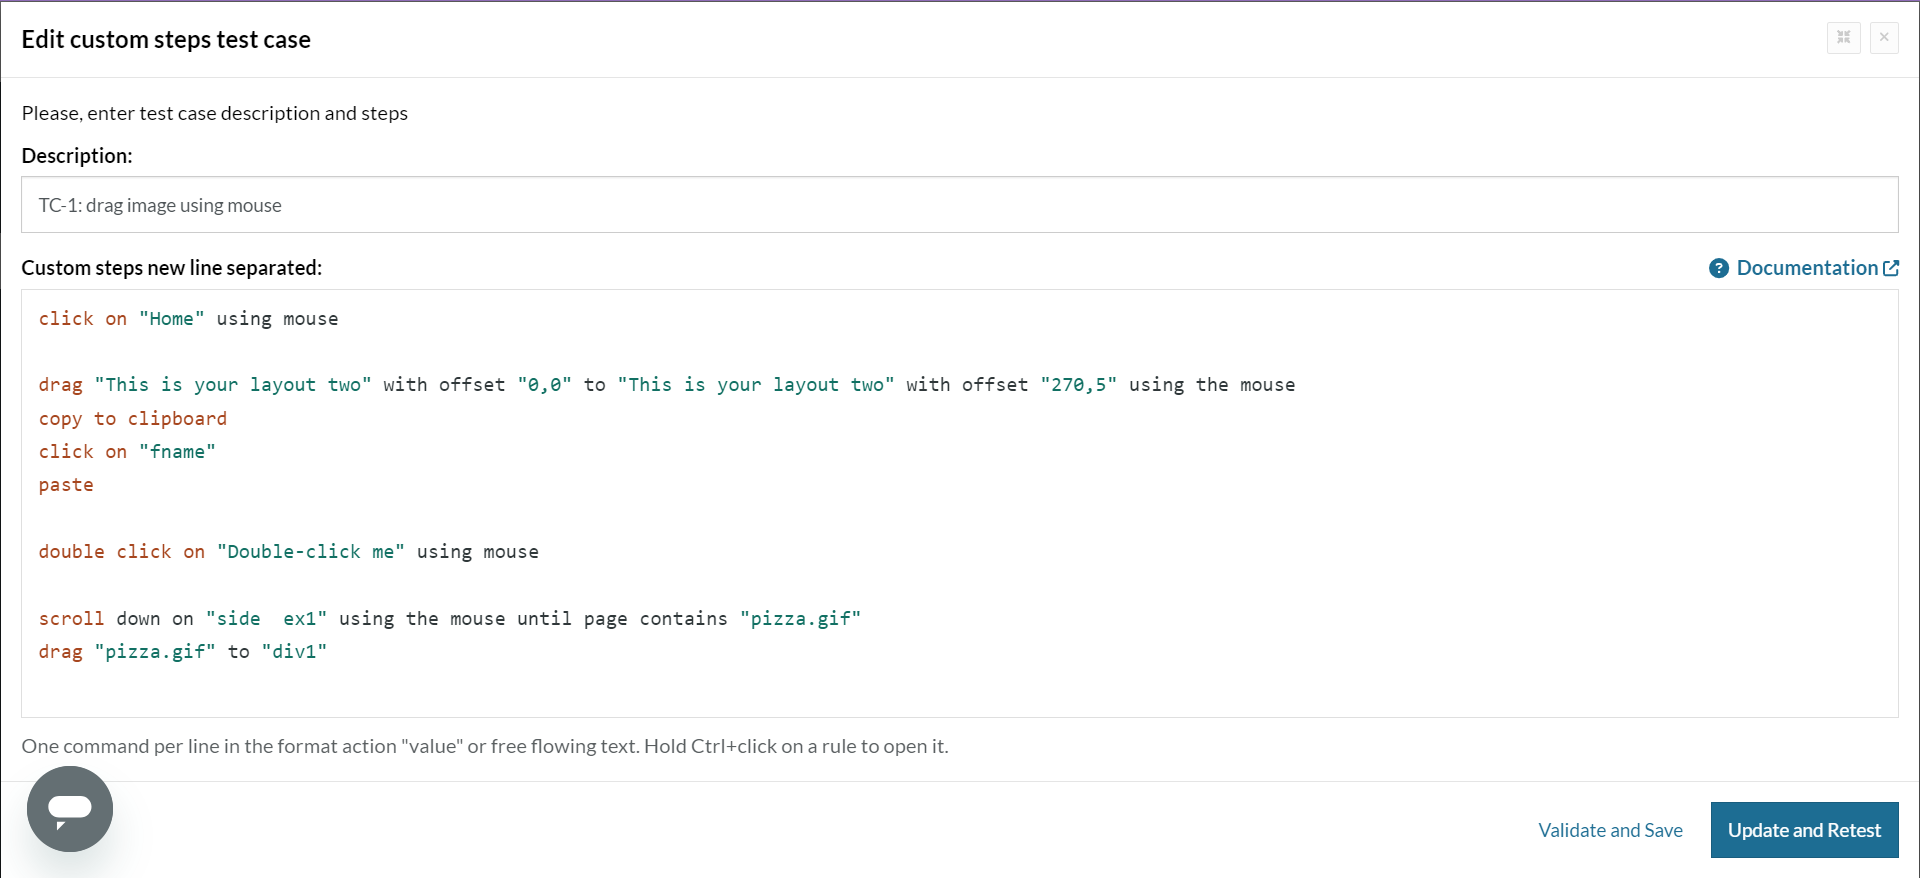
In the following test case, we will perform operations like dragging images, double-clicking, selecting text from the screen, pasting it, and scrolling using the mouse.
Let’s take a look at every step that will be part of the testRigor test case.
Test Steps
Step 1: Come to the Test Cases section, provide the test case Description, and add the test steps. We will add test steps in the test case editor screen.
Step 2: Since we provided the website URL during test suite creation, testRigor automatically navigates to this website. There is no need to use a separate function to open the URL.
Step 3: To click on the ‘Home’ button to load the page, use the below testRigor command in plain English.
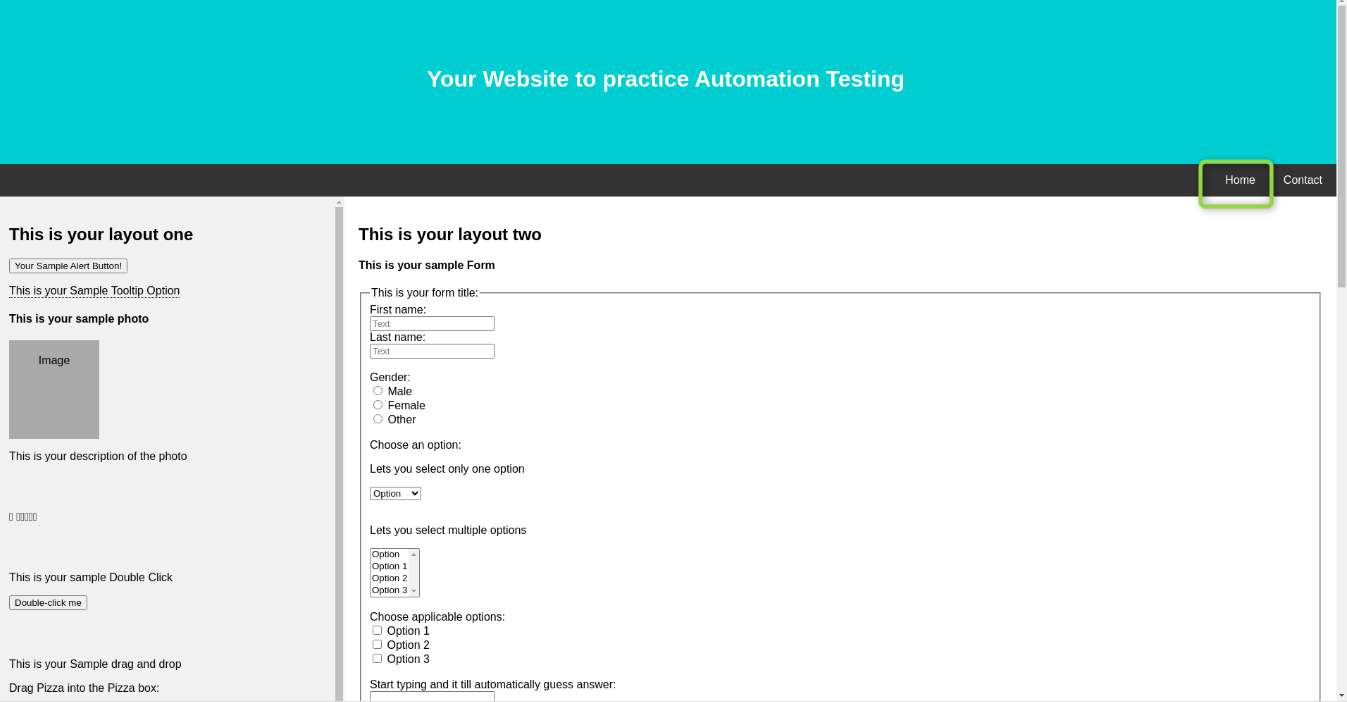
click on "Home" using mouse
Step 4: We will use the mouse action to select some text on the screen, copy it to the clipboard, and then paste it into the ‘First Name’ input field.
When you use the ‘drag’ command, you need to tell testRigor the exact points on the screen between which it should drag the mouse. Using offsets, you can precisely pinpoint where the points need to be. These offsets are relative to the screen under test. To better visualize offsets, imagine the X and Y axes since you need to mention the coordinates of the points between which the mouse dragging needs to happen.
In the command below, we focus on the text we want to select on the screen, ‘This is your layout two’. Considering this as one whole element, we will start with offset as (0,0), which is the very start of this text. From there, we want to drag the mouse all the way to the point (280,10), which covers the entire text. So across the X axis horizontally, we moved from 0 to 280 across the text ‘This is your layout two’. Likewise, we moved from 0 to 10 across the Y-axis or vertically. If you recall, this is how we can select a section using the mouse without releasing the click by moving the mouse horizontally as well as vertically.
Further, in this test case, you will see that if you have UI elements, then you can simply write the command as ‘drag “element1” to “element2″‘.
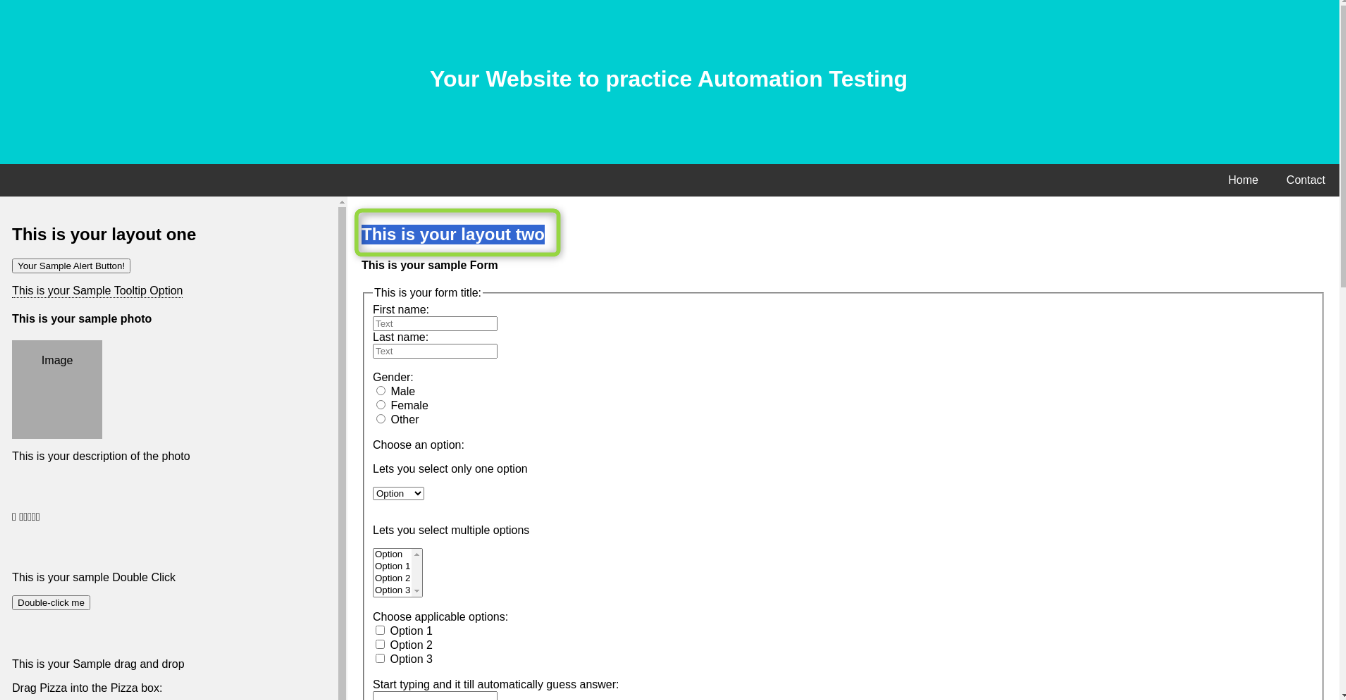
drag "This is your layout two" with offset "0,0" to "This is your layout two" with offset "270,5" using the mouse
Step 5: Once we have selected the desired text, we will go ahead and copy it to our clipboard, just like you would do with the mouse selection.
copy to clipboard
Step 6: Click on the input field named ‘first name’ to enable it. Once the mouse cursor appears in the field, paste the clipboard value here. You will see the text ‘This is your layout two’ in the ‘first name’ field.
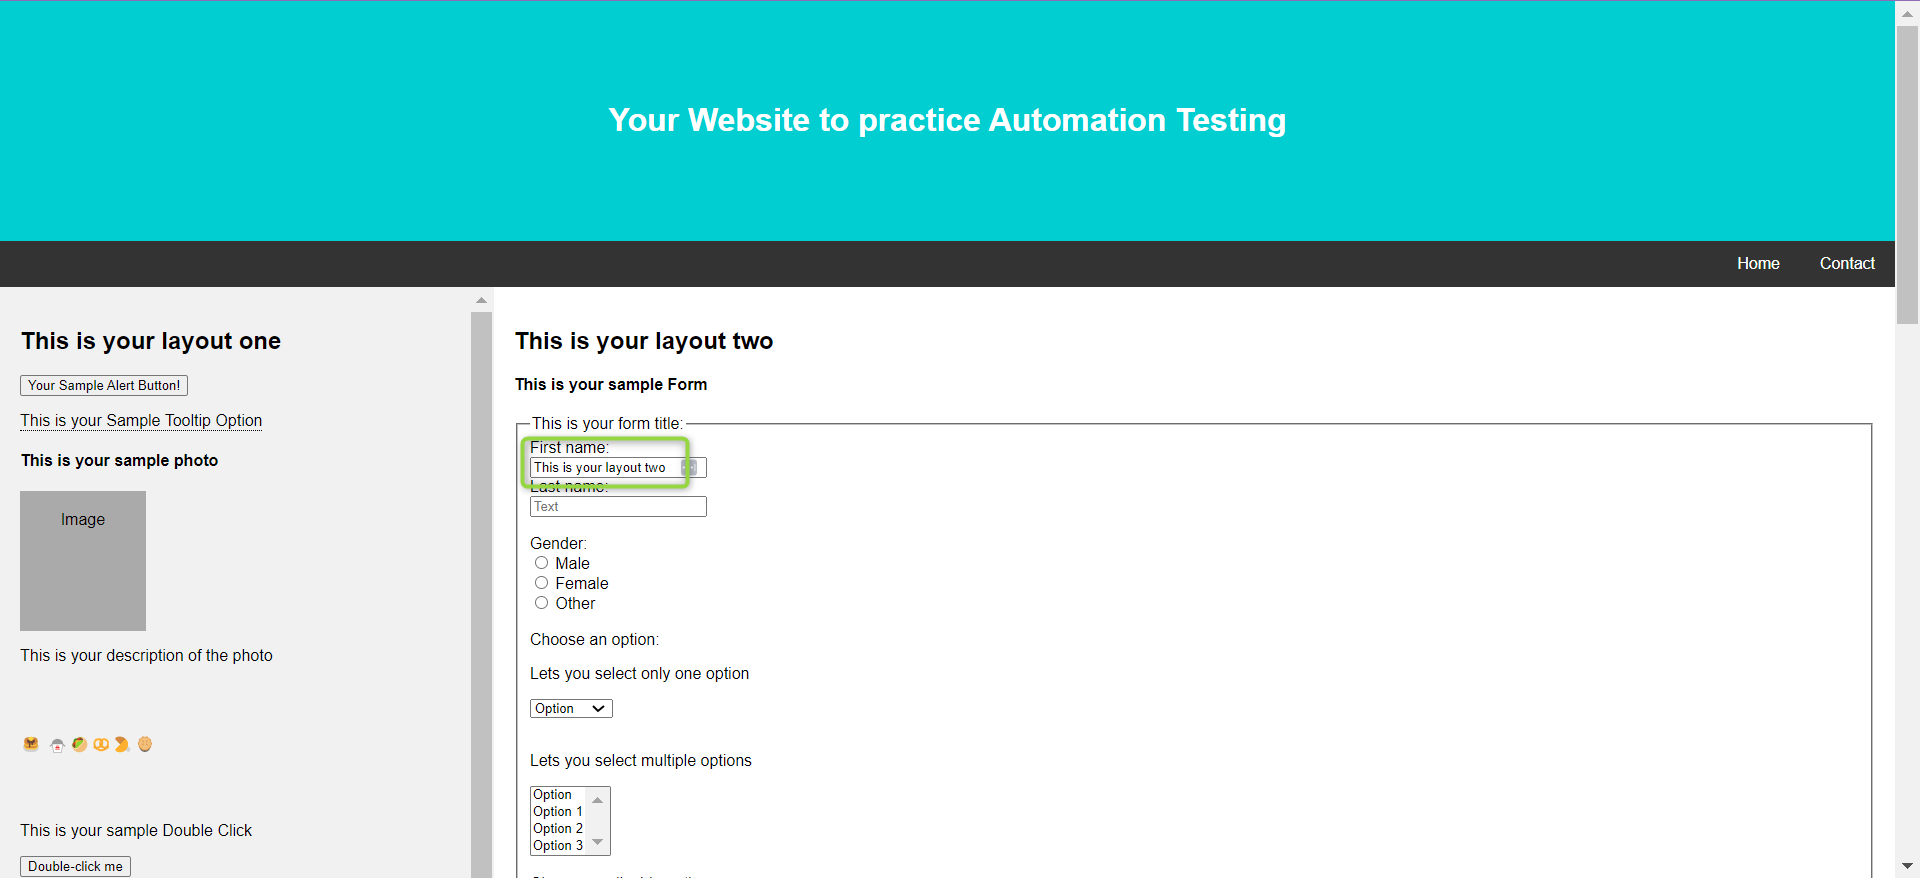
click on "fname"
paste
Step 7: Of the multiple UI elements, we will find the button that reads ‘Double-click me’. We will double-click on this.
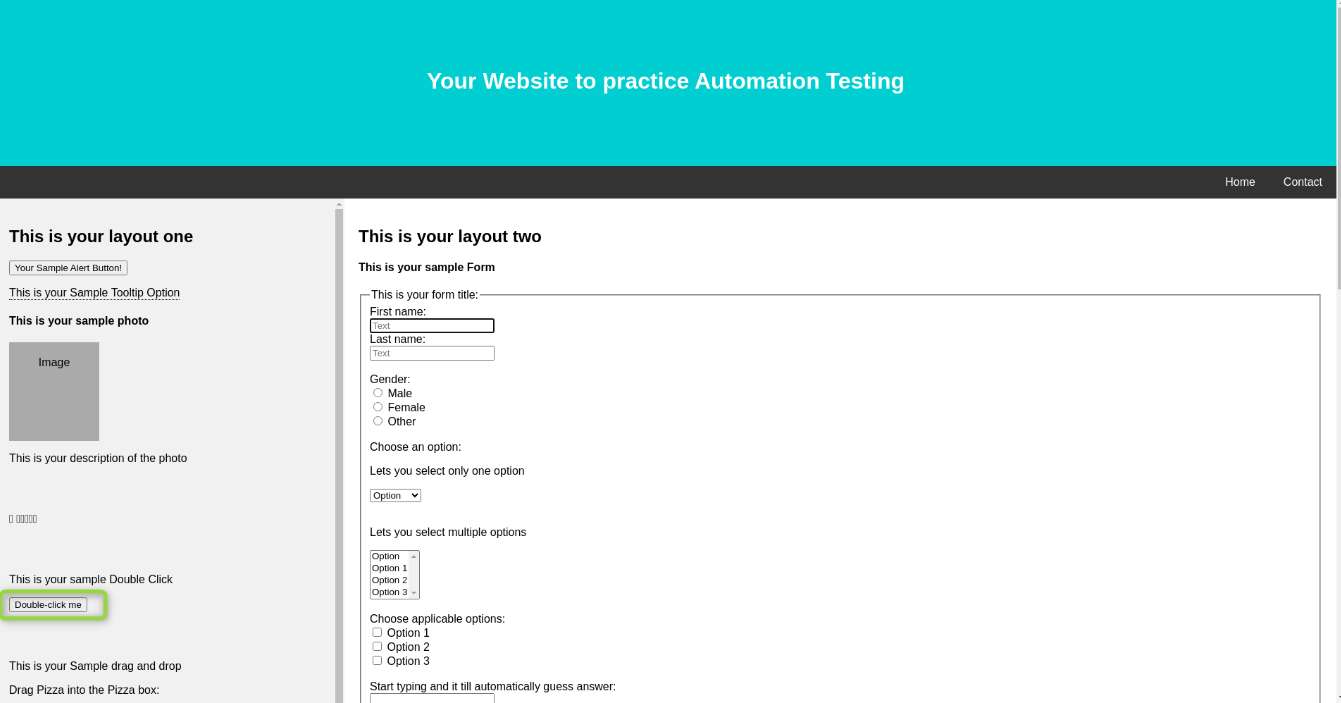
double click on "Double-click me" using mouse
Step 8: Now, we will scroll down on the left section to reach the image called ‘pizza.gif’ as per the HTML code.
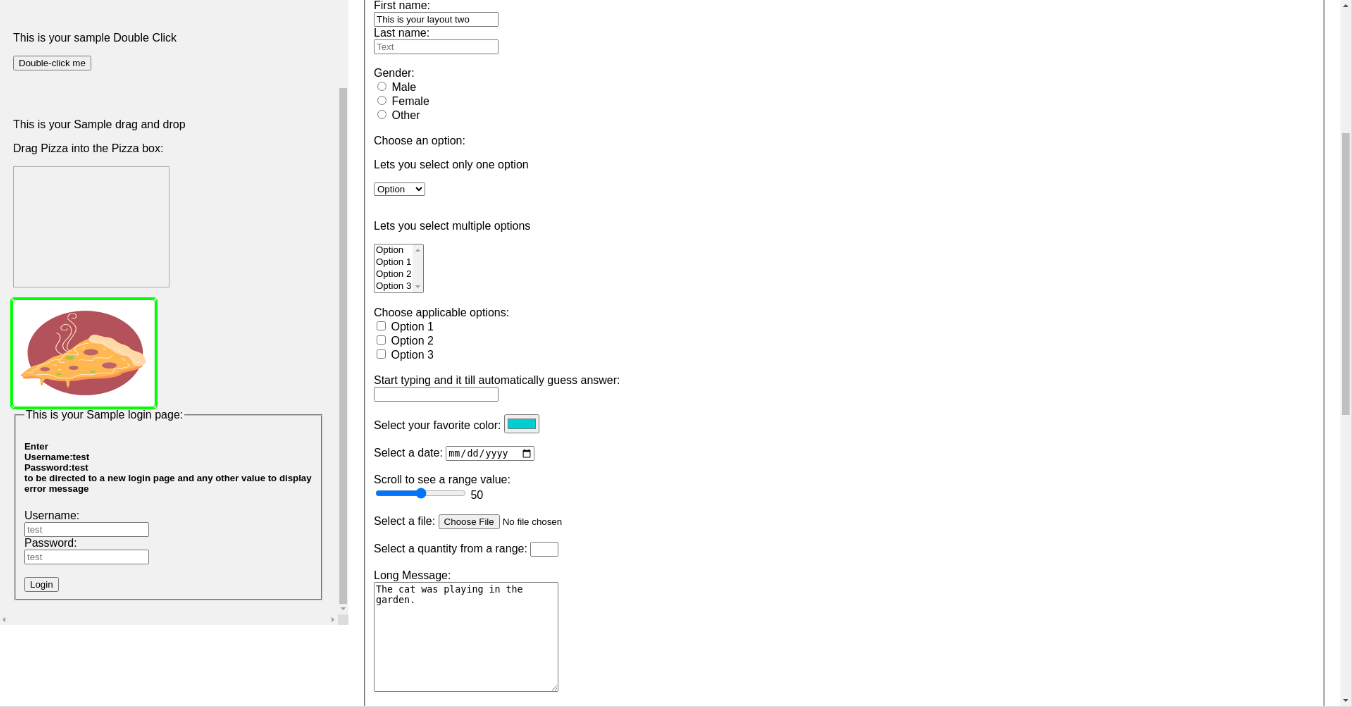
scroll down on "side ex1" using the mouse until page contains "pizza.gif"
Step 9: We will move the image across the screen from its original position to the new area above it. The new area is called ‘div1’ as per the HTML code.
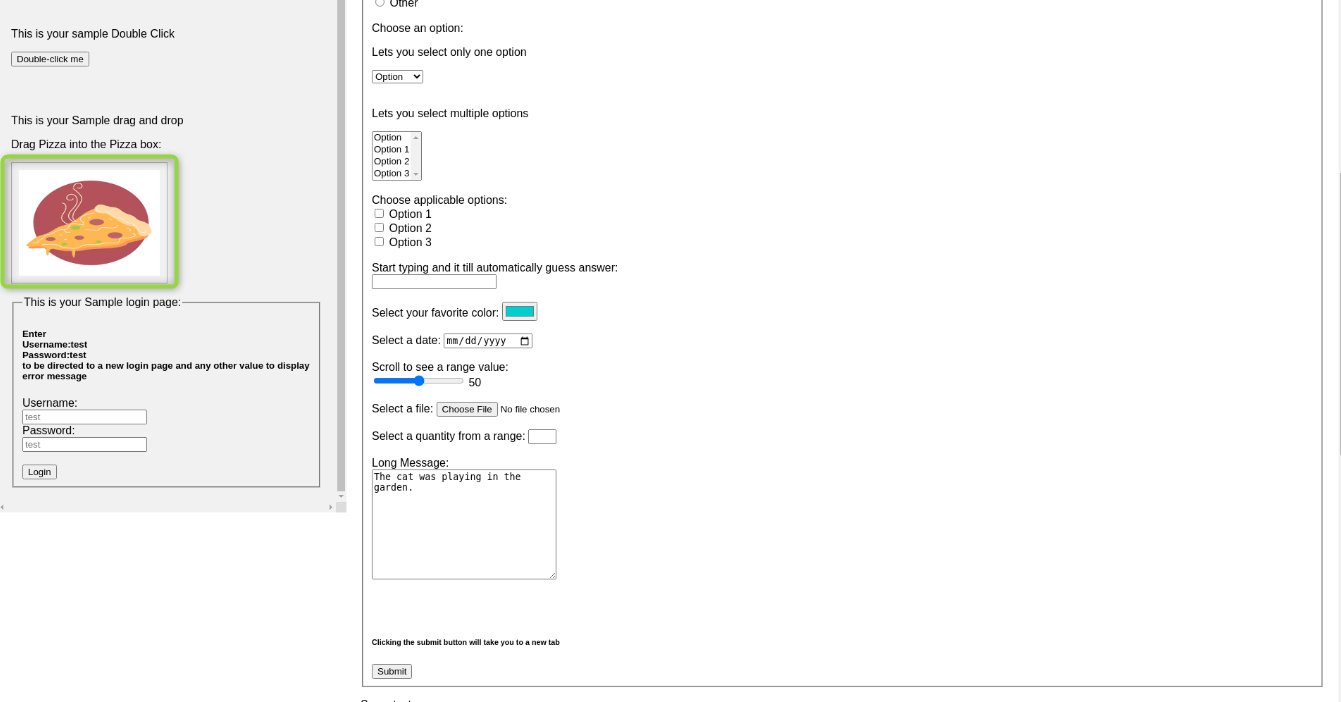
drag "pizza.gif" to "div1"
Complete Test Case
click on "Home" using mouse
drag "This is your layout two" with offset "0,0" to "This is your layout two" with offset "270,5" using the mouse
copy to clipboard
click on "fname"
paste
double click on "Double-click me" using mouse
scroll down on "side ex1" using the mouse until page contains "pizza.gif"
drag "pizza.gif" to "div1"
Viewing Test Results
Once the test is executed, you can view the execution details, such as execution status, time spent in execution, screenshots, error messages, logs, video recordings of the test execution, etc. Logs and error text are available easily in case of any failure in a few clicks.
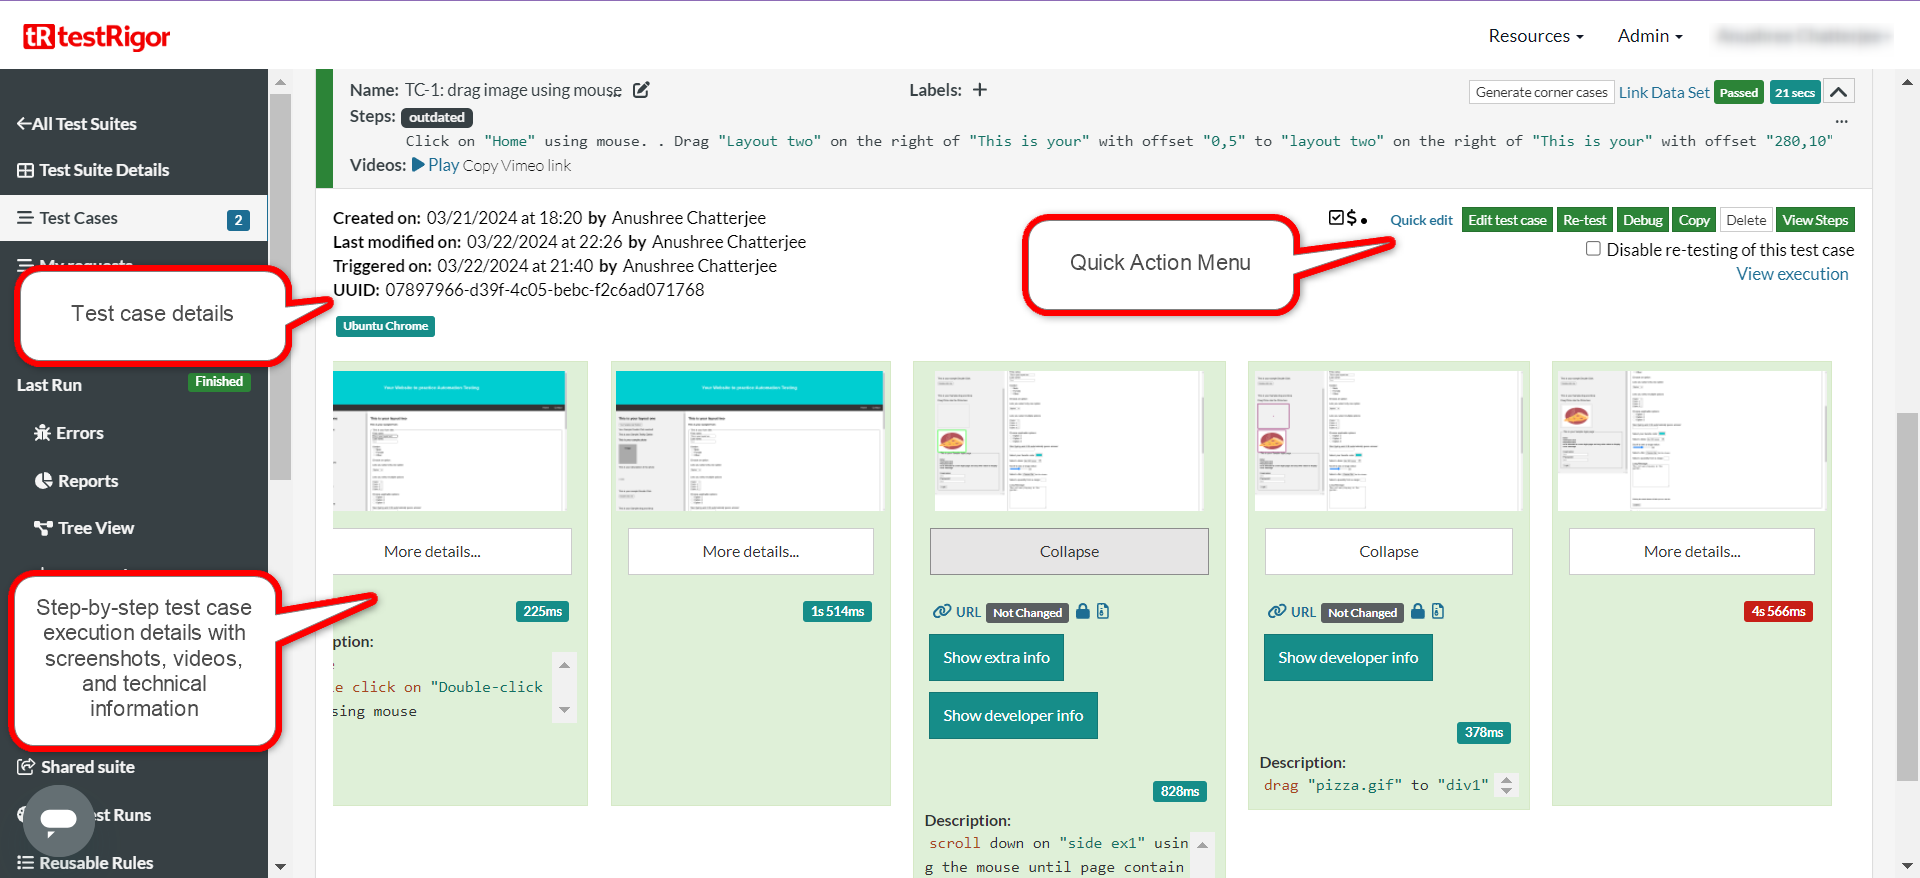
You can also download the complete execution with steps and screenshots in PDF or Word format through the View Execution option.
testRigor’s Capabilities
The above test case gives you a peak into how easy it is to automate test cases with testRigor. Besides mouse-based actions like double click, scroll, drag and drop, you can do a lot more.
- Reusable Rules (Subroutines): You can easily create functions for the test steps that you use repeatedly. You can use the Reusable Rules to create such functions and call them in test cases by simply writing their names. See the example of Reusable Rules.
- Global Variables and Data Sets: You can import data from external files or create your own global variables and data sets in testRigor to use them in data-driven testing.
- 2FA, QR Code, and Captcha Resolution: testRigor efficiently manages the 2FA, QR Code, and Captcha resolution through its simple English commands.
- Email, Phone Call, and SMS Testing: Use simple English commands to test the email, phone calls, and SMS. These commands are helpful for validating 2FA scenarios, with OTPs and authentication codes being sent to email, phone calls, or via phone text.
- File Upload/ Download Testing: Execute the test steps involving file download or file upload without the requirement of any third-party software. You can also validate the contents of the files using testRigor’s simple English commands.
- Database Testing: Execute database queries and validate the results fetched.
Additional Resources
- Access testRigor documentation to learn about more useful capabilities
- Top testRigor’s features
- How to do End-to-end Testing with testRigor?
- How to work with tables using testRigor?
- How to do email testing using testRigor?
- How to do API testing using testRigor?
- How to do mobile testing using testRigor?
- How to do file testing using testRigor?
| Achieve More Than 90% Test Automation | |
| Step by Step Walkthroughs and Help | |
| 14 Day Free Trial, Cancel Anytime |


