How to Test a Website with testRigor
|
|
So you’ve just finished building a website for your bike shop, Mike’s Bikes. You want your customers to have the same great experience on your site that they have in your store.
testRigor can “crawl” through your site, discovering functionality, clicking on links and buttons, and showing you screenshots of each path your customer could take in their journey to a purchase. It even fills out forms.
Let’s see how a test is set up.
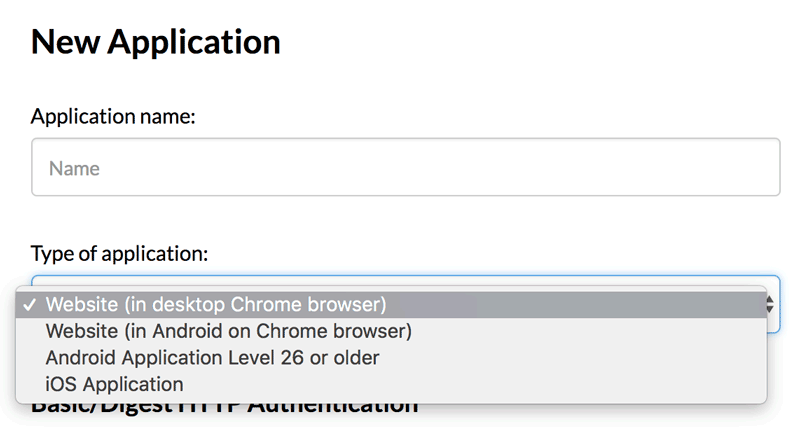
When you’re logged into testRigor, you will be prompted to add a new application. Give it a name (we’ll call our demo application “Mike’s Bikes”) and select the type of application. For this example, we’ll be testing a website in a desktop Chrome browser.

If your server is protected by HTTP Authentication (in other words, if your server itself won’t show you the pages unless you authenticate), or if the pages of the application you want to test require a login, enter the credentials here.
You can optimize the speed of your test:
- Maximum wait timeout
You can tell testRigor how long to wait for the server to respond a page. Lower numbers will result in a faster test, but larger numbers will be more tolerant of a slow network or busy server. - Maximum page load time
You can tell testRigor how long to wait for the server to send a page. Lower numbers will result in a faster test, but larger numbers will be more tolerant of a slow network or busy server. - Delay for page to render
You can tell testRigor how long to wait for the the page to render. Lower numbers will result in a faster test, but larger numbers will be more tolerant of larger, more complex pages or pages that are rendered by JavaScript in the browser when the user loads them.

By default, testRigor wants to be very thorough, but when you’re just trying the service out we recommend toggling the Minimal exploration and Use more than one combination checkboxes so they appear as shown above.
Skip the fine-tuning section for now and click Add.
testRigor will prompt you to provide the URL of your application, then click Explore to tell the crawler to start discovering functionality.
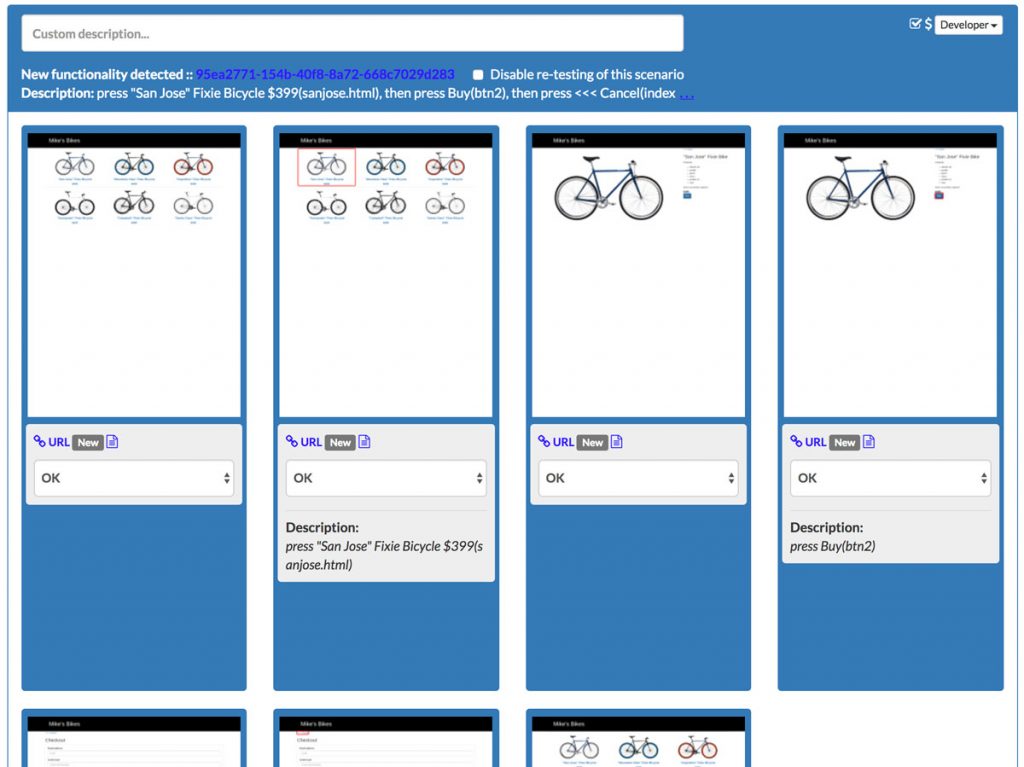
As it explores your site, testRigor will start generating groups of screenshots that represent a path a user could take through your site.
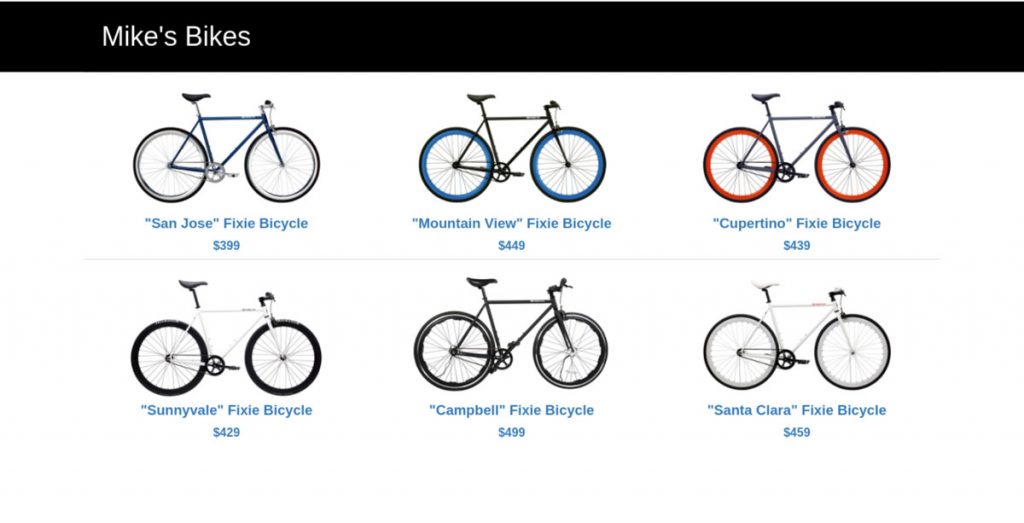
In this case, the crawler started on the main page of the store that shows various bikes for sale.
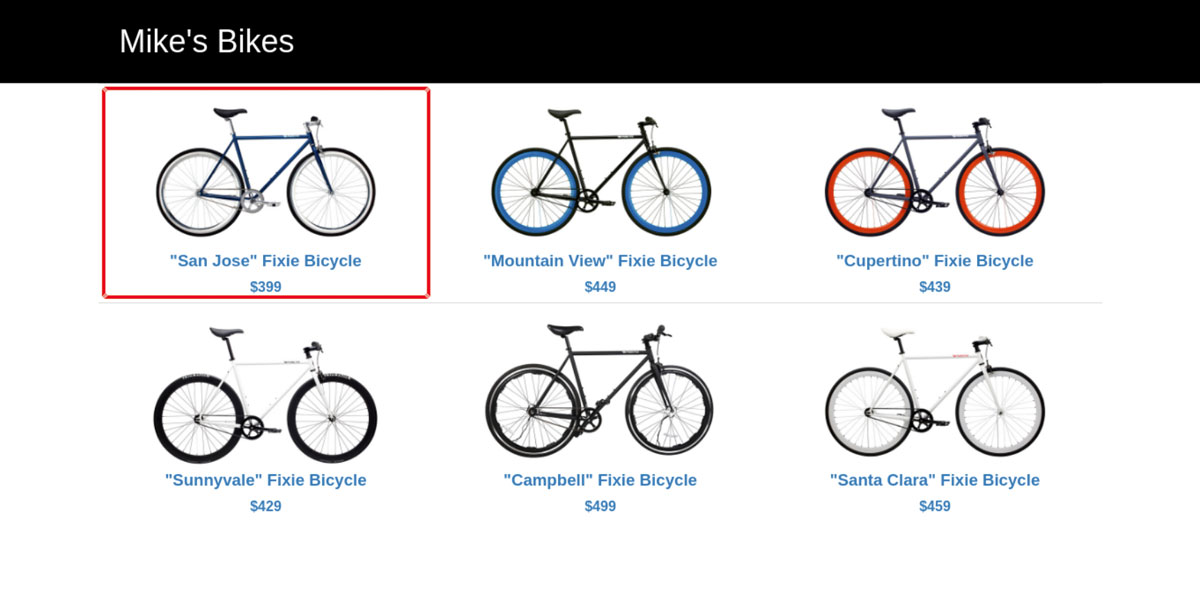
It discovered that a user could click on the “San Jose” model, and so it outlined that functionality with a red box and took a screenshot as it clicked on it.
The crawler returned a screenshot of the page that loaded when it clicked the bike.
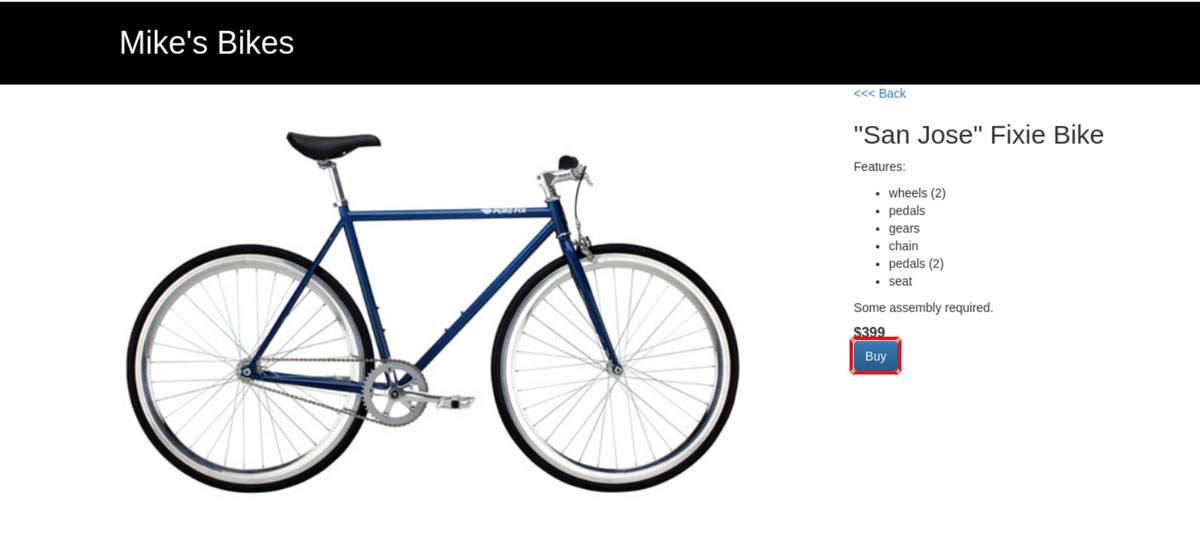
It discovered that a user could click the Buy button, so it outlined that as it clicked on it.
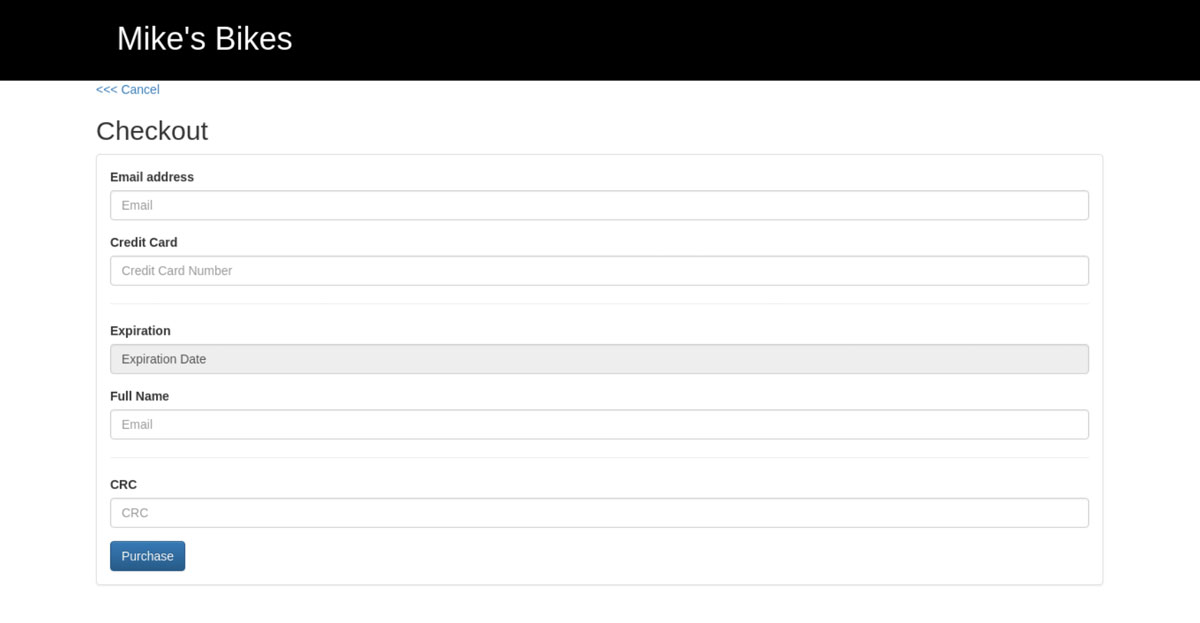
And that brought the crawler to a checkout page.
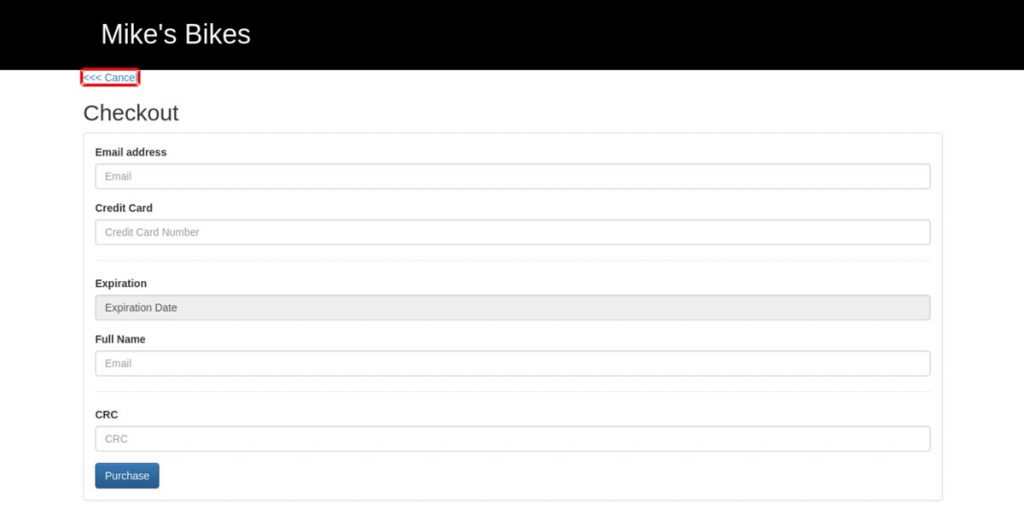
The crawler first discovered that it had the option to cancel, but over the course of the test it explores all the functionality of the site.
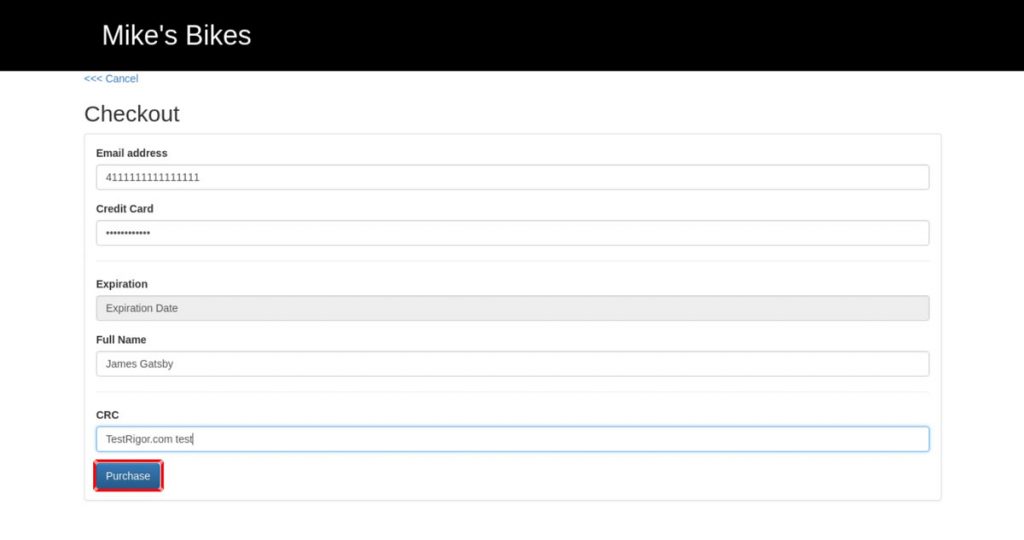
In a later iteration, it discovered it could fill out the form and click the purchase button.

When you make changes to the app later, you will find that the explore button has changed to Retest.
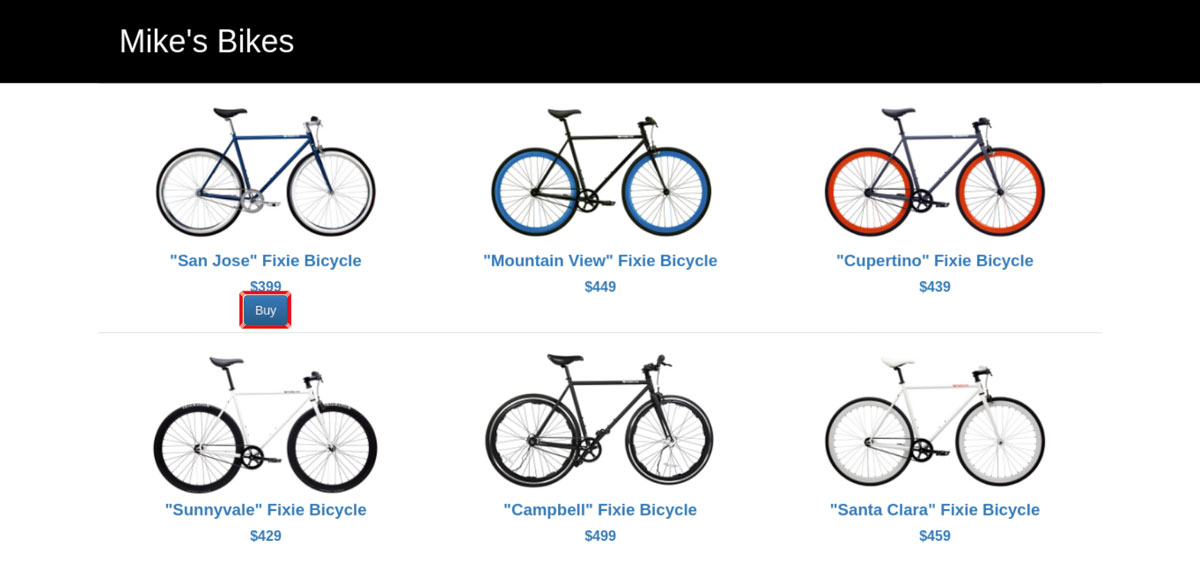
When you retest, the crawler will look for pages that have changed and detect new functionality. In this case, we added a Buy button on the main page.
Whenever testRigor discovers new functionality, you have the opportunity to identify it as OK or Failed if it’s a bug.


