Generative AI-Based Testing Certification
Click / Drag / Hover
In this section, we will explore different types of clicks that you can use in testRigor as well has drag and hover actions.
Click
The most basic command in testRigor is the click action. Users can double click, long click, right click, and middle click.
enter "doll" into "search"
click "search"
testRigor is smart enough to understand that the first “search” refers to an input whereas the second one refers to a button.
Note: Parameters of all commands by default are not case sensitive and will find the element even if they match partially.
click "search" will click on the same button as click "Search".click "a"tap instead of click:tap "a"However, click works if you’d like to reuse the same steps across web and mobile applications.
Read more about click commands here.
Click with relative location
Read The Story is the target, to the left of is the relative location, and Release Manager - Edcast is the anchor.click "Read The Story" to the left of "Release Manager – Edcast"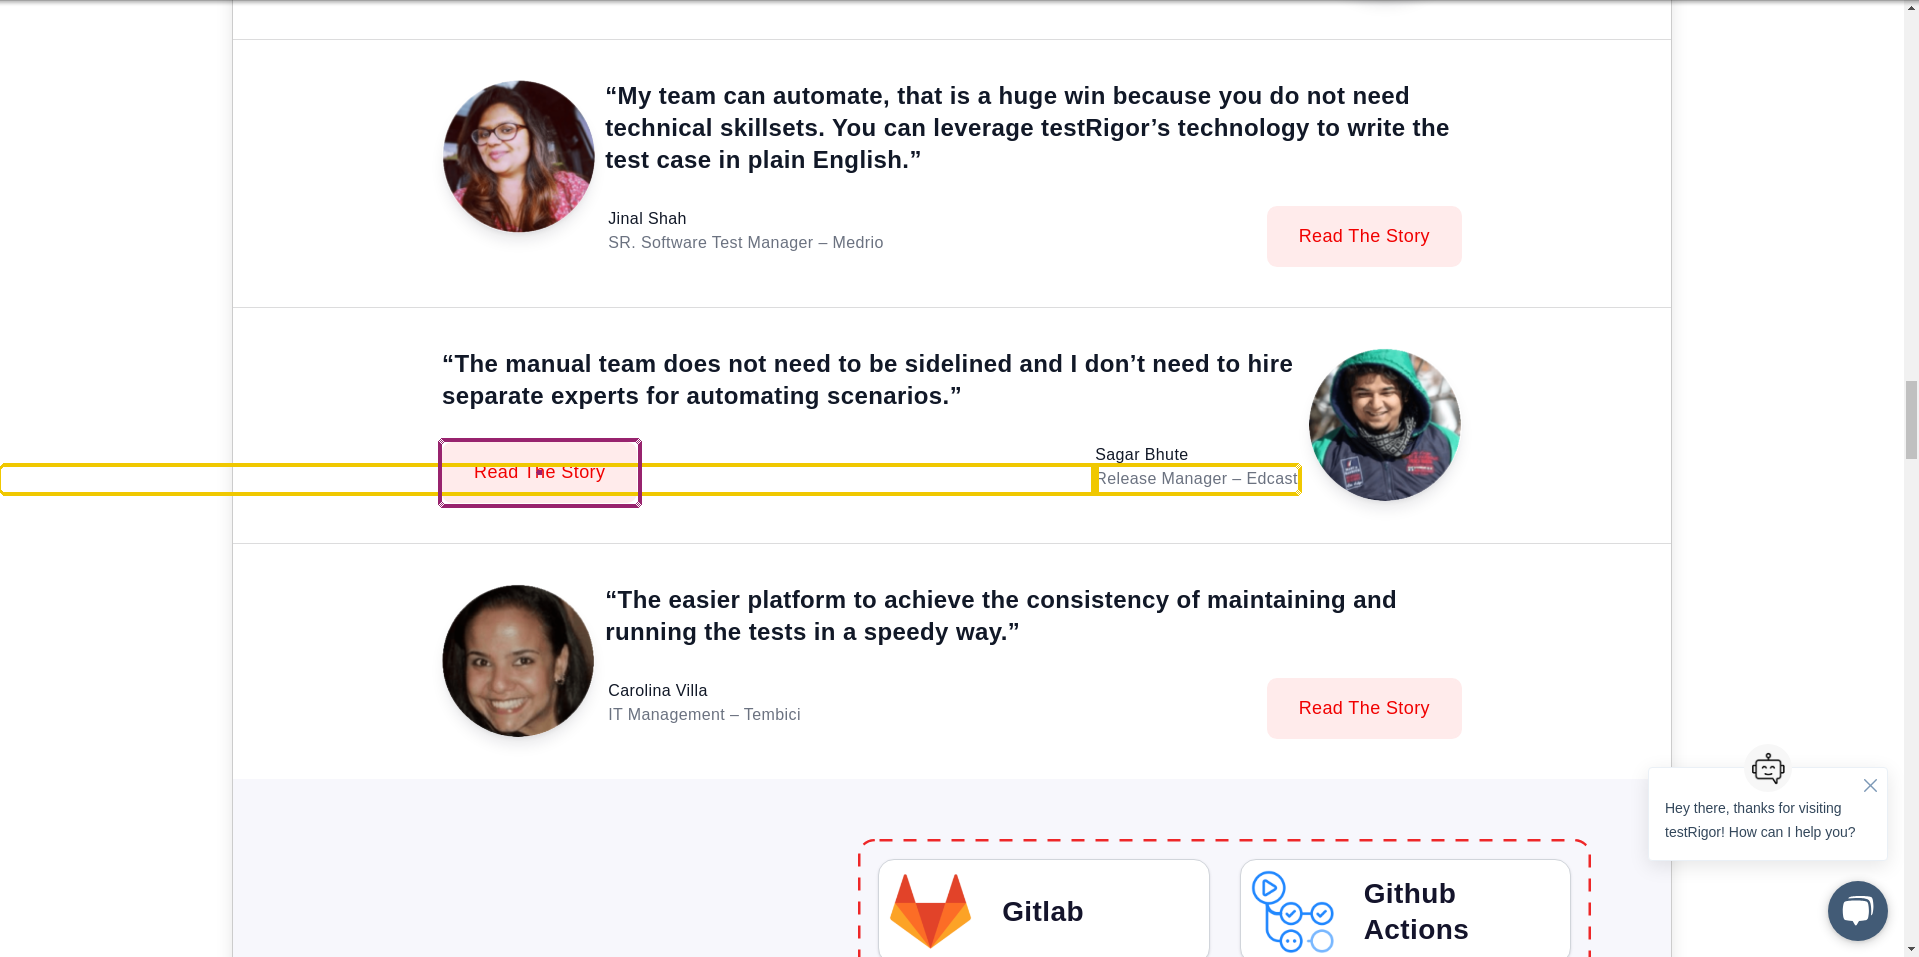
in the context of to target an element inside it. Again, this is especially helpful when there is more than one instance of the same element on the page. Limiting the search to a specific div is a good alternative as a relative location since many elements are more likely to stay inside a div when relocated. This can help reduce maintenance in the long term:click "Request a demo" in the context of "menu"
Directional relative locations
check that page contains "logo" below "See case studies"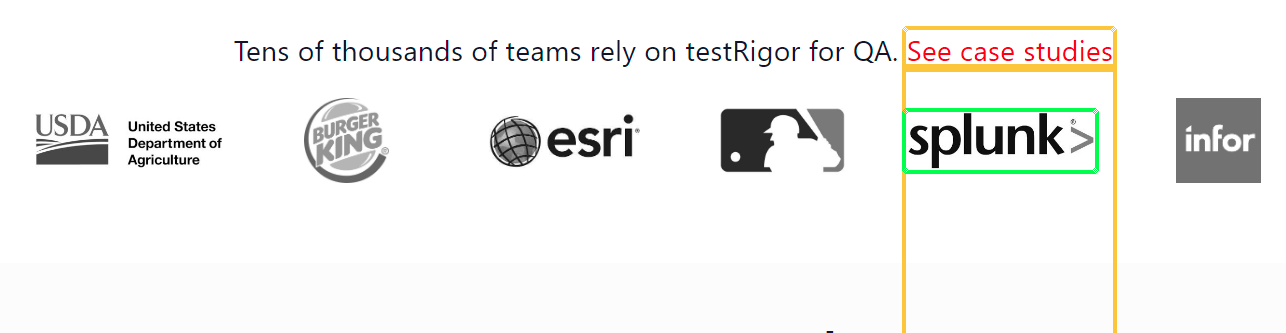
roughly, the meaning expands to “anywhere on the page” (“roughly below” means “anywhere on the page below”)check that page contains "splunk" roughly below "See case studies"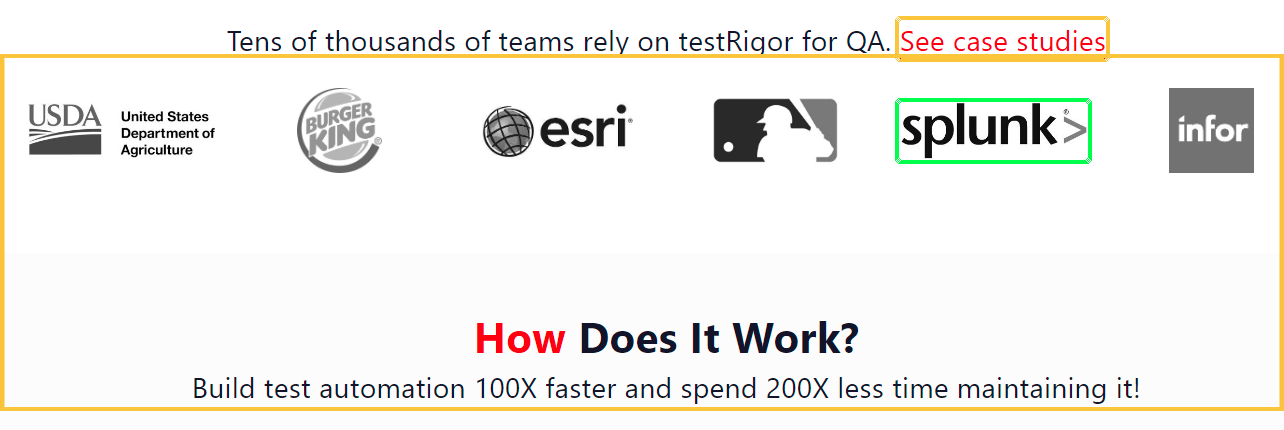
with "20" percent overlap after the target element and before the relative location. The percentage parameter can be any number lower than 30.click "splunk" with "20" percent overlap below "See case studies"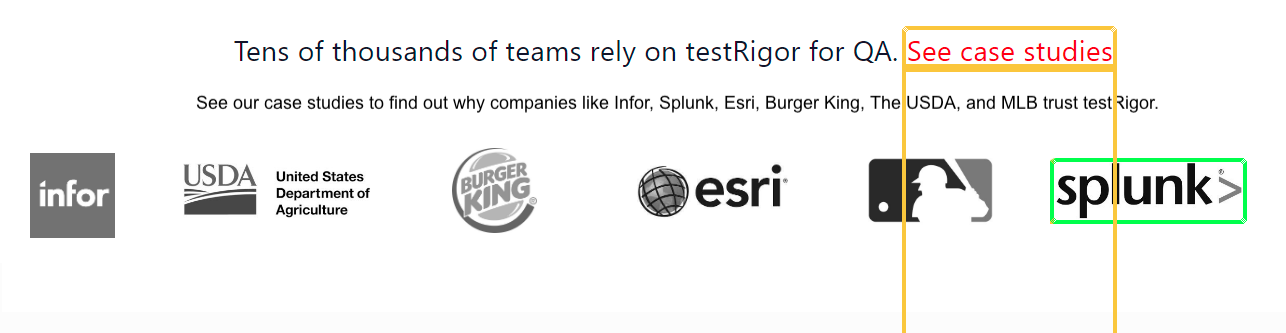
Note: The phrase roughly below is not appropriate because testRigor would likely click on the sentence above the line of logos because it also contains the word “Splunk”. Because less than 20 percent of the sentence is inside the search area, testRigor will not consider the sentence when we use the phrase with "20" percent overlap below.
Multiple relative locations
click "element1" below "element2" and on the right of "element3"click the element below "Additional Data" and on the right of "Nyota" to mean click the element roughly below "Additional Data" and directly on the right of "Nyota". This command will therefore click on the “Open channel” button. If the desired element is the empty field on the far right of “Nyota”, we would need to use the keyword completely to make the first relative location keep it’s default meaning “directly”: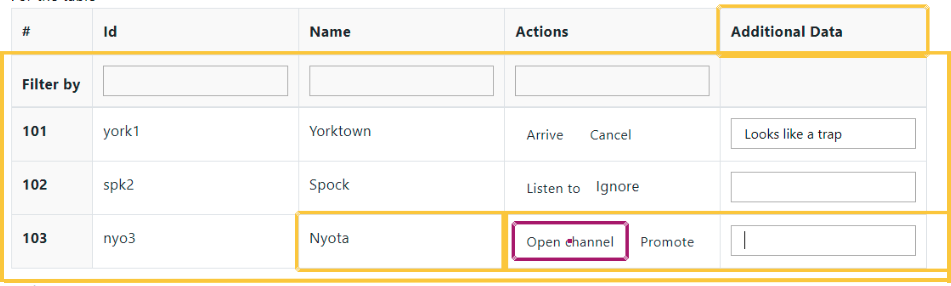
click the element completely below "Additional Data" and on the right of "Nyota"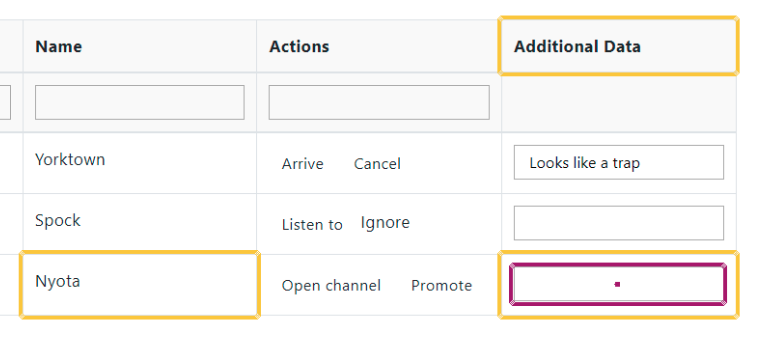
Clicking with a mouse vs. using JavaScript
Many elements of a website are not alone but are encased inside areas or containers as mentioned above. These containers (known as divs in HTML) organize elements in layers. By default, clicks are processed via a Javascript event because they can target an individual layer. Mouse clicks are processed by actually pressing the mouse button and target the entire object like humans do. Since Javascript does not have to move the mouse to click on the element, it saves a few milliseconds, which can add up when cases have a lot of steps.
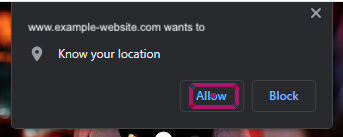
Despite JavaScript clicks being faster, mouse clicks are necessary in some cases. One such situation is when clicking on any non UI element. This usually comes in the form of browser popups asking for location, camera, or microphone permissions.
Some applications also prefer browser popups to UI popups for confirmation of actions performed in the UI.
Another case is when working with canvas-based platforms like Flutter or with text that is inside an image or canvas. For all scenarios requiring mouse clicks, these elements are found using OCR only. JavaScript clicks need the text to be in the DOM to locate it, but when the text is only in the image, OCR is the only option.
You can specify your preference as to which type of click should be the default in the settings section. Settings -> Advanced -> in the Desktop Web Fine Tuning section below How to process clicks.
The default setting for click types can be changed, and it is possible to specify in test case steps where a click type opposite of the default is necessary.
click "Allow" using OCR only using the mouse
click "div" using javascript
Note: In headless (browser-less) mode, there are no visible UI elements. This means that clicking with JavaScript is the only option. If your test cases require using the mouse, do not enable headless mode.
Click by index
As a rule of thumb, relative locations are preferred over indexes. However, in some cases, referring to the item by its iteration on the screen (1st, 2nd, 3rd) might be necessary.
click on the 3rd "Add to cart"click on the second "Add to Cart" in the section "Section 1"Middle click and double click
middle click "here" on the right of "See more information"double click "username"Right click
right click "filename"Click on specific coordinates
click "canvas" with offset "20,10"The offset is calculated from the top left corner of the element/page to the bottom right. The first number is the horizontal coordinate. The higher the number, the further to the right the coordinate will be. The second number is the vertical coordinate. The higher the number, the further down the coordinate will be.
Offsets can also be used with other commands, such as drag and zoom.
Using AI to click on elements
AI can be used to interact with UI elements by interpreting prompts you provide.
Example:
click "cart icon" using AIIn this case, "cart icon" is the prompt given to AI. The AI analyzes both the page source and the screenshot to locate and click the cart icon.
If multiple similar elements exist (e.g., several cart icons), you can add more context to your prompt to specify exactly which one to click.
Example:
click "cart icon on the right of red colored football" using AIAI can also perform more complex actions, such as holding a key while clicking an element.
Example:
hold key ctrl and click "button" using AIIn this case, AI follows the same logic; using both the source and the screenshot to identify and interact with the correct button.
Drag
drag "text1" onto "text2"
drag file "<URL>" onto "element"
drag file from saved value "File to upload" onto "element"
drag "link to file" into "droppable file section"drag folder from saved value "Zipped Folder" onto "element"drag "canvas1" with offset "0,0" to "canvas1" with offset "50,0" via "canvas1" with offset "0,50" through "canvas1" with offset "50,50"Using AI to drag elements on the UI
When you are unsure of an element’s name or there is no identifiable text, only a visual area, you can use AI to locate that element or area on the page
Example:
drag "w3schools image" to "rectangle above w3schools image" using AIIn this example, “w3schools image” and “rectangle above w3schools image” act as prompts for AI.
AI is not responsible for performing the drag action itself, it is specifically used to find and identify the elements’ locations on the UI based on the descriptions provided. Once identified, testRigor executes the drag action.
Hover
You can use a hover command in testRigor the same way as when using a regular mouse. Use it to trigger specific UI actions where needed.
hover over "Account & Lists"
click "My account"
Using AI to hover over elements
AI can also be used to hover over UI elements based on the prompt you provide.
Example:
hover over "cart icon" using AIHere, “cart icon” is the prompt given to AI. The AI uses both the page source and the screenshot to locate the element’s position, and then testRigor performs the hover action on that element.
If there are multiple similar elements, you can add more detail to your prompt to target the specific one you want to hover over.
Example:
hover over "cart icon on the right of iPhone 128gb" using AIScreenshot behavior with click, drag, and hover actions
It is important to know that each of these actions will always prompt a new screenshot as the viewport (area of the UI displayed in the screenshot) and/or elements inside the viewport are expected to change. Certified testers often use a generic hover to prompt screenshots where they would not be taken otherwise:
hover over the middle of the screen


